UPDATED! HOME-MADE ALMOND MILK (V+, P, R, GF, CHF, GRF)
NOTE: The pictures for this blog post were updated September, 2015.
Hello readers! If you are here for the easy, home-made almond milk recipe, then please scroll down to the end of the blog post. You'd find the recipe there. If you're happy to read my musings on my family's plant-based food journey, then please read on and get to the recipe later.
Let me be open and clear: As I write this post, we are not a dairy-free household. (Ouf, glad that’s out in the open and no, I am not planning a Swiss fondue recipe for the blog any time soon, in case you were wondering). Although I personally don’t consume any dairy and would love it if my husband and my son didn’t either, the reality is, they do. To be frank, I am ok about it because I appreciate that they have to find their own path in their own sweet time. I see my role not to judge them but to offer as many (better) alternatives as I can. I’d also like to stress though that I have the utmost respect for families who take a more definite and decisive vegan approach. Fantastic, amazing, wonderful :), I may even be a tad jealous, but I also know it’s just not for us.
Like I mentioned last week, we are really only just embarking on our plant-based journey and still have a long way to go. But it’s so exciting to be at the start of something so big; I love this moment right now, right here and all it has to offer in the form of new discoveries and the shape of awesome opportunities. Importantly though we’re making lots of big steps in the right direction, but ...
Our biggest stumbling block has been cheese (sound familiar?). It has been super tricky to replace because I haven’t found anything I am 100% happy with yet. Lots of the alternative cheeses on the market are so over-processed and as far removed from real, whole or healthy foods as you can possibly imaginable. They also haven’t quite satisfied my son’s or my husband’s taste buds. Consequently, we have settled for organic goat’s cheese – for now. But watch this space!
I’m proud to say though that butter doesn’t ever get into the house; coconut oil, rice bran oil and olive oil have done a great job at replacing it. Furthermore we occasionally make our own yoghurt (get the recipe here ;)) and find store-bought coconut yoghurt and organic soya yoghurt to be super delicious alternatives.
Cow's milk has been the easiest for us to say goodbye to; almond milk has become our go-to staple, occupying a treasured spot in the fridge: front row, just next to the bottle of home-made green juice, with great views into the veg compartment. The best thing about it: Almond milk tastes absolutely divine, is cheap to buy and super duper fun and easy to make. Not tried making it yet? I've got just the recipe for you...enjoy!
UPDATED! HOME-MADE ALMOND MILK RECIPE
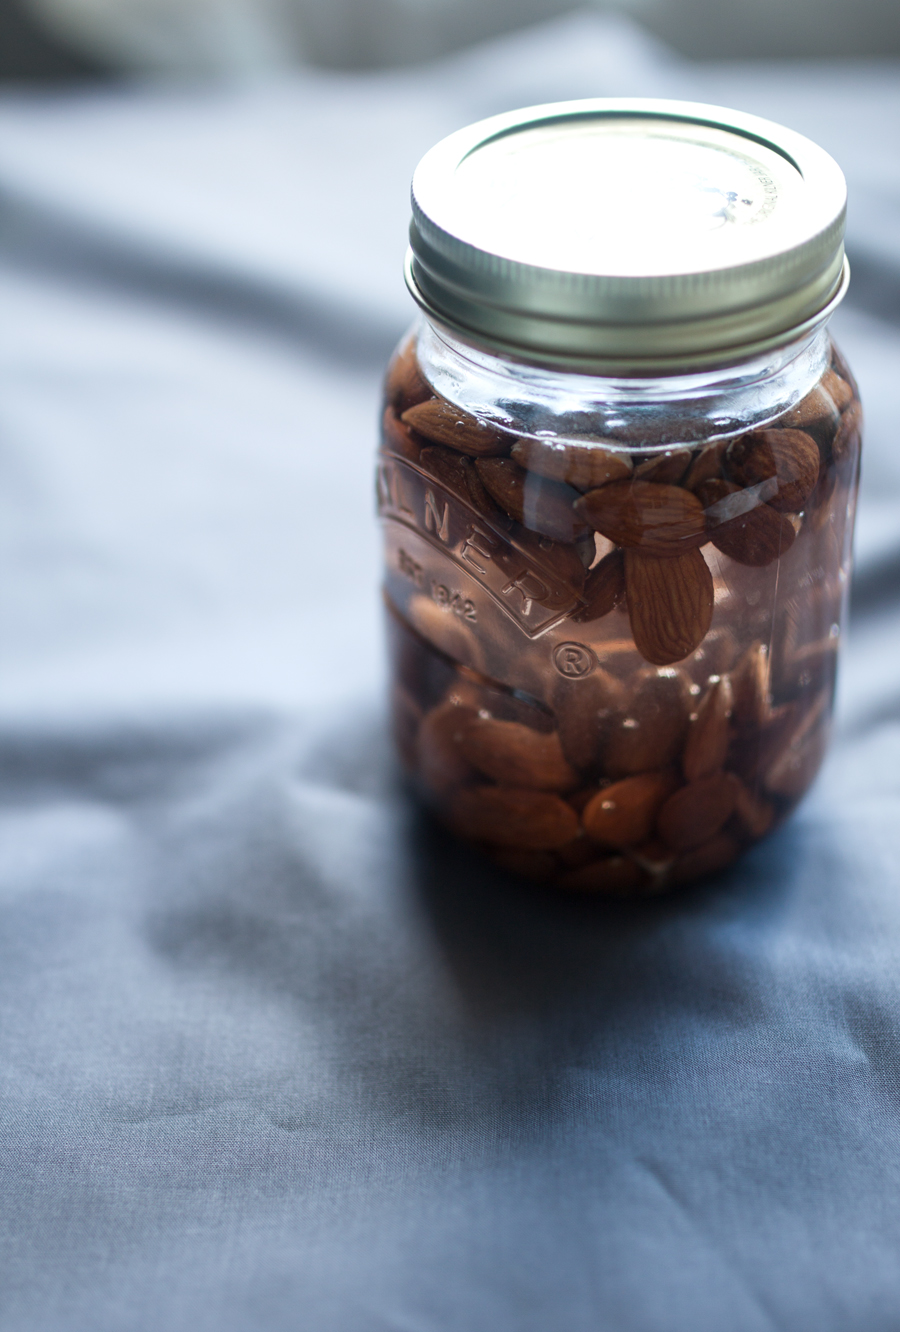
Pre-preparation Time: Soak the nuts for 8-12 hours or overnight
Preparation Time: 5 - 7 minutes
Serves: 3-4 (you get about 500ml from this recipe)
Ingredients:
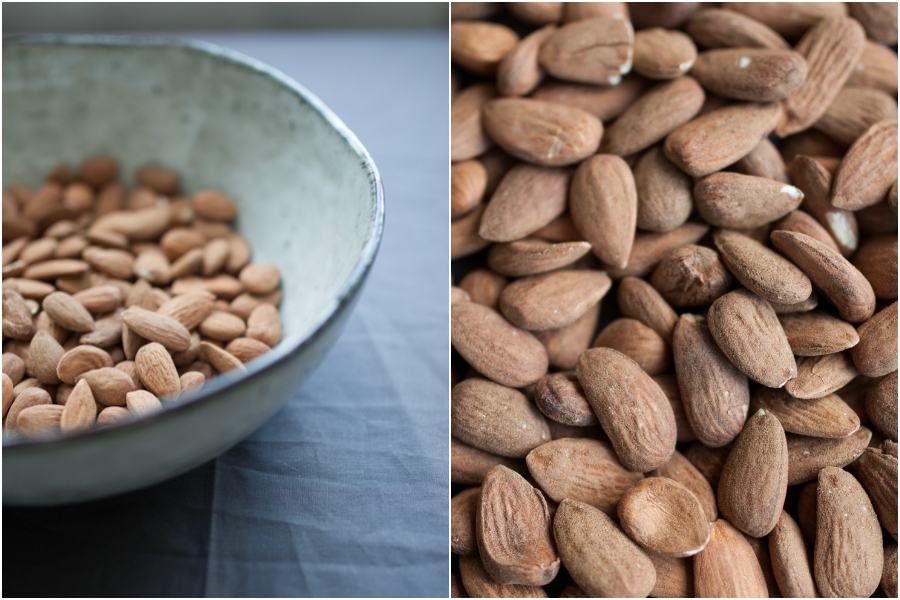
1 cup (organic) almonds (important: see tips below)
3 cups (filtered) water
1 chopped and de-seeded date (optional)
Pinch of Pink Himalaya Salt (optional)
Pinch of ground cinnamon (optional)
Instructions:
Soak the almonds in water for 8-12 hours, or overnight. Once this step has been completed, drain the nuts and wash them with clean water. Place the nuts in a high-speed blender (I use a Vitamix, but any blender will do) together with the chopped date, salt and 3 cups of filtered water.
Pour the mixture through a cheese cloth or sieve. And there, you’ve got your almond milk. I then place the milk back in the blender and add the ground cinnamon, blending until just combined. But this step is optional.
Store the milk in an airtight container in the fridge for 1-2 days. It’s that simple.
Tip 1: You can use blanched almonds, which will give you a lovely result. But remember, they aren’t strictly raw, so there will be fewer nutrients to benefit from. Alternatively, you can get whole, raw (not roasted) almonds. They tend to still have their skin in place. Hence, after soaking the almonds you will need to peel them (if not the milk will be slightly bitter, though please note I didn't peel them the day I shot these pictures (though normally do) and still very much enjoyed the milk!), which will add an extra 5-7 minutes to the preparation time, but is very easy to do. But it's so worth it. The taste is slightly more intense and having forgone the blanching process, more of the nutrients will still be present for you to enjoy. But don’t worry too much. As long as the nuts aren’t salted, spiced or coated with sugar, you can’t go wrong.
Use to... make your raw, vegan chocolate mousse or vegan pear cake.


