
LOFT CONVERSION EN SUITE BATHROOM REVEAL – OUR RENOVATION JOURNEY PART 2
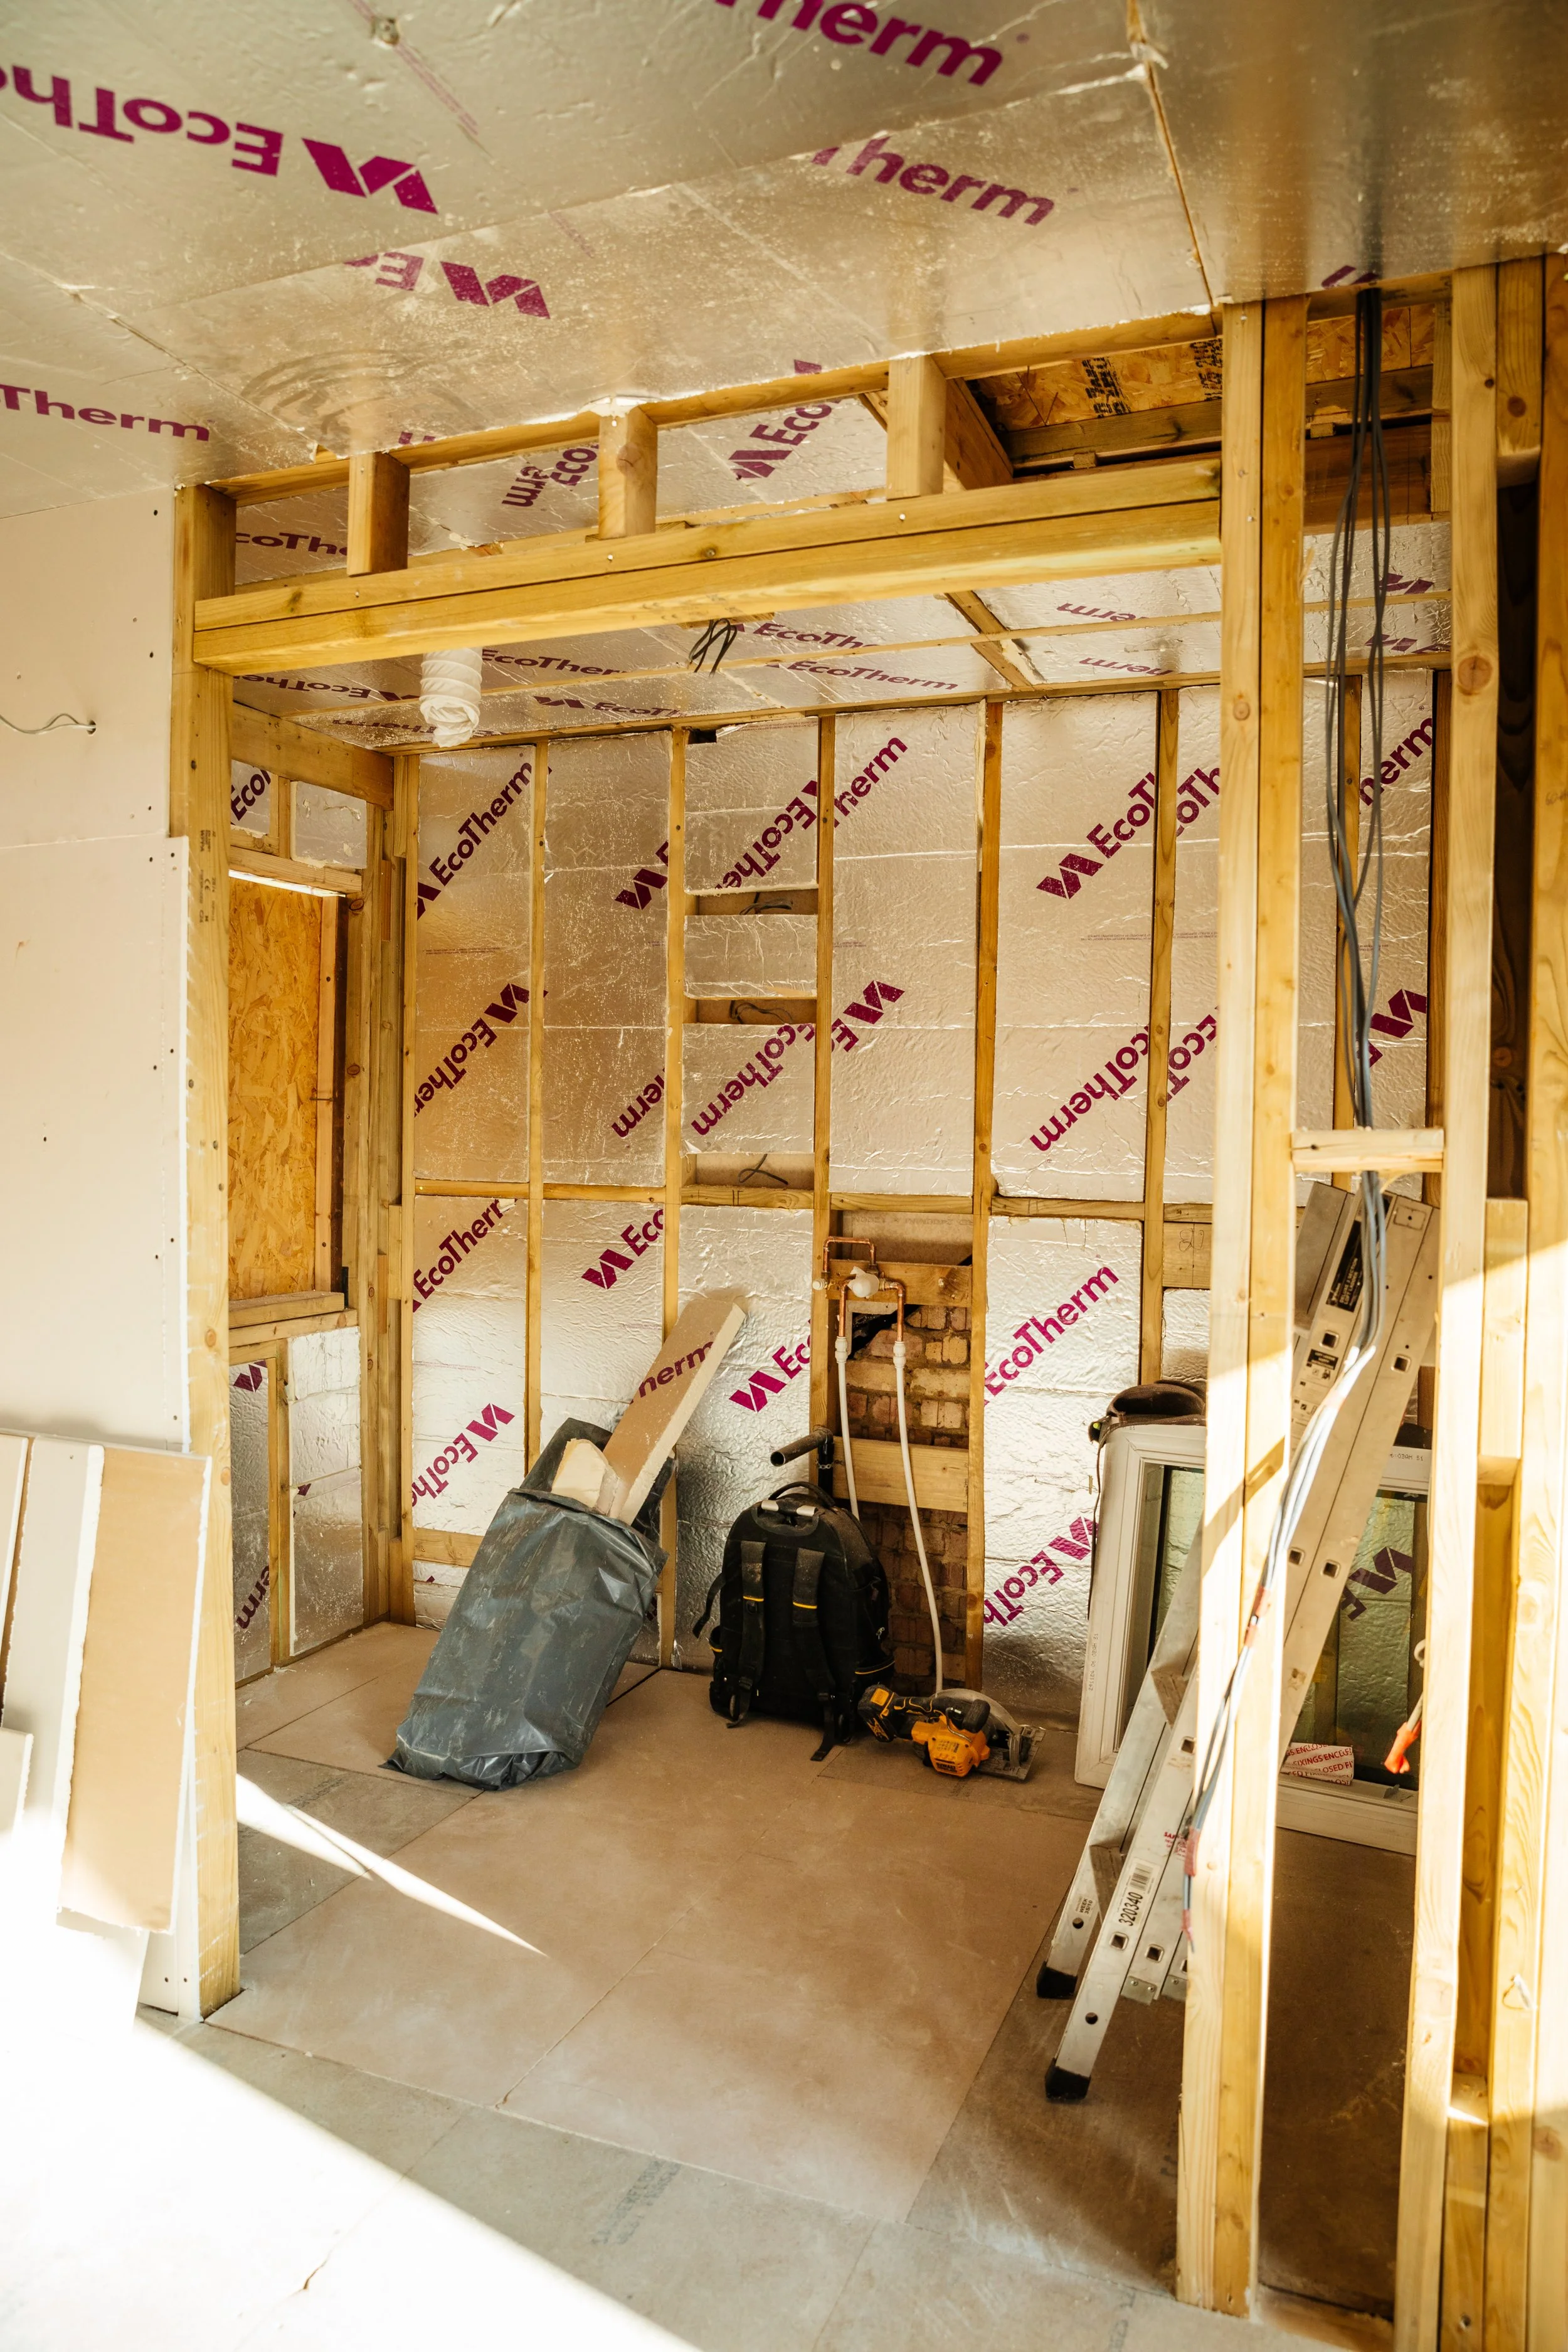
BEFORE: The loft was a timber shell with lots of potential (this was week 4 of the build).
From THINKING ABOUT Moving House to CONVERTING Our Loft INTO A DREAMY EN SUITE BATHROOM
We had started 2025 thinking we were going to move house! In fact, we spent a lot of time going back and forth before making the difficult, but ultimately right decision to stay put and transform the home we already had and loved instead.
And that decision led to one rather exciting project: turning our dark, dusty, cobweb-filled attic into a light-filled loft conversion with a spacious bedroom and beautiful en suite bathroom.
If you’ve been following our renovation journey, you may remember Part 1 of our loft conversion, where I shared everything from the initial design ideas and plans through to week five of the build. Well, I’m delighted to say that we can now reveal how it all turned out!
So, in Part 2 of our loft conversion journey, I’m taking you inside our brand-new en suite bathroom. I’ll be sharing the design decisions and finishing touches that brought the space to life, and so much more!
So, whether you’re planning your own loft conversion bathroom, dreaming about an en suite renovation, looking for bathroom inspiration, or simply want a peek inside our newly transformed space, this blog post is for you!
Small Loft Bathroom Shower Ideas: Our Before & After
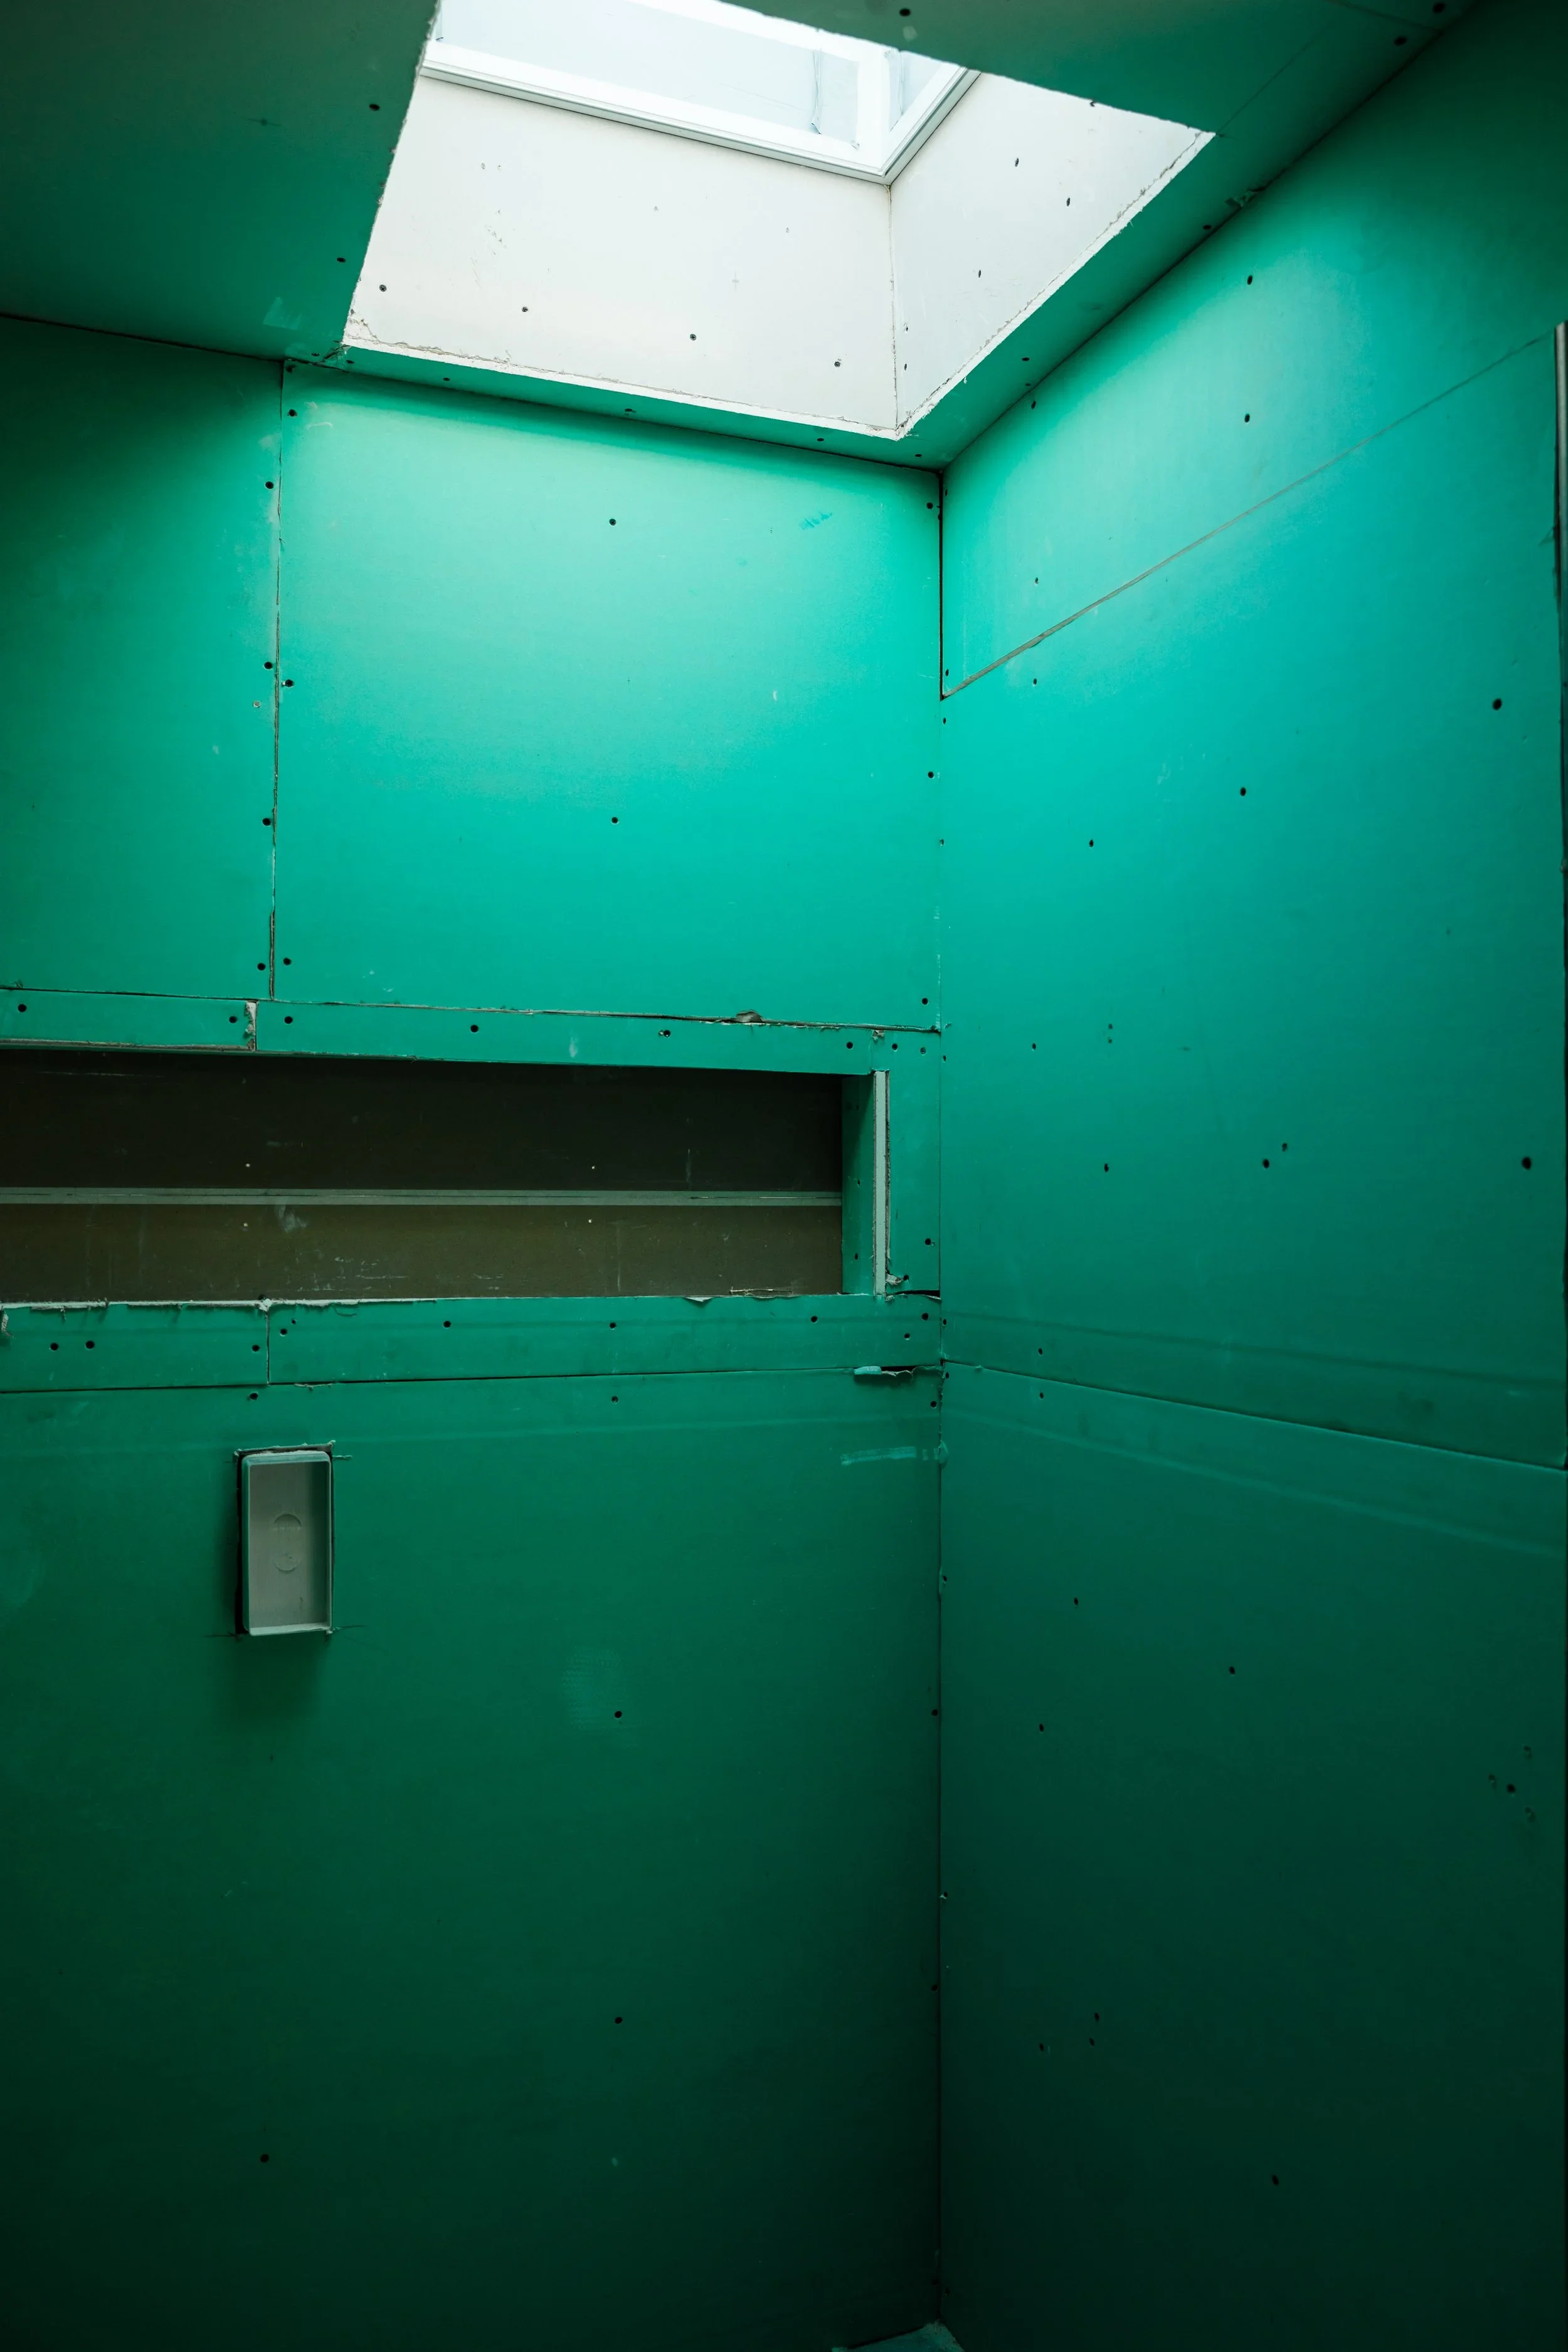
End of week 5 of our loft conversion - More good lighting decisions! Despite having a gorgeous window in the en suite bathroom, we decided to add a skylight as well, inspired by our moodboard. It ads a wow-factor to the space!
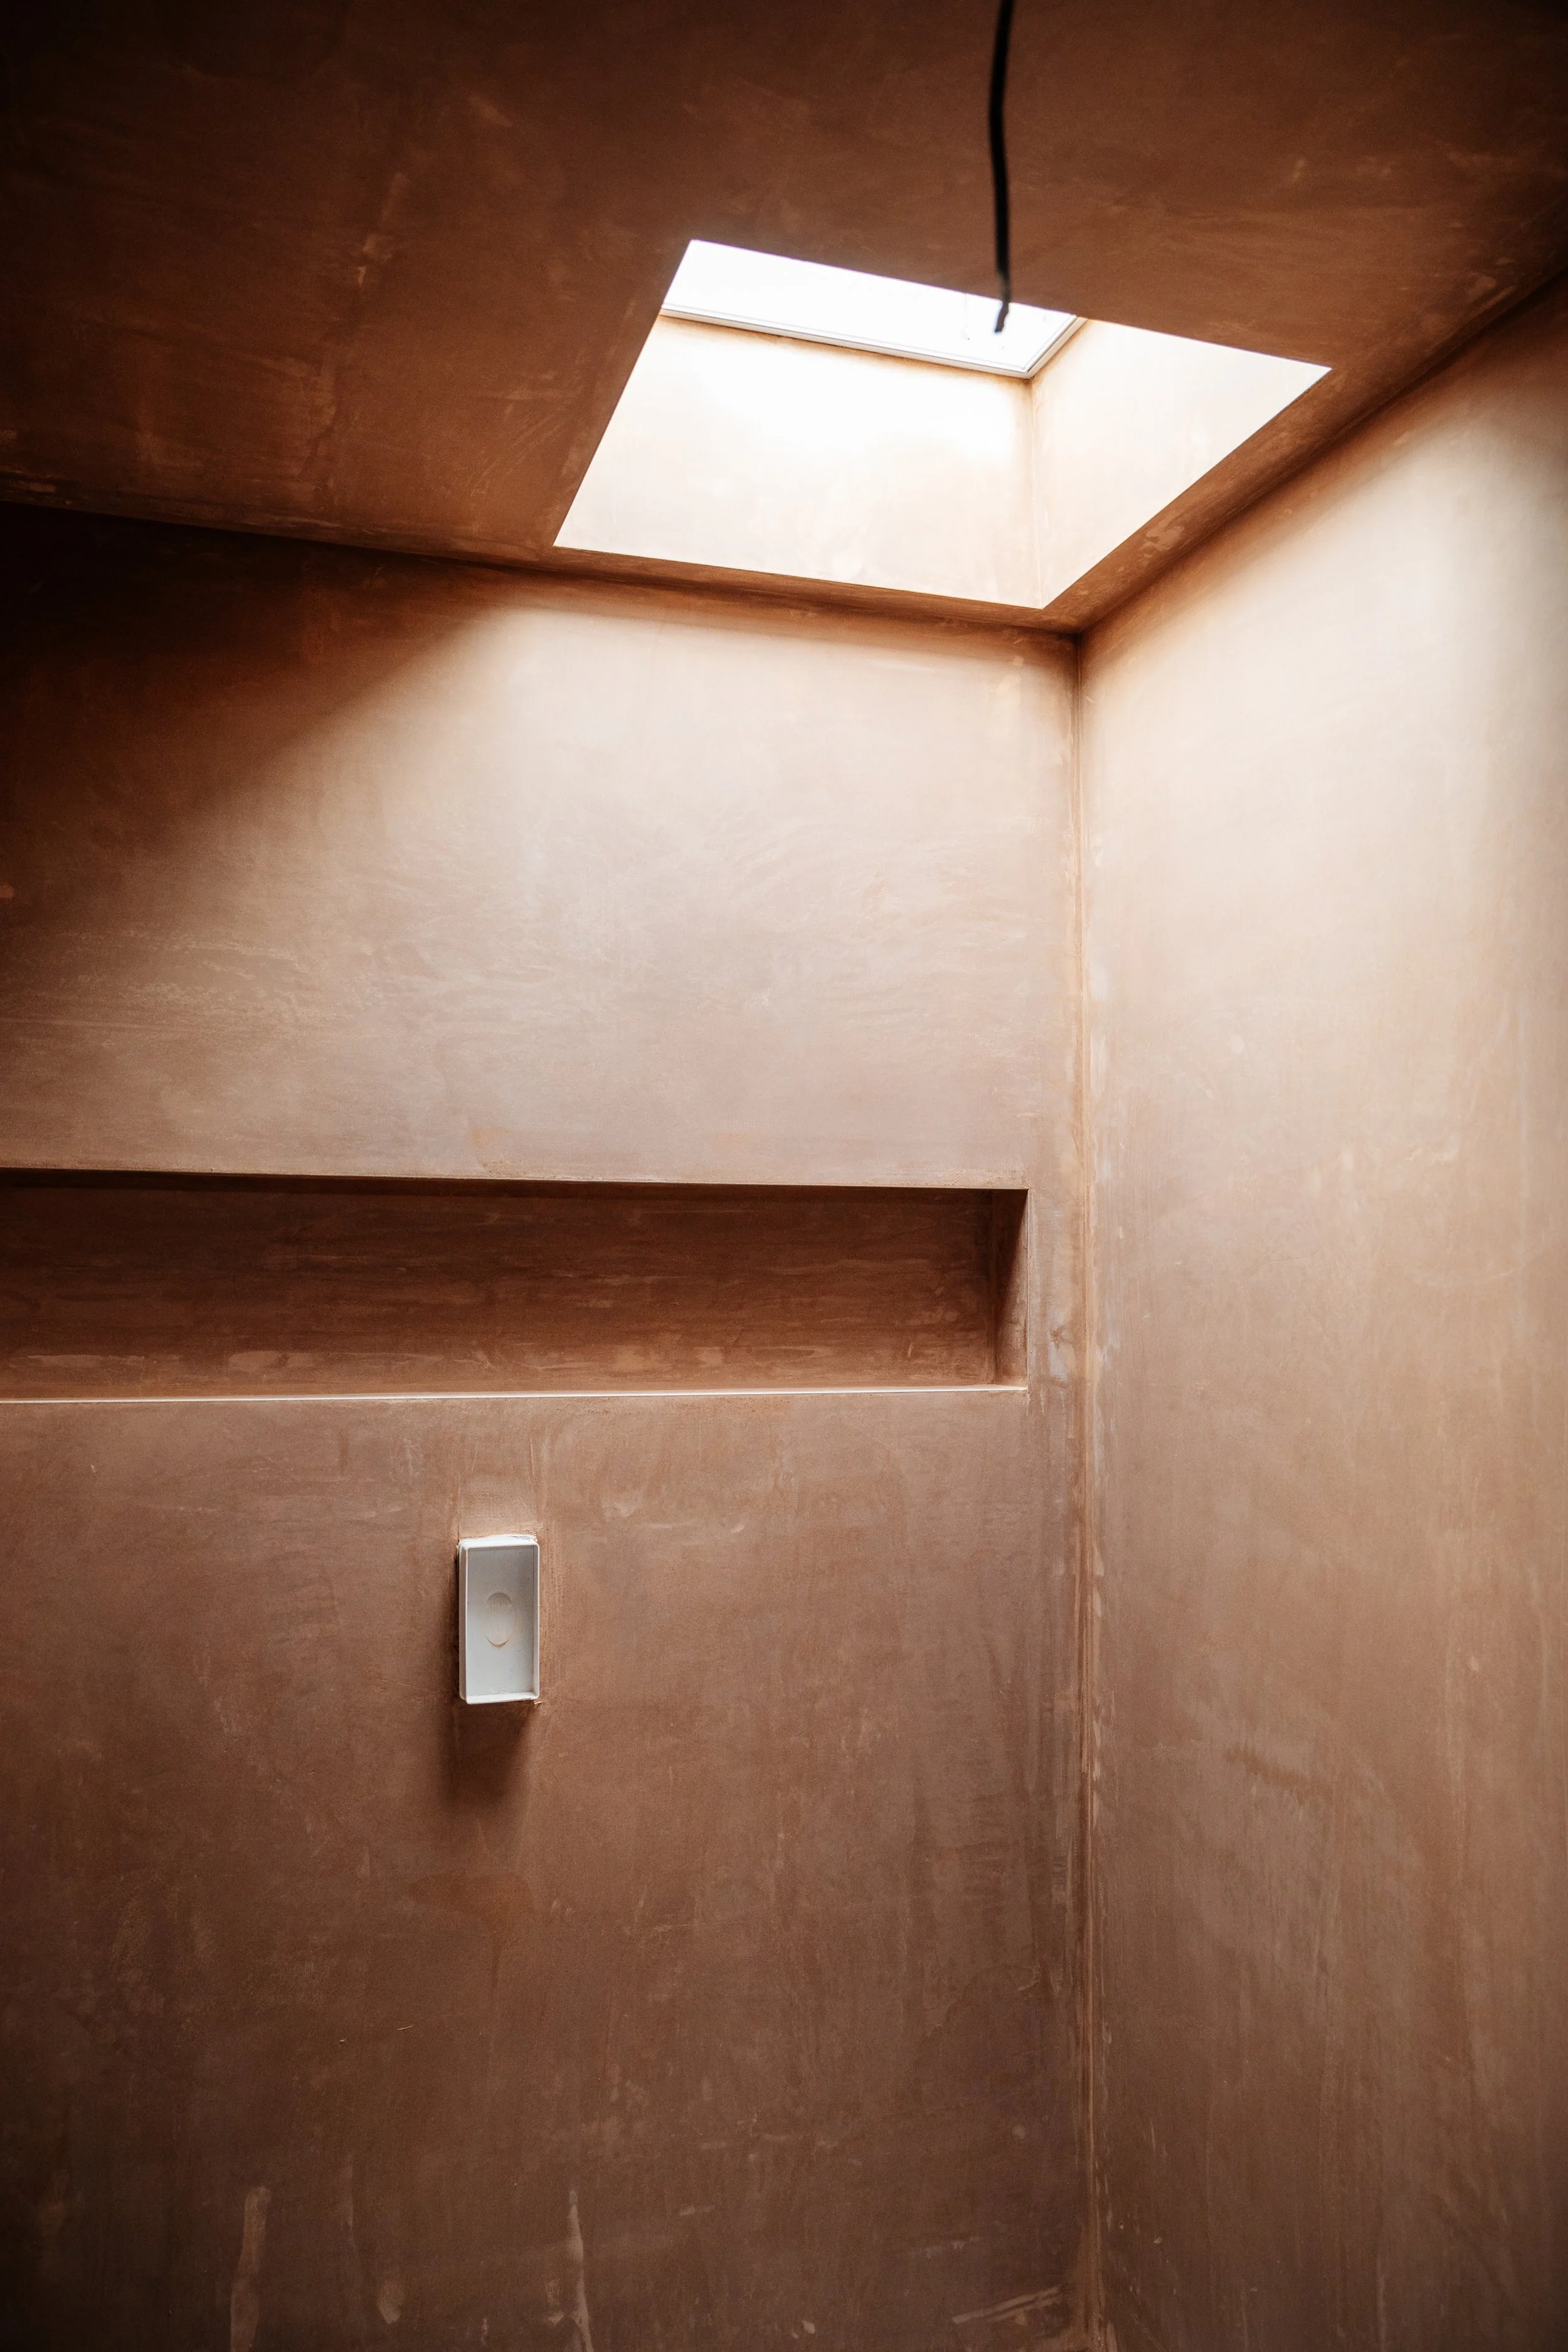
The shower corner post plastering. What a difference this part of the process made!
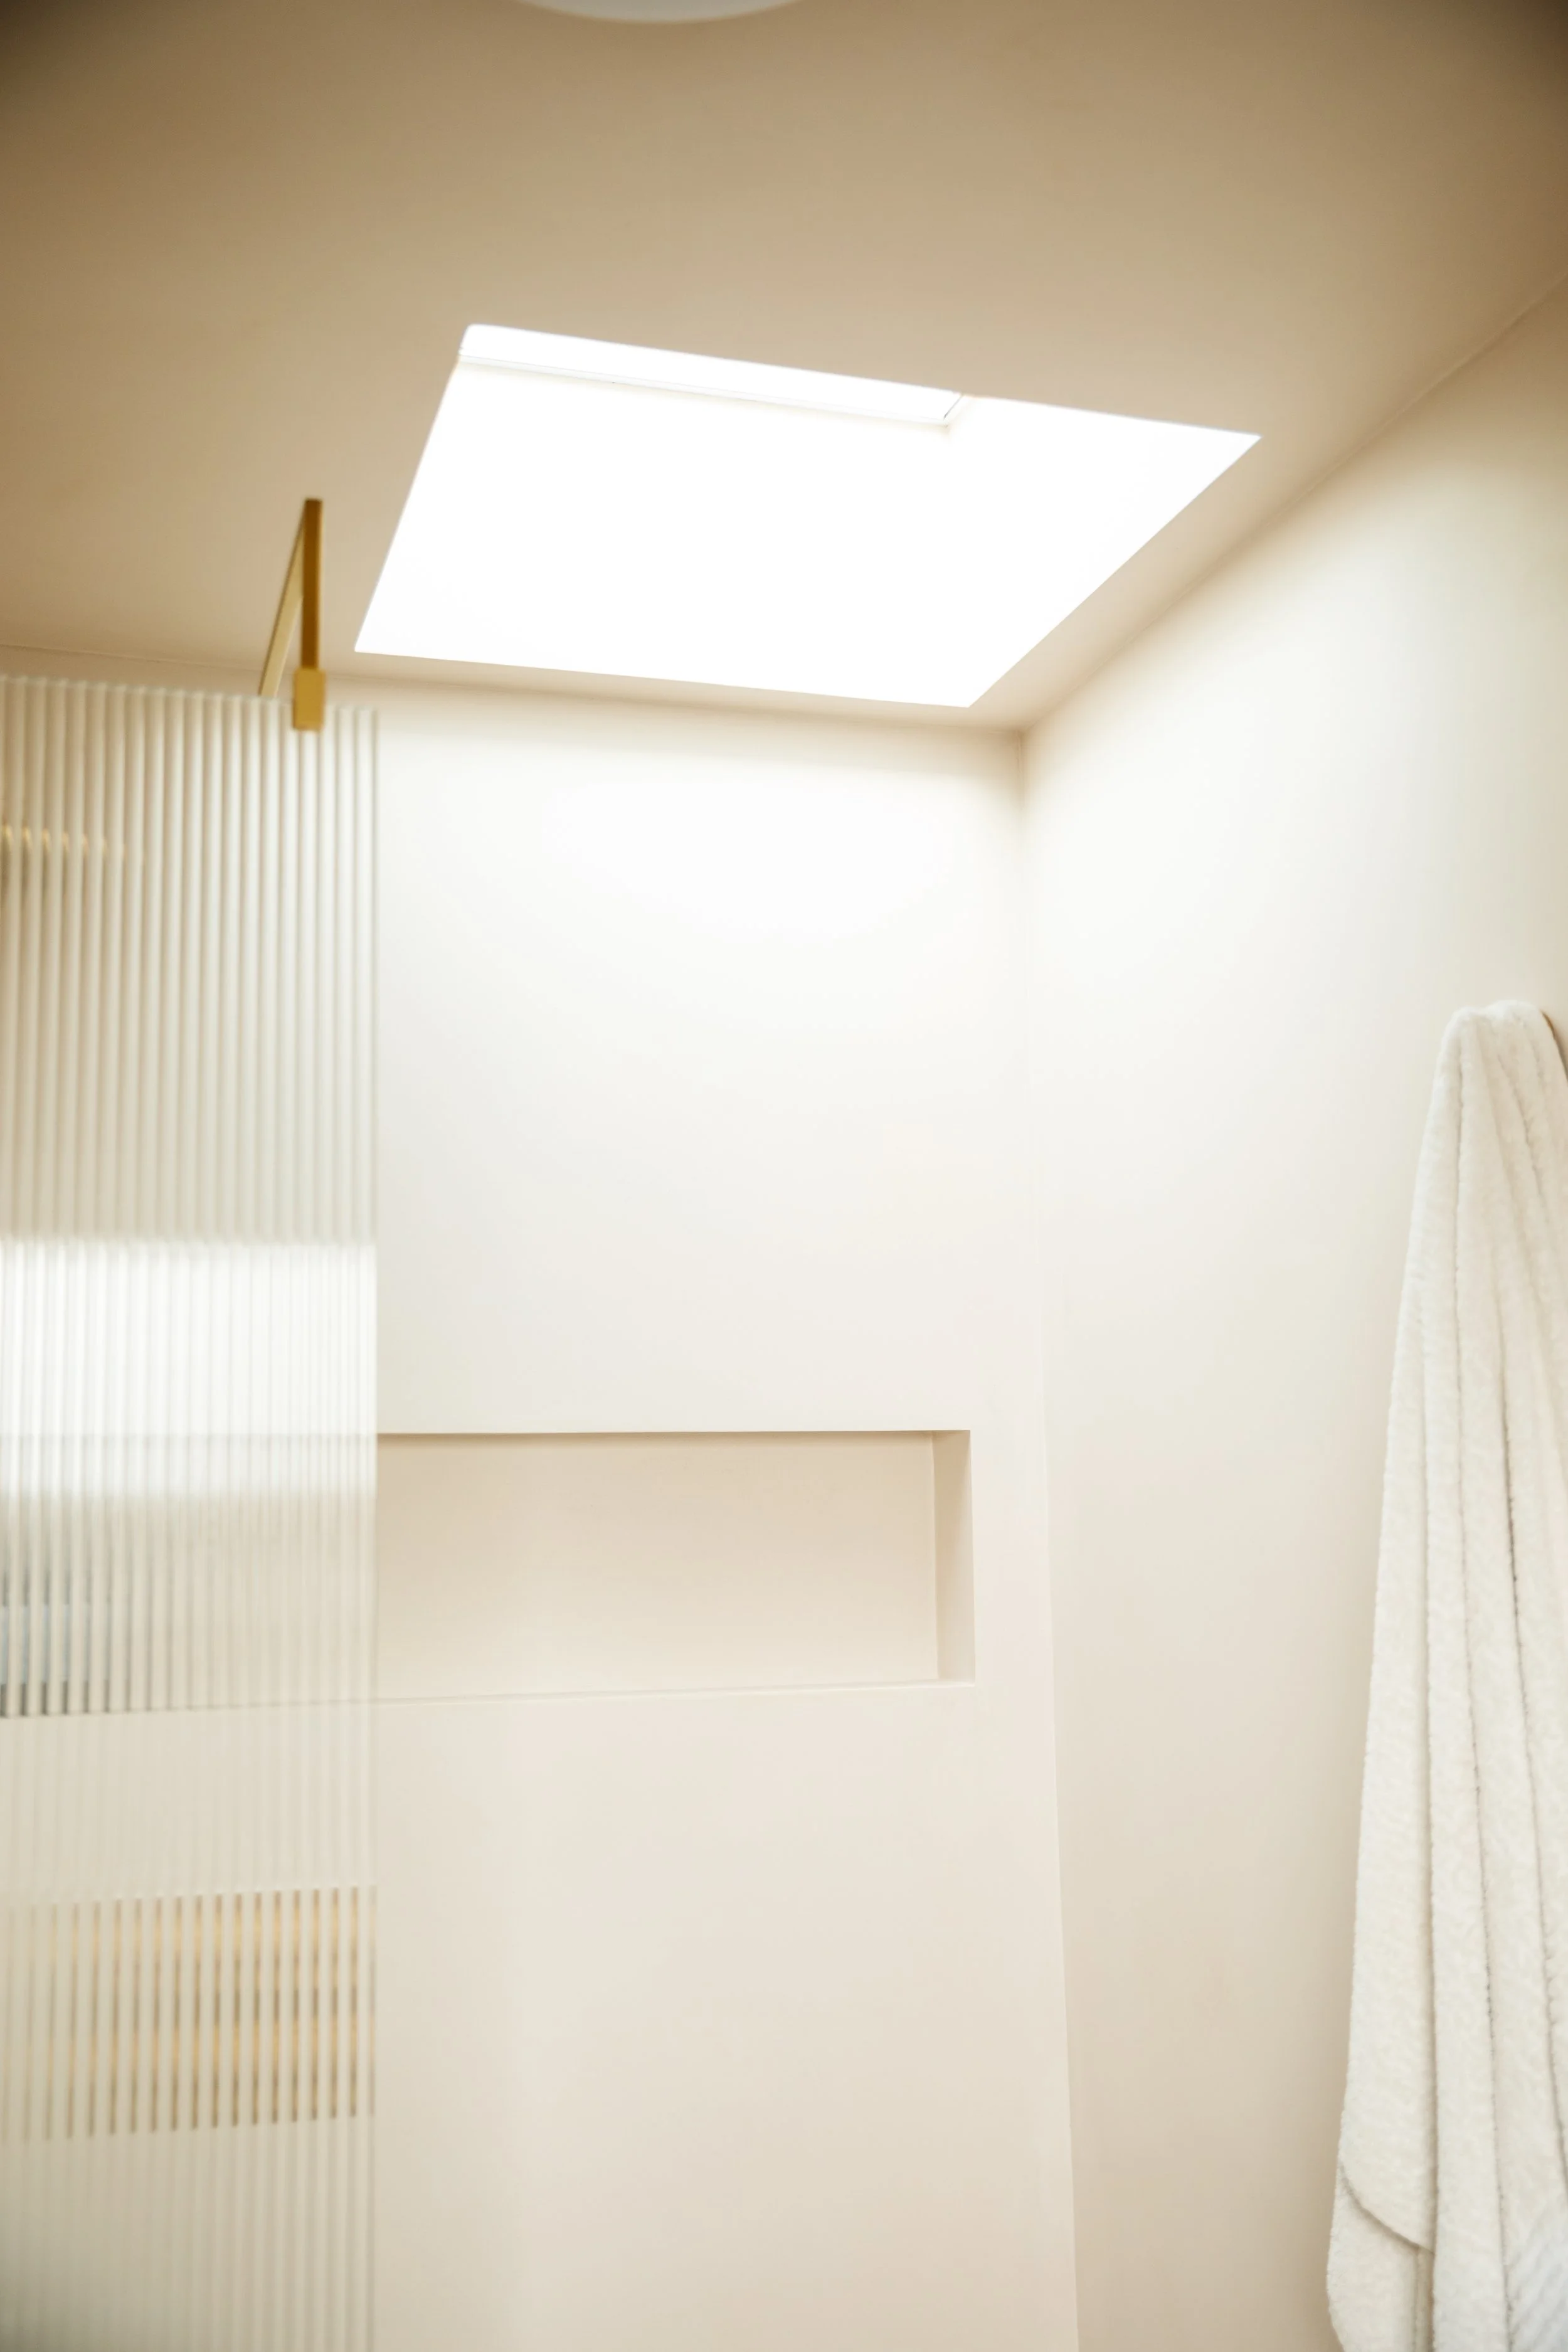
AFTER: The shower corner once completed!
The location of the shower was actually decided for us by the position of the pipes. It ended up sitting within the new loft construction, which meant we didn't have to contend with any awkward sloping ceilings above the shower. Instead, we had the luxury of maximum ceiling height and beautiful, clean lines, something I was very grateful for!
That didn't mean the design decisions were easy. Quite to the contrary; there were endless things to consider and discuss with our builders from Central Lofts, when designing our loft bathroom. Did we want a bathtub or just a shower? Would a wet room work better? Should we have a shower curtain or glass? What about storage? And what kind of fittings would create the look and feel I had in mind (find our initial design drawings HERE)?
But there were a few key choices that really shaped the finished space and, ultimately, made our en suite shower look and feel exactly how I'd hoped and they include…
Reeded Glass for Privacy and Style
One of my first decisions was to avoid a traditional shower curtain. As practical as they can be, they can harbour bacteria and, in my opinion, can look a little cheap! Clear shower glass was another option, but I knew I'd spend far too much time looking at watermarks and trying to keep it pristine! Instead, we chose reeded glass, and I couldn't be happier with that decision.
It gives us privacy without making the shower feel closed in, allows light to move beautifully through the space and adds a touch of texture and elegance. It also does a brilliant job of disguising those inevitable watermarks. In short, it's practical, but it also feels a little bit sexy and luxurious, so exactly the feeling I wanted for this bathroom!
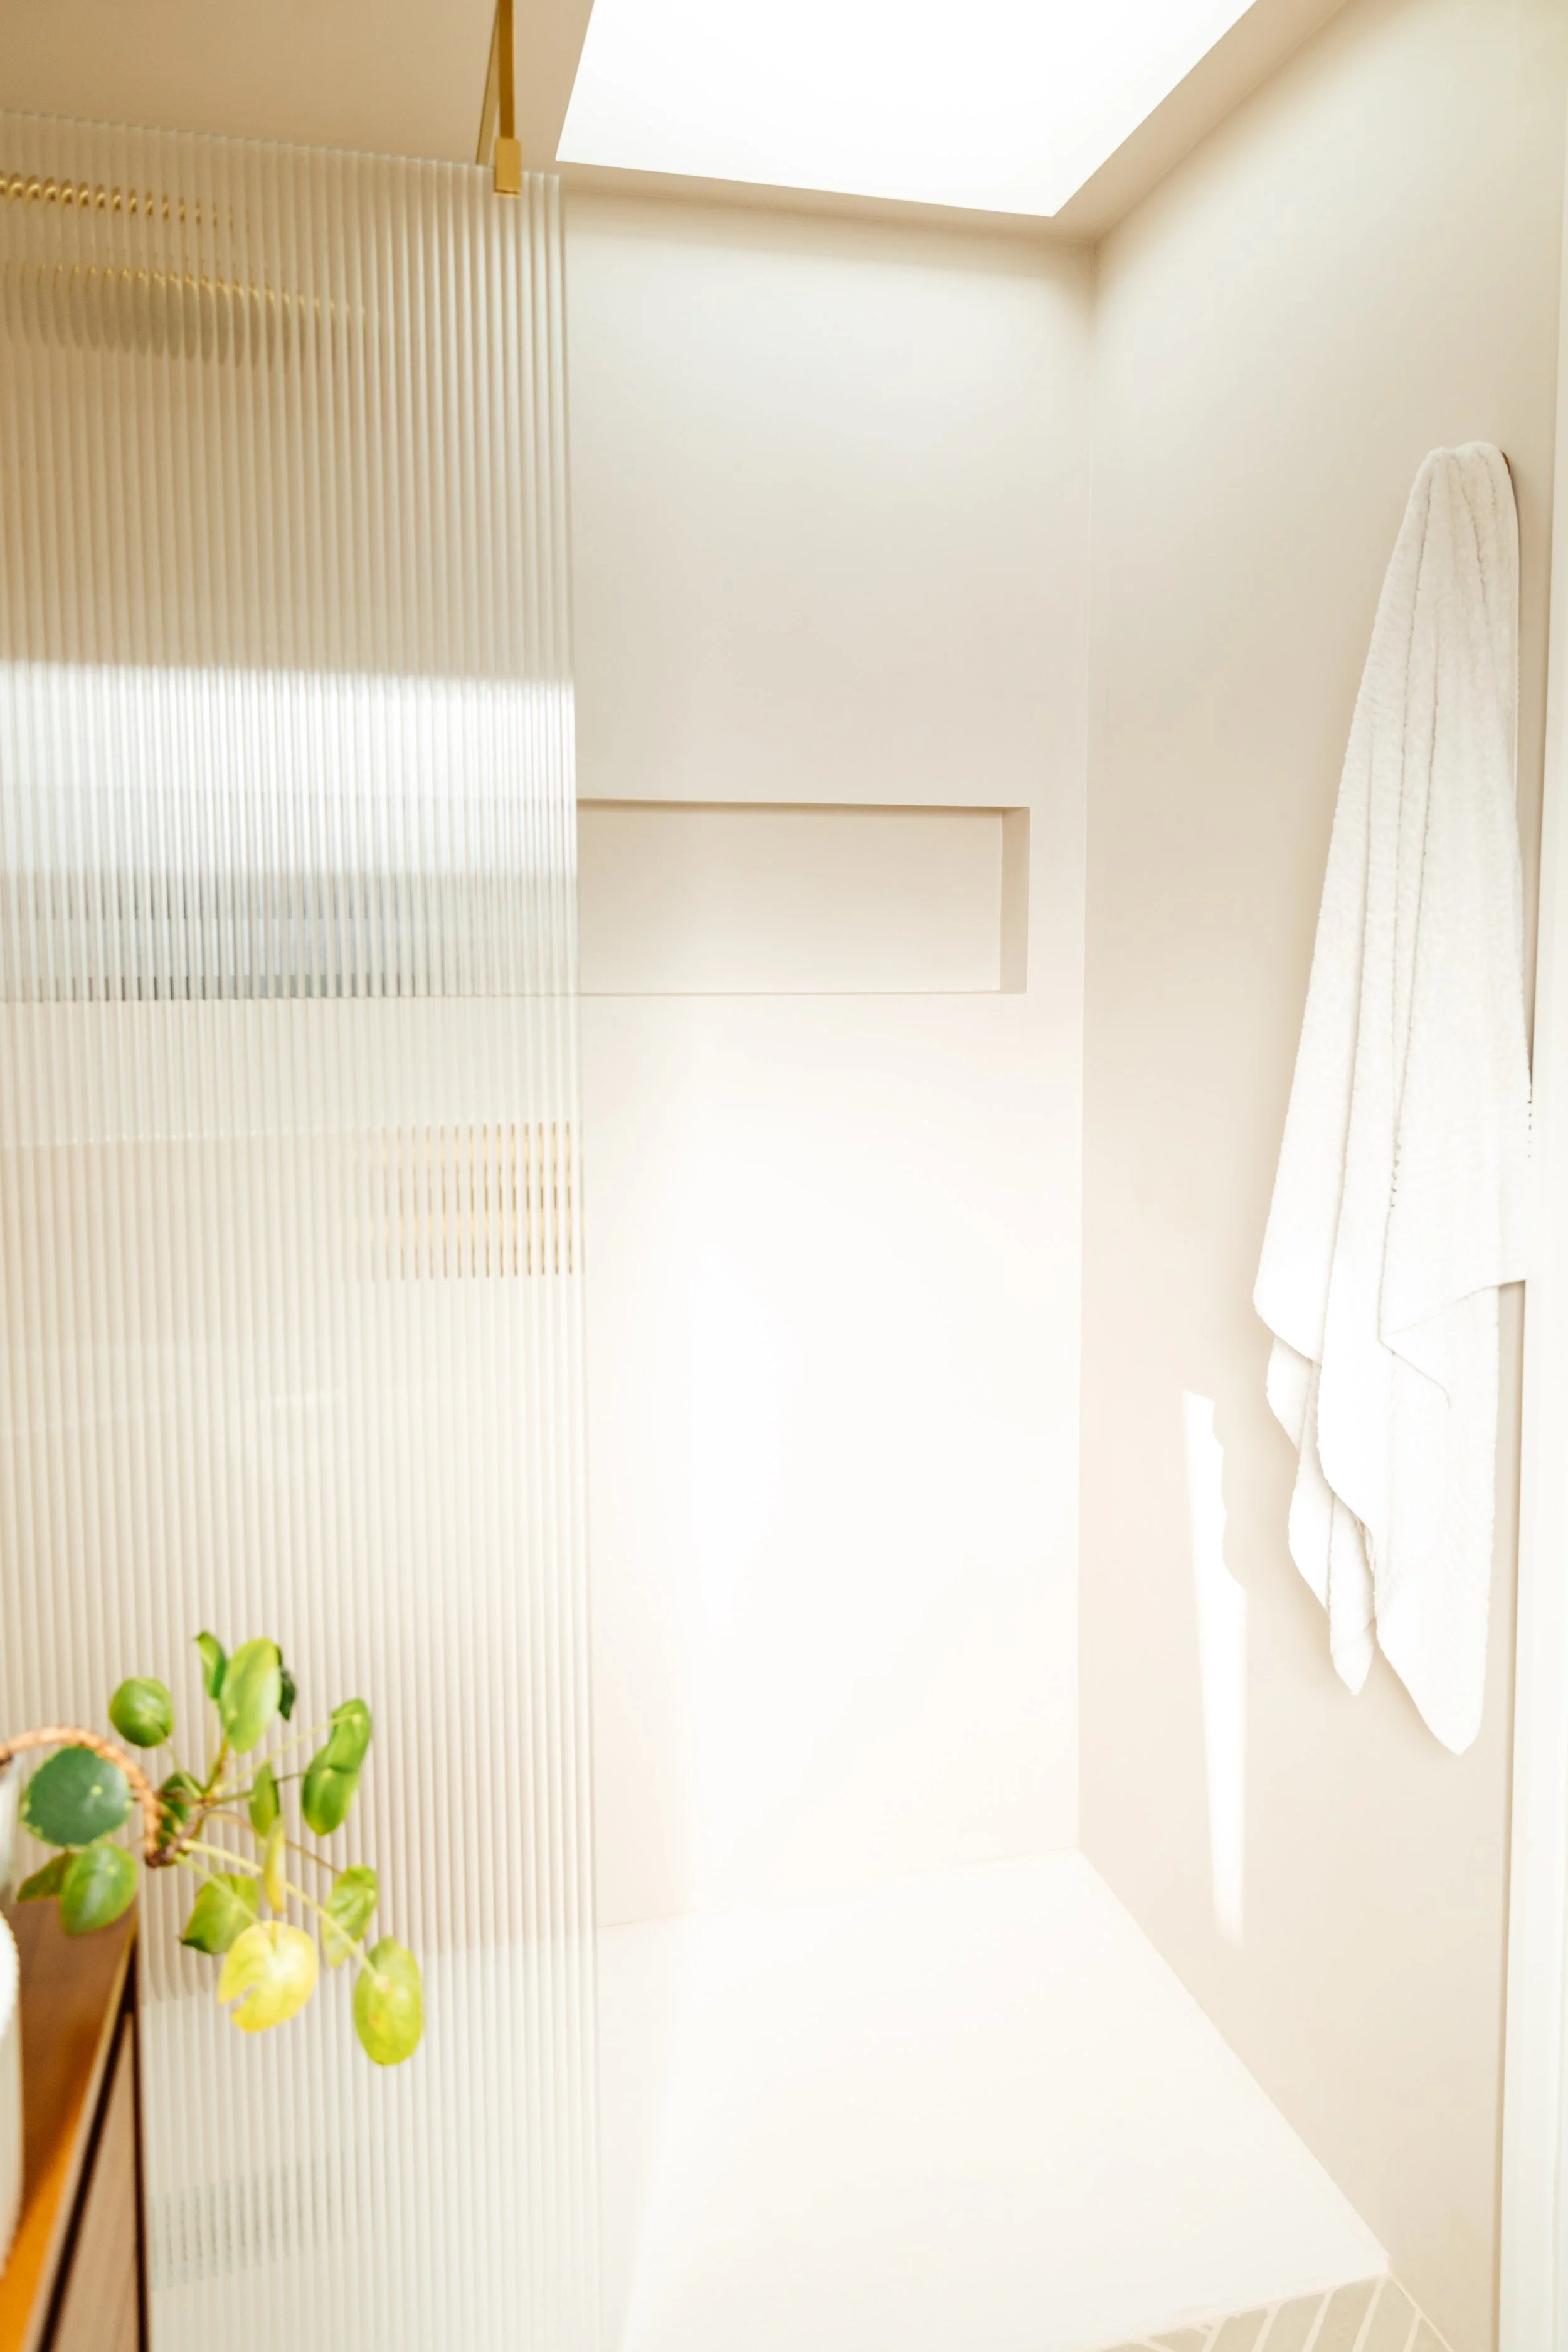
AFTER: The reeded glass is everything in our loft bathroom!
A Rain Shower for That Boutique-Hotel Feeling
From the outset, I wanted our en suite to feel less like a purely functional bathroom and more like a little sanctuary at the top of the house.
So, naturally, a rain shower was essential!
We also included a handheld shower head for practical reasons, giving us the option to use whichever works best. It's one of those small decisions that makes the shower feel both luxurious and genuinely functional.
Built-In Shower Controls and Fixtures
I knew I wanted the shower fittings to feel sleek and streamlined, so we opted for built-in shower controls. That decision instantly gives the space more of that boutique hotel feeling I had always dreamed of.
For all our bathroom fixtures and fittings, we chose Abi Interiors. I first spotted their products on Pinterest and then visited their showroom, which turned out to be such an important part of the decision-making process. Going there was a pinch time consuming, but honestly worth doing to avoid disappointment!
Being able to see and touch everything in person meant I could make sure the fixtures didn't just look beautiful online, but actually felt good too.
Why We Chose a Walk-In Shower Instead of a Bathtub
We did consider whether we should include a bathtub, but ultimately decided against it. You see, we already have a family bathroom on the second floor with a bathtub. It was invaluable when our son was a baby, toddler and pre-schooler, but these days it gets very little use. We're still glad we have it, but we simply didn't need another one. Instead, we chose a walk-in shower, which felt like the best use of the small space and helped the loft bathroom feel larger and more open.
The Two Last-Minute Changes That Transformed the LOFT Shower AREA
We made two last-minute changes to the shower design that changed everything…
Adding a Skylight Above the Shower
The first was adding a skylight to the darker corner of the shower. (See images above).
This was actually a suggestion from our builders at Central Lofts, which I initially dismissed but after thinking it through and checking that we could make it work within our budget, we decided to go for it. And I'm SO glad we did, it was honestly THE best decision!
The way the natural light falls into the shower is, without a doubt, one of my favourite things about the entire loft conversion bathroom. It completely changes the feeling of the space, making the shower feel bright, calm and connected to the sky above. Could it be something you should include in your loft bathroom too?
Adding a Built-In Shower Shelf
The second last-minute addition was a built-in shower shelf. This might sound like a small detail, but it's one of those decisions that makes such a difference to the finished look. It offers an elegant streamlined storage solution for shampoo bottles and also adds another layer of interest to the shower wall while keeping the overall look sophisticated. Bliss!
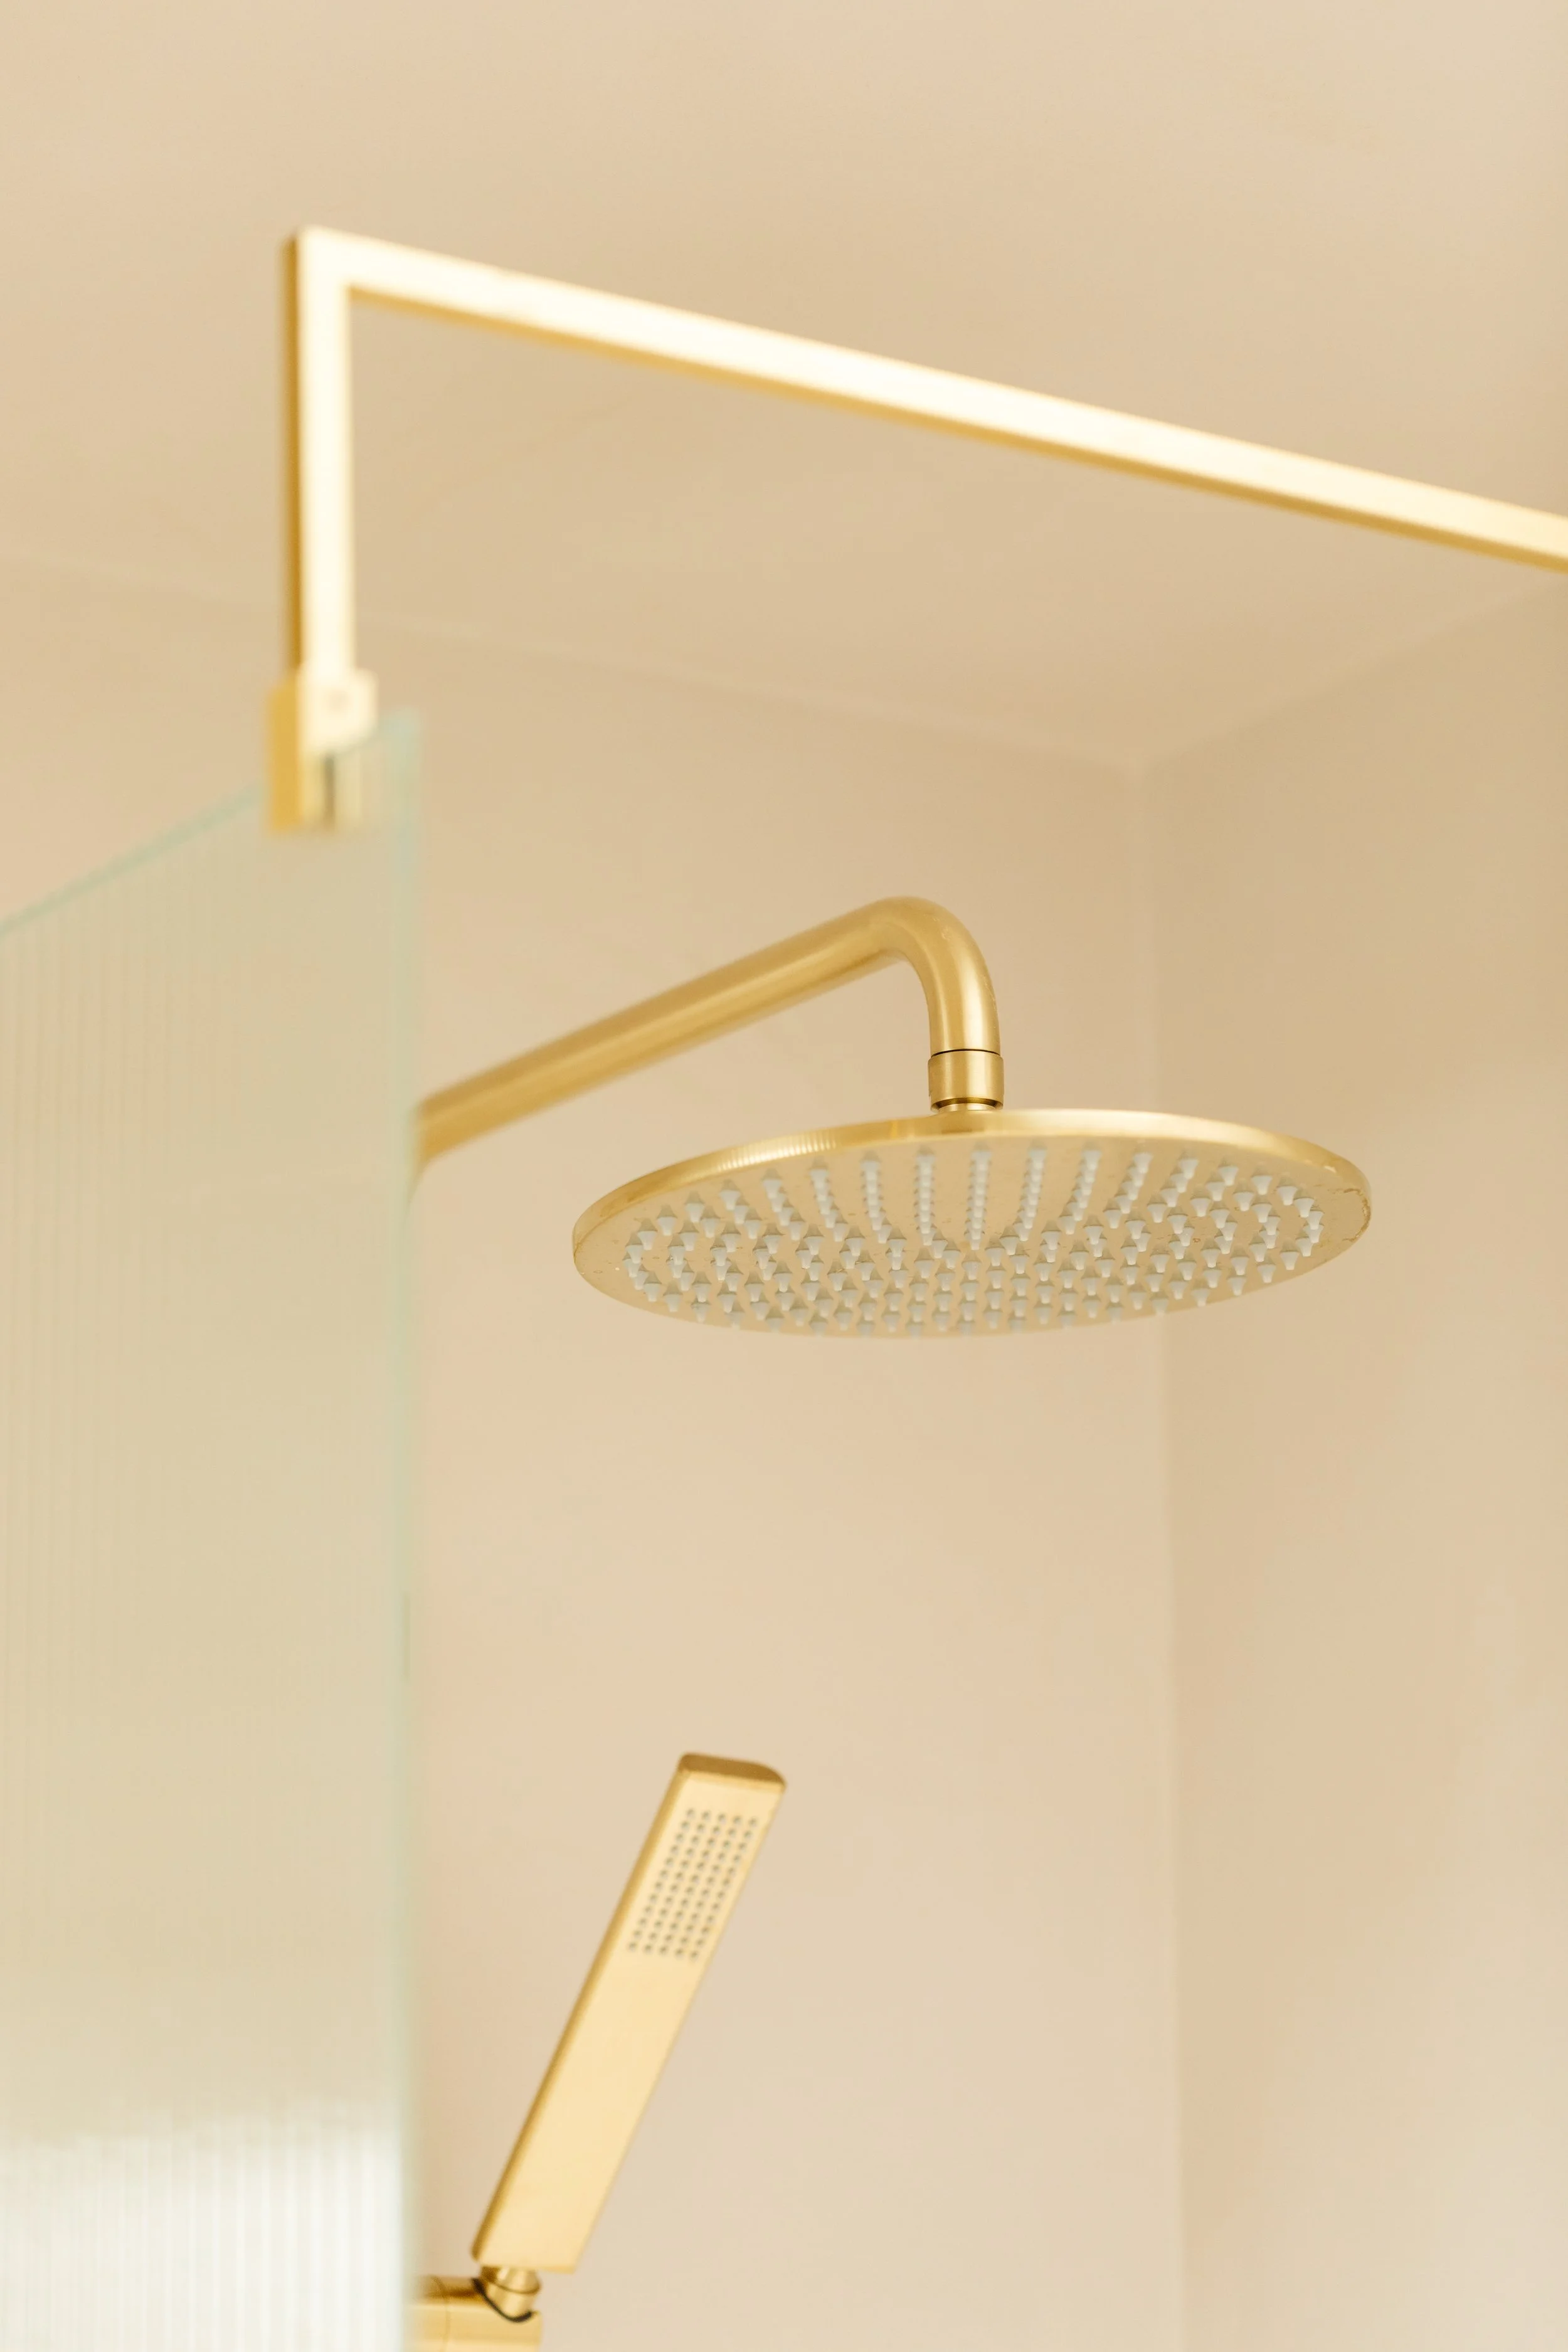
AFTER: The rain shower and detachable shower head provide luxury and practicality, respectively.
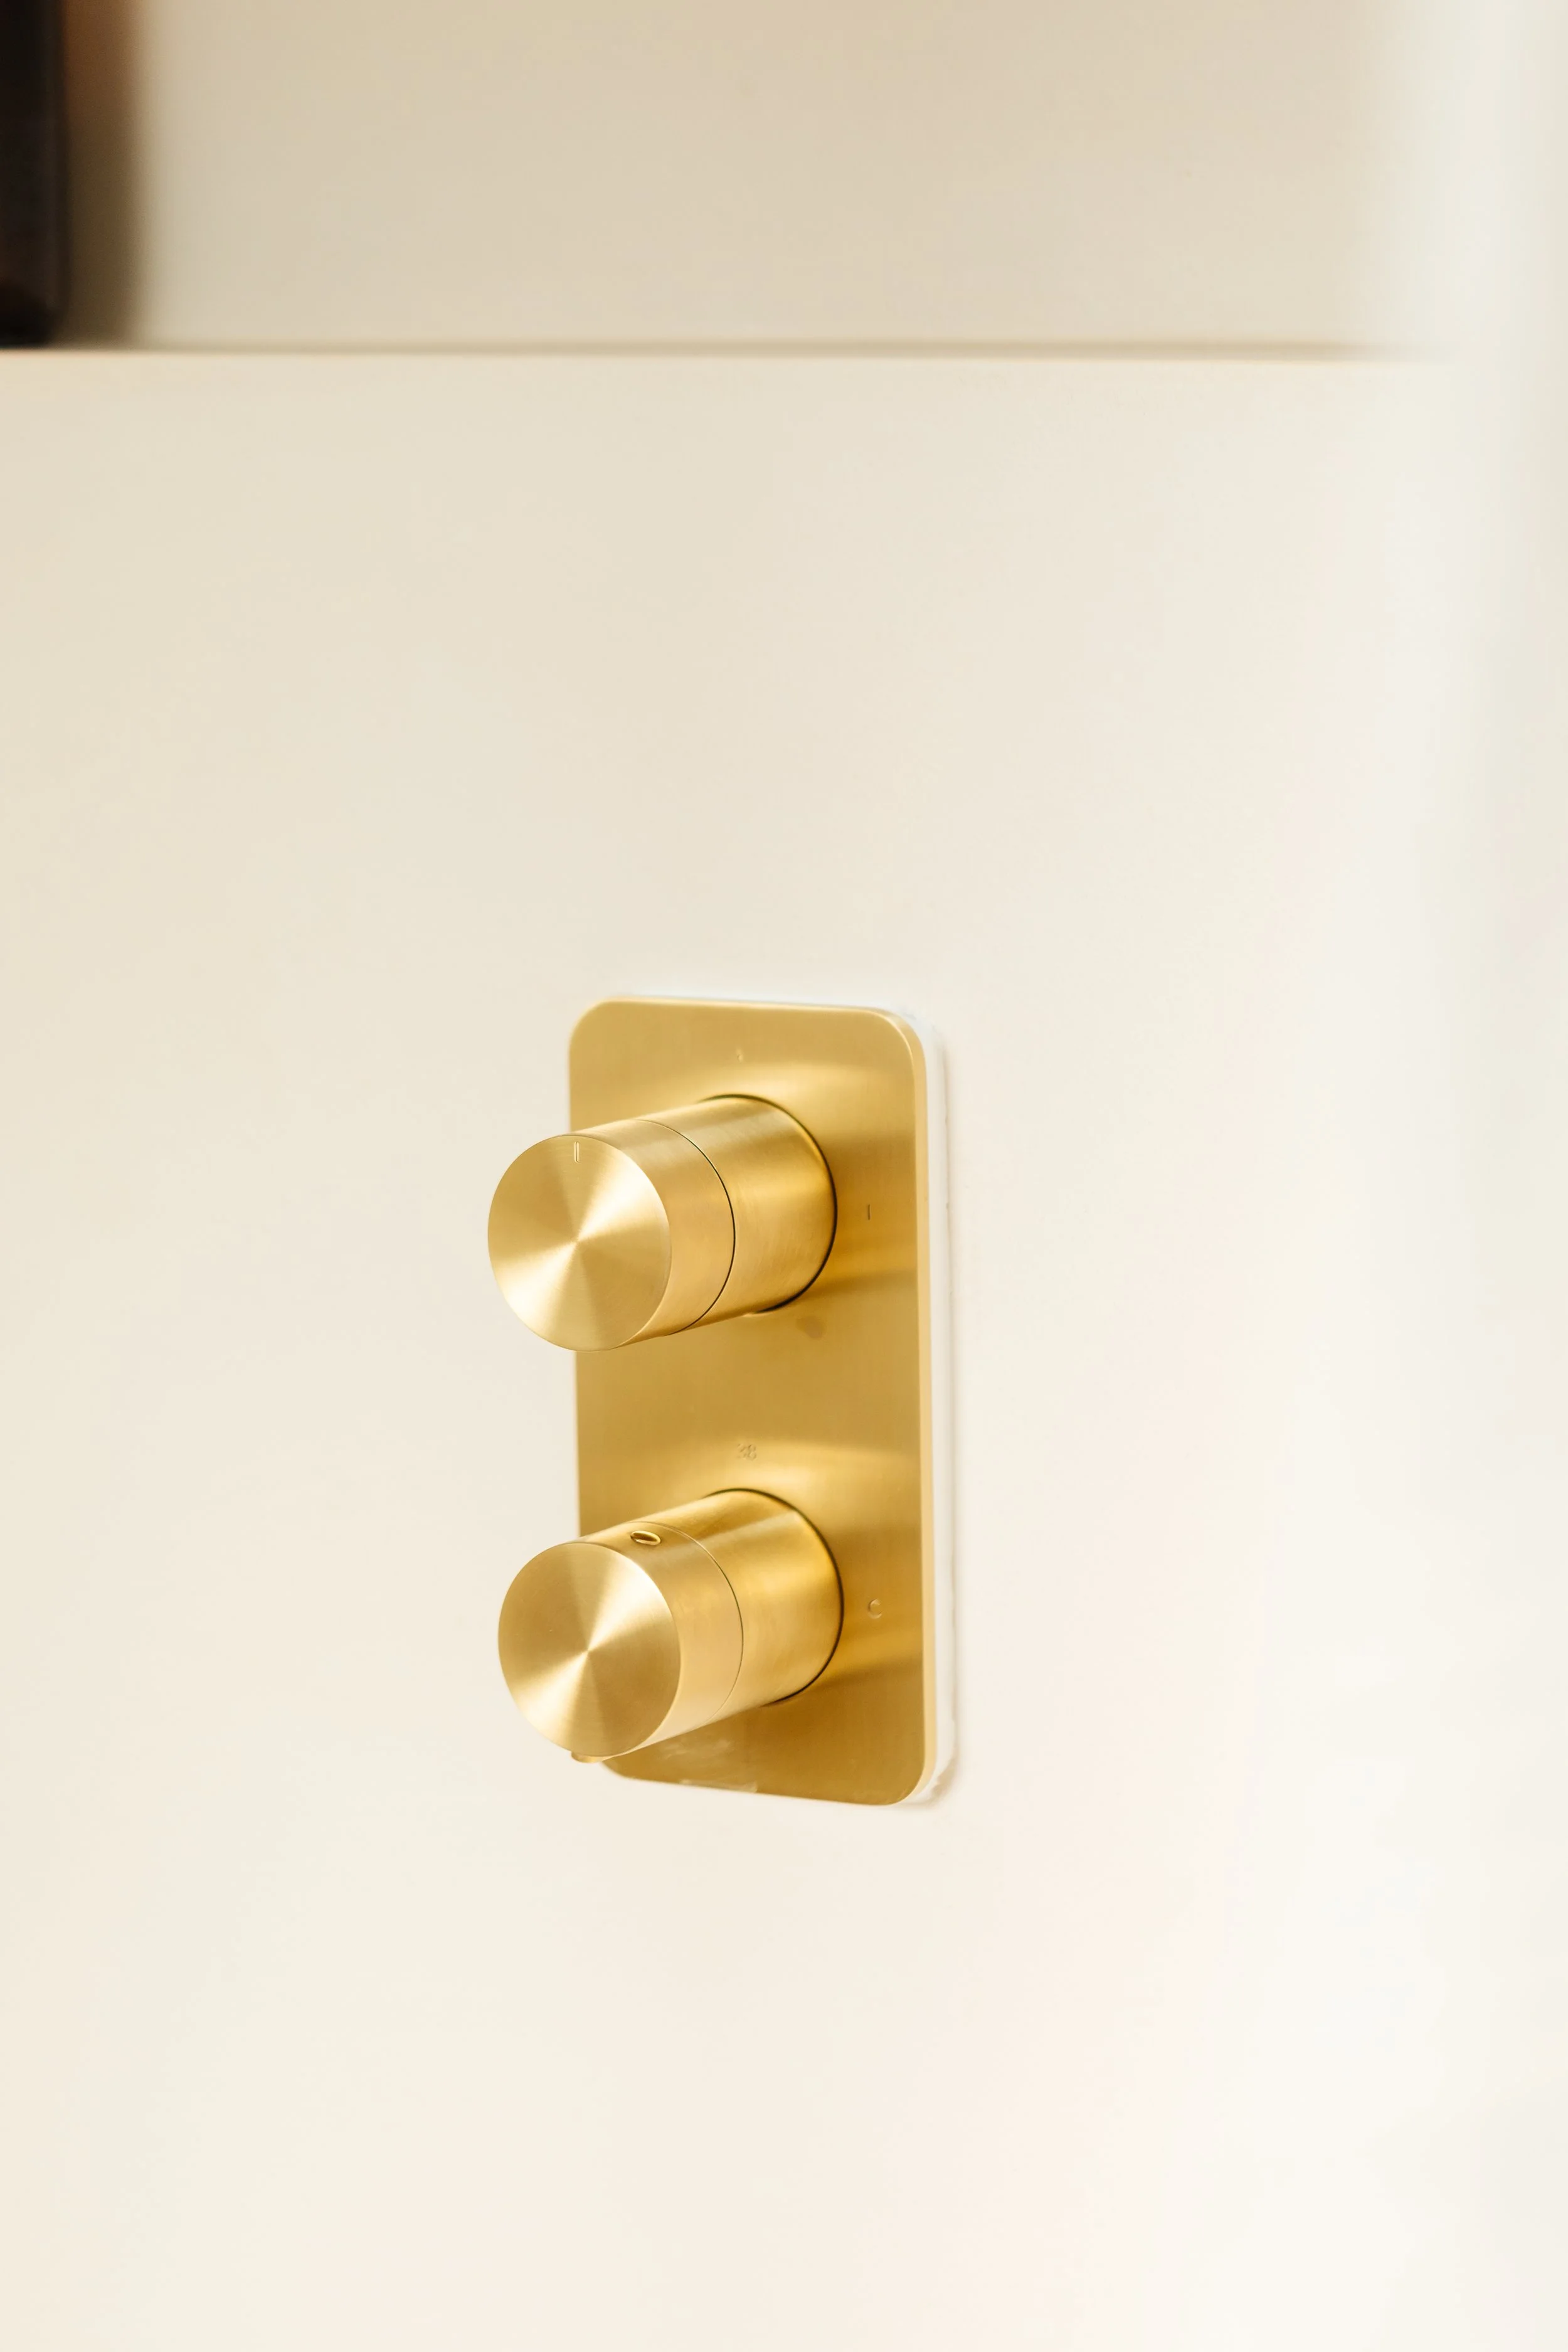
AFTER: Built-in tabs for that boutique hotel vibe.
Our BEST Loft BATHROOM SPACE SAVING SOLUTIONS
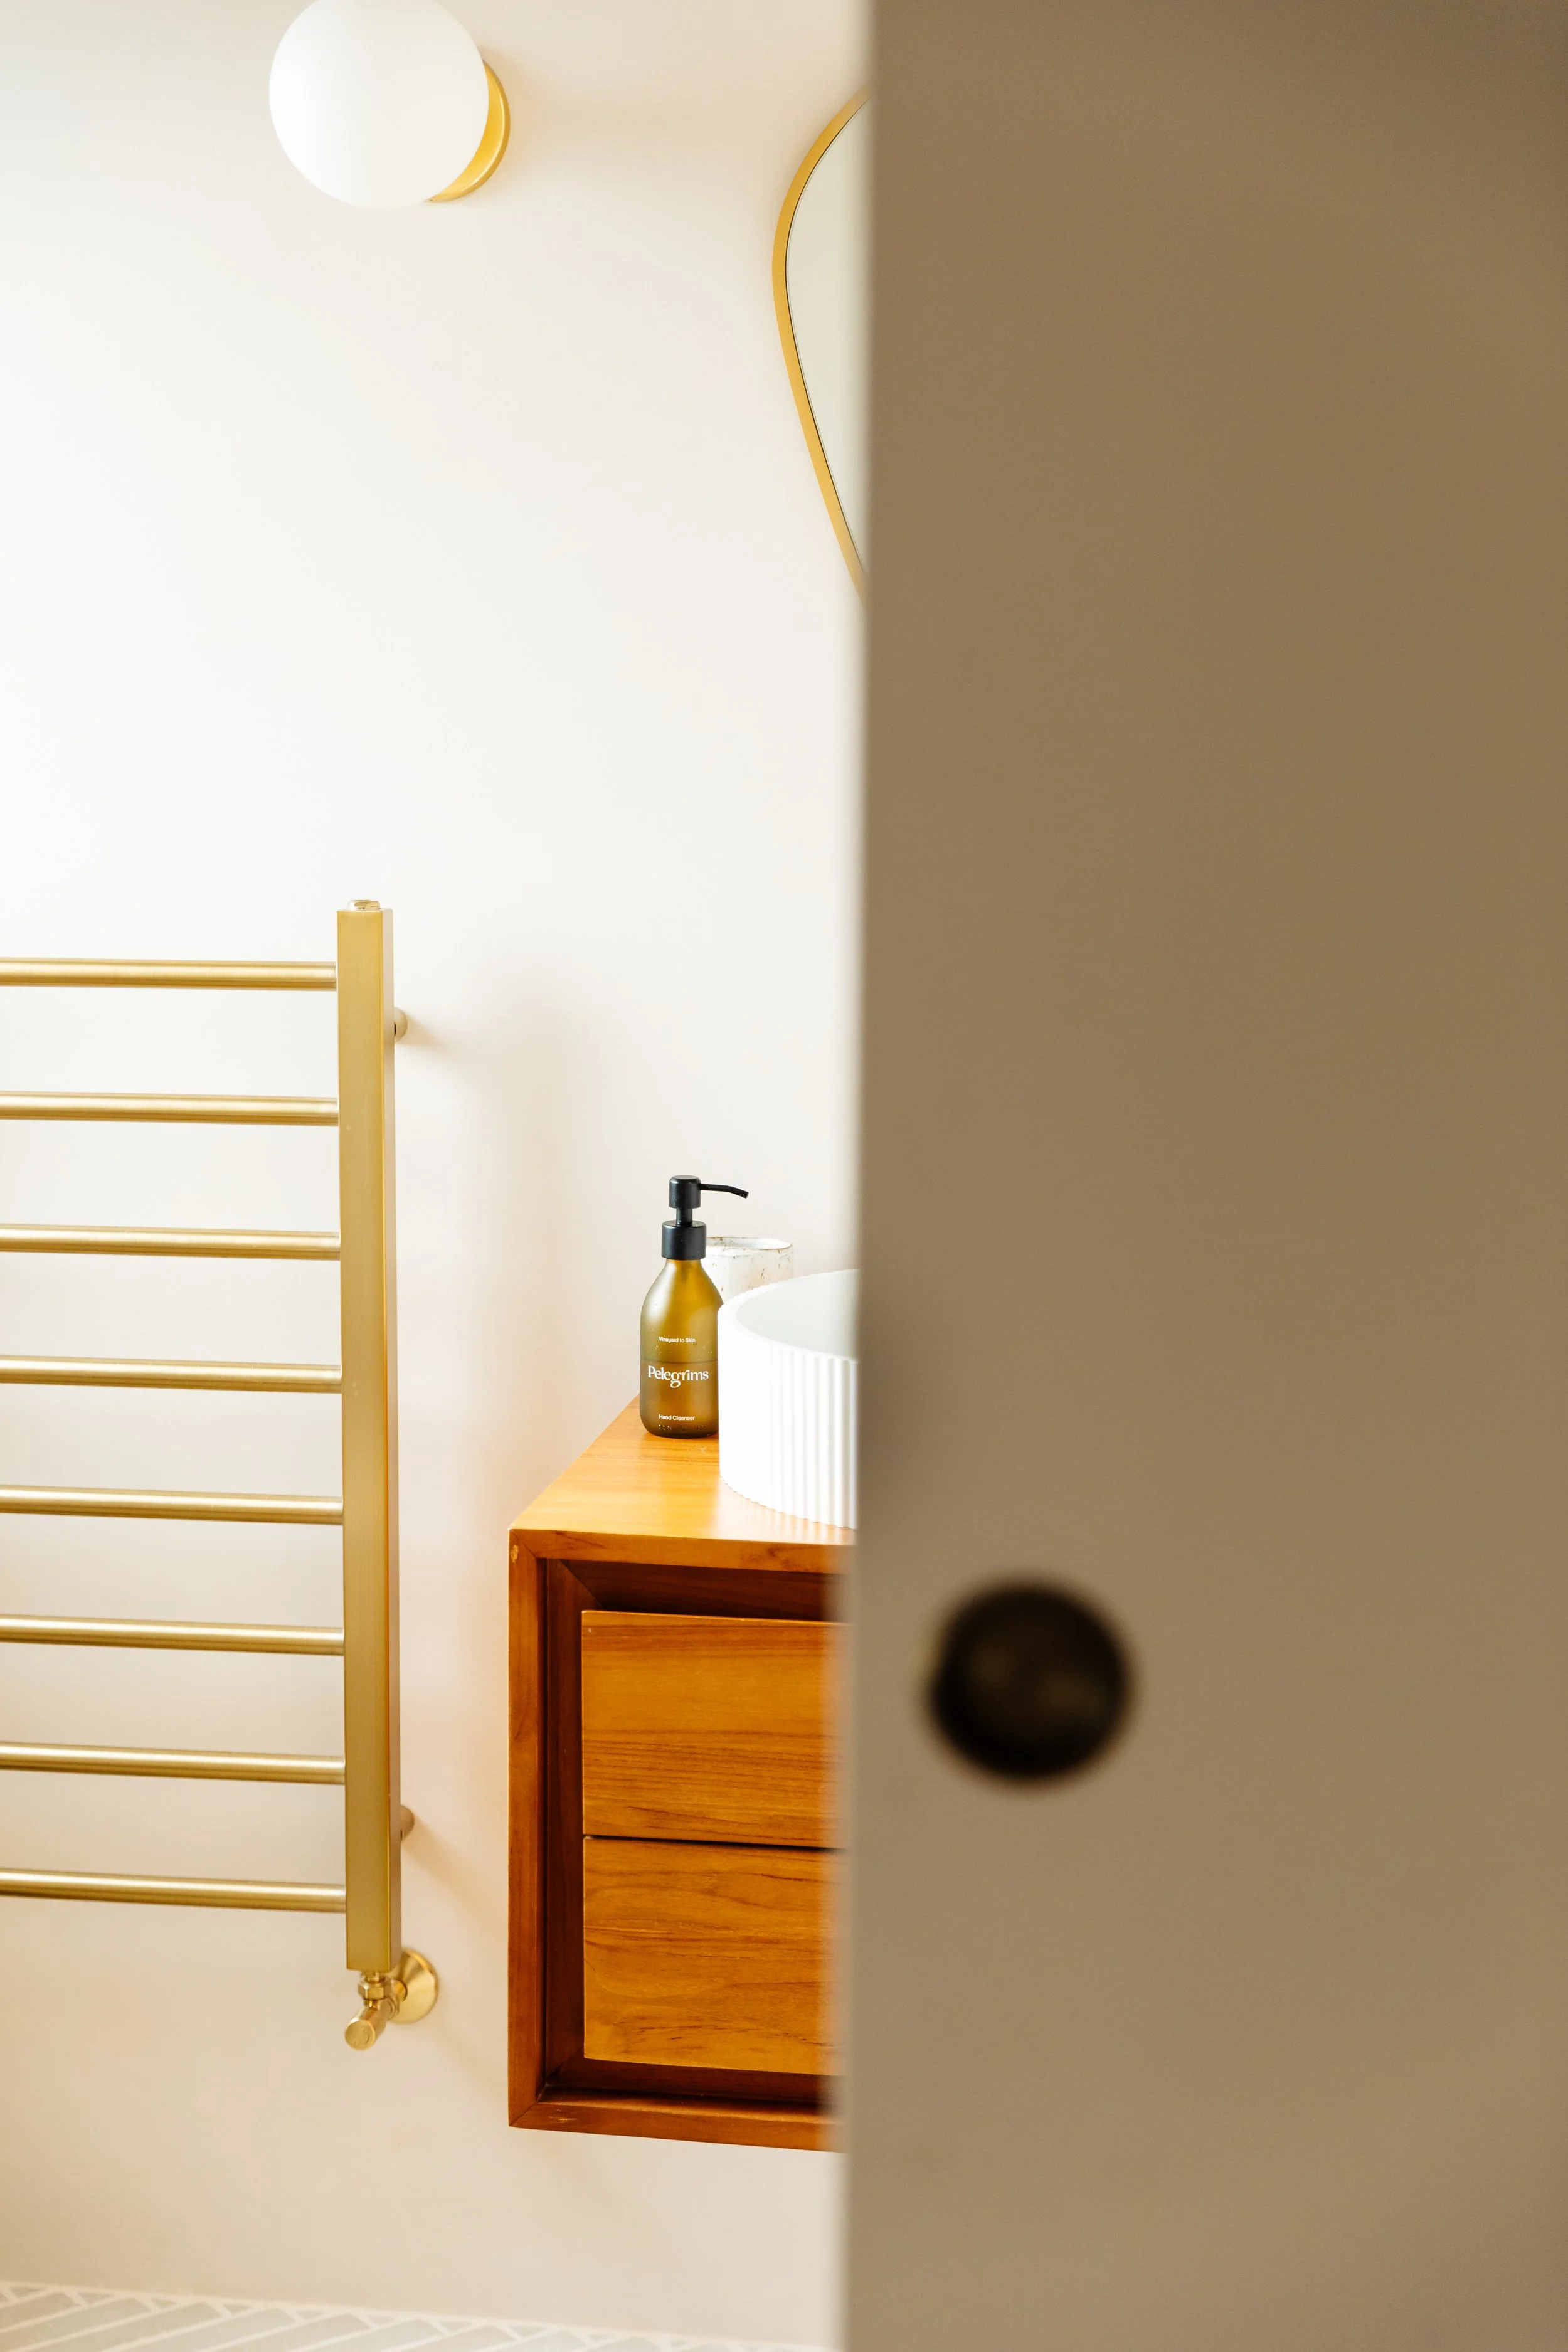
1/ Sliding doors for the win
Without a speckle of a doubt, choosing sliding doors was our best space saving decision!
You see, a traditional door opening into the bathroom would have eaten up precious floor space and seriously restricted our layout options. But having the door open out into the loft bedroom wasn't a great solution either; given the shape of the loft and the limited space, it would have created a whole new set of problems.
So, if space is at a premium or your loft conversion has awkward nooks and crannies, I'd strongly recommend exploring sliding doors with your builders, early in the planning process. Once your walls, plumbing and electrics are in place, changing the door configuration can become much more complicated and potentially much more expensive.
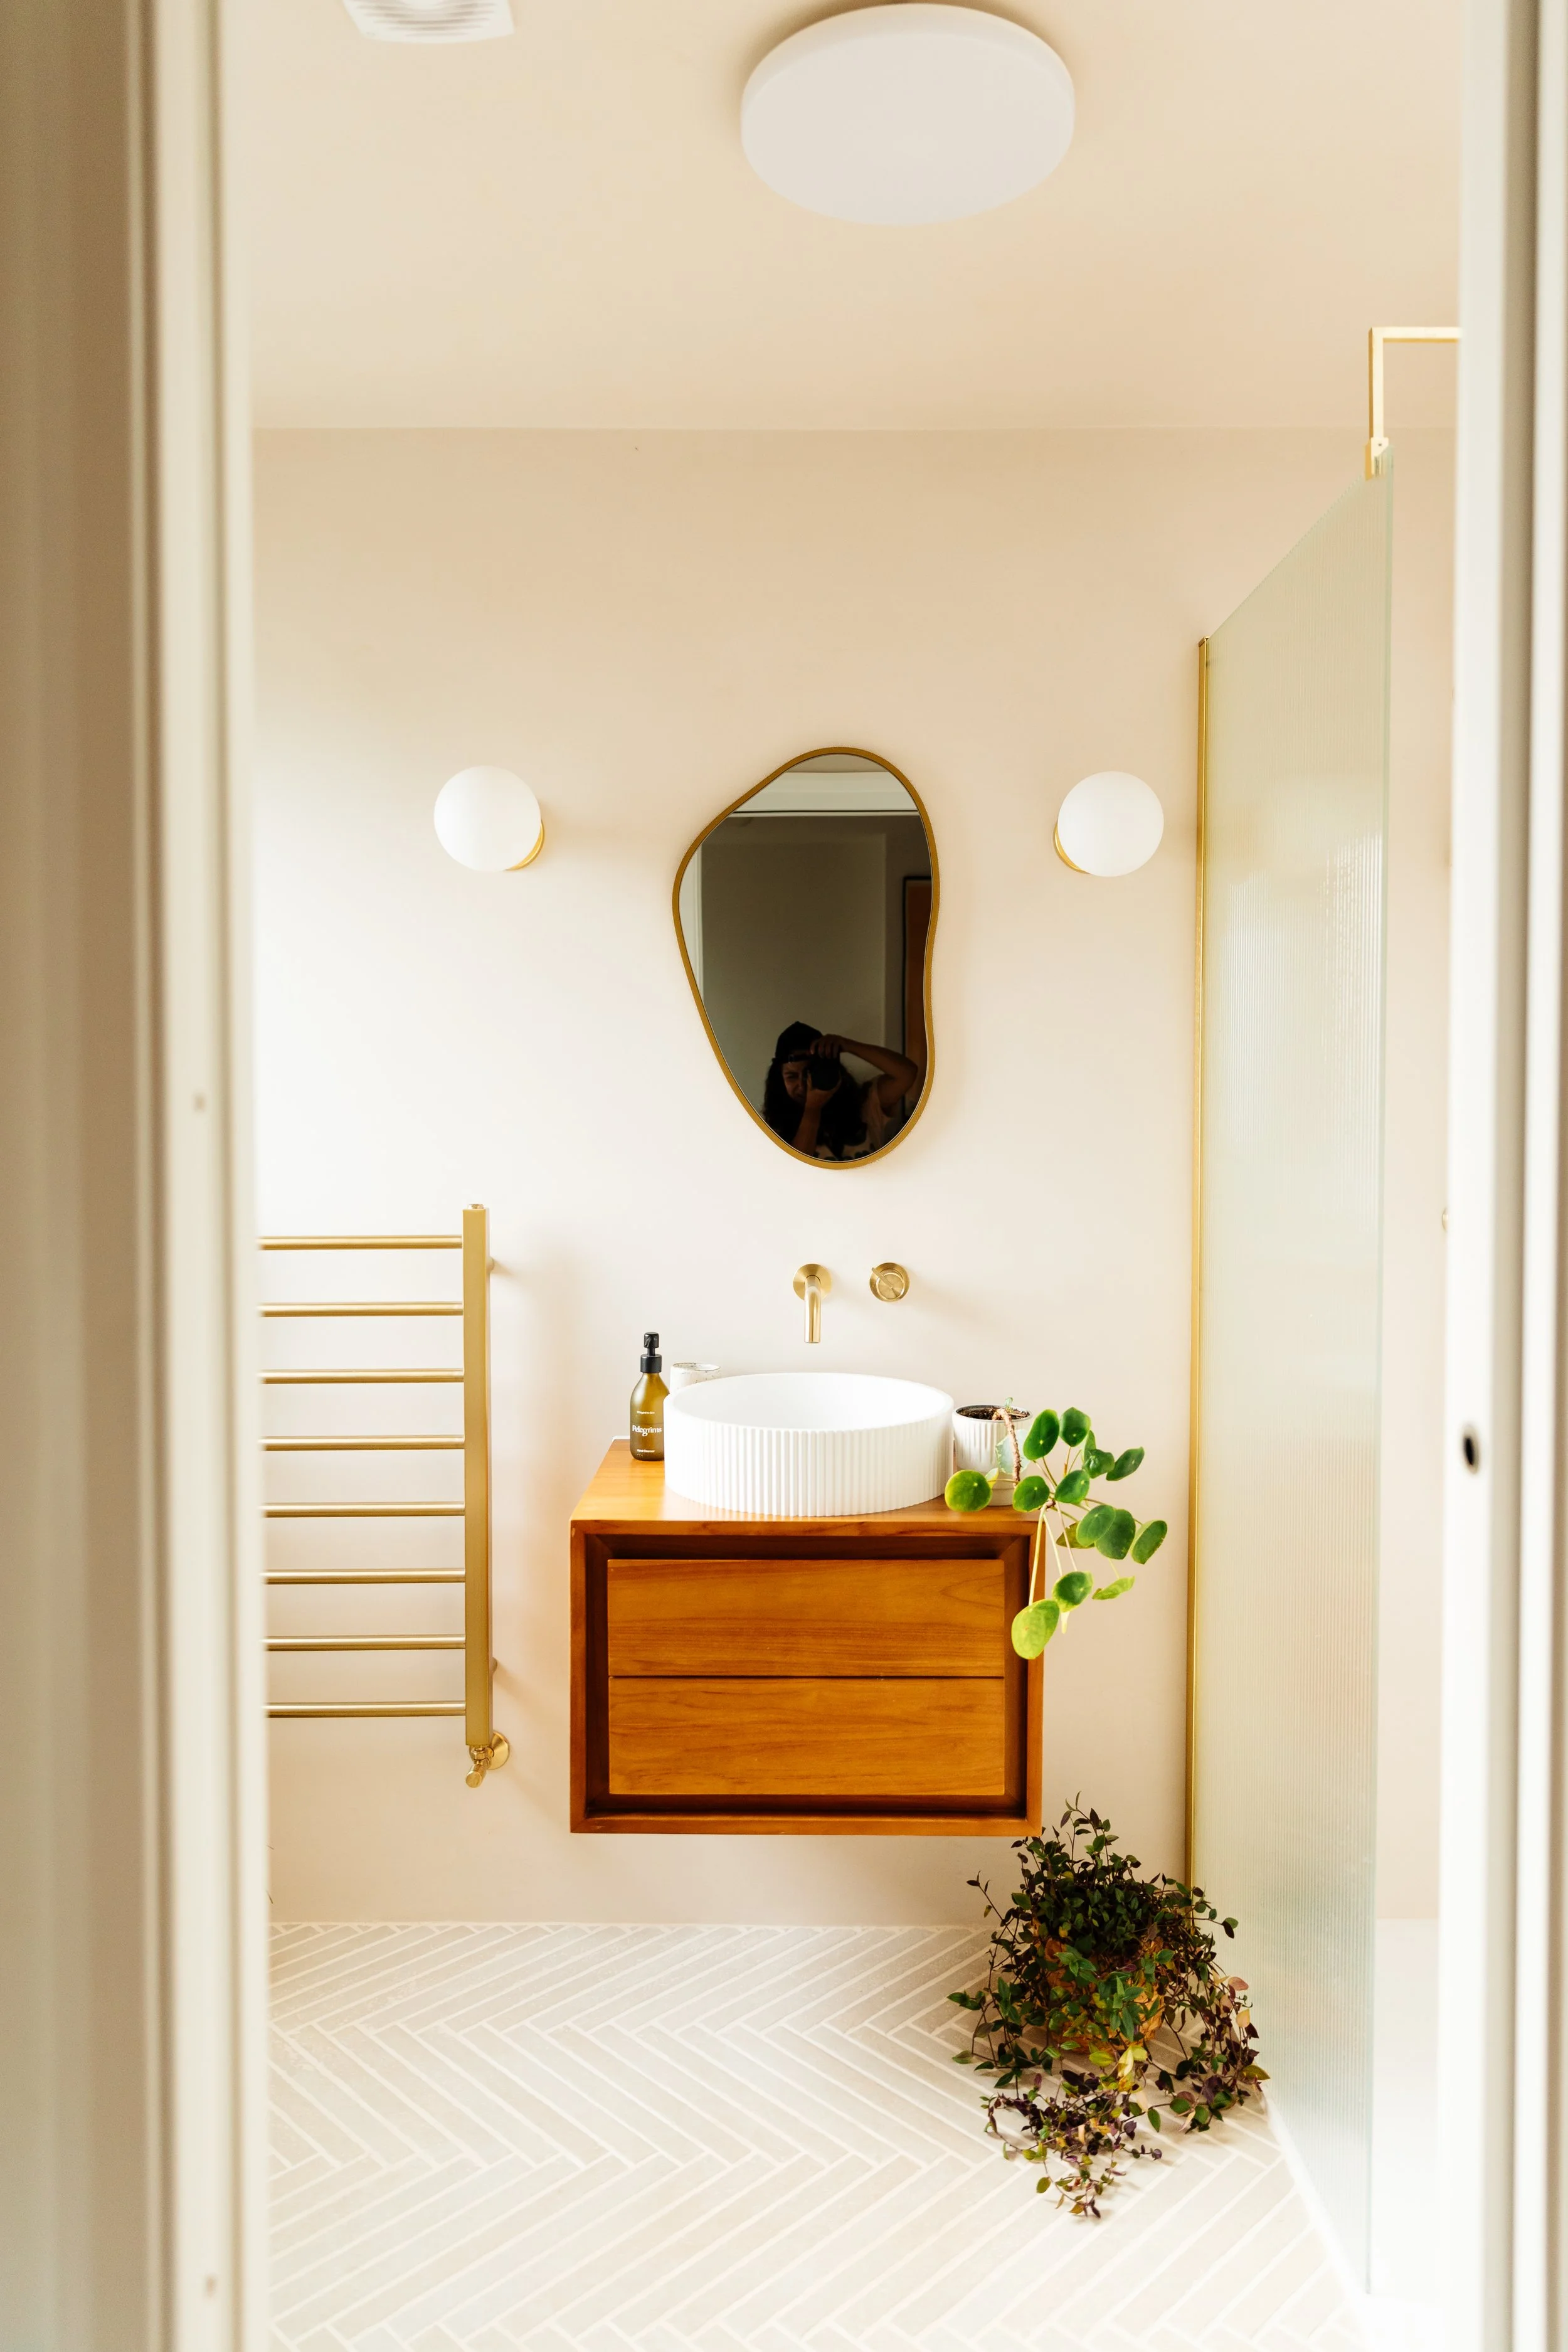
The floating vanity unit and the placement of the mirror made our small loft bathroom feel more spacious.
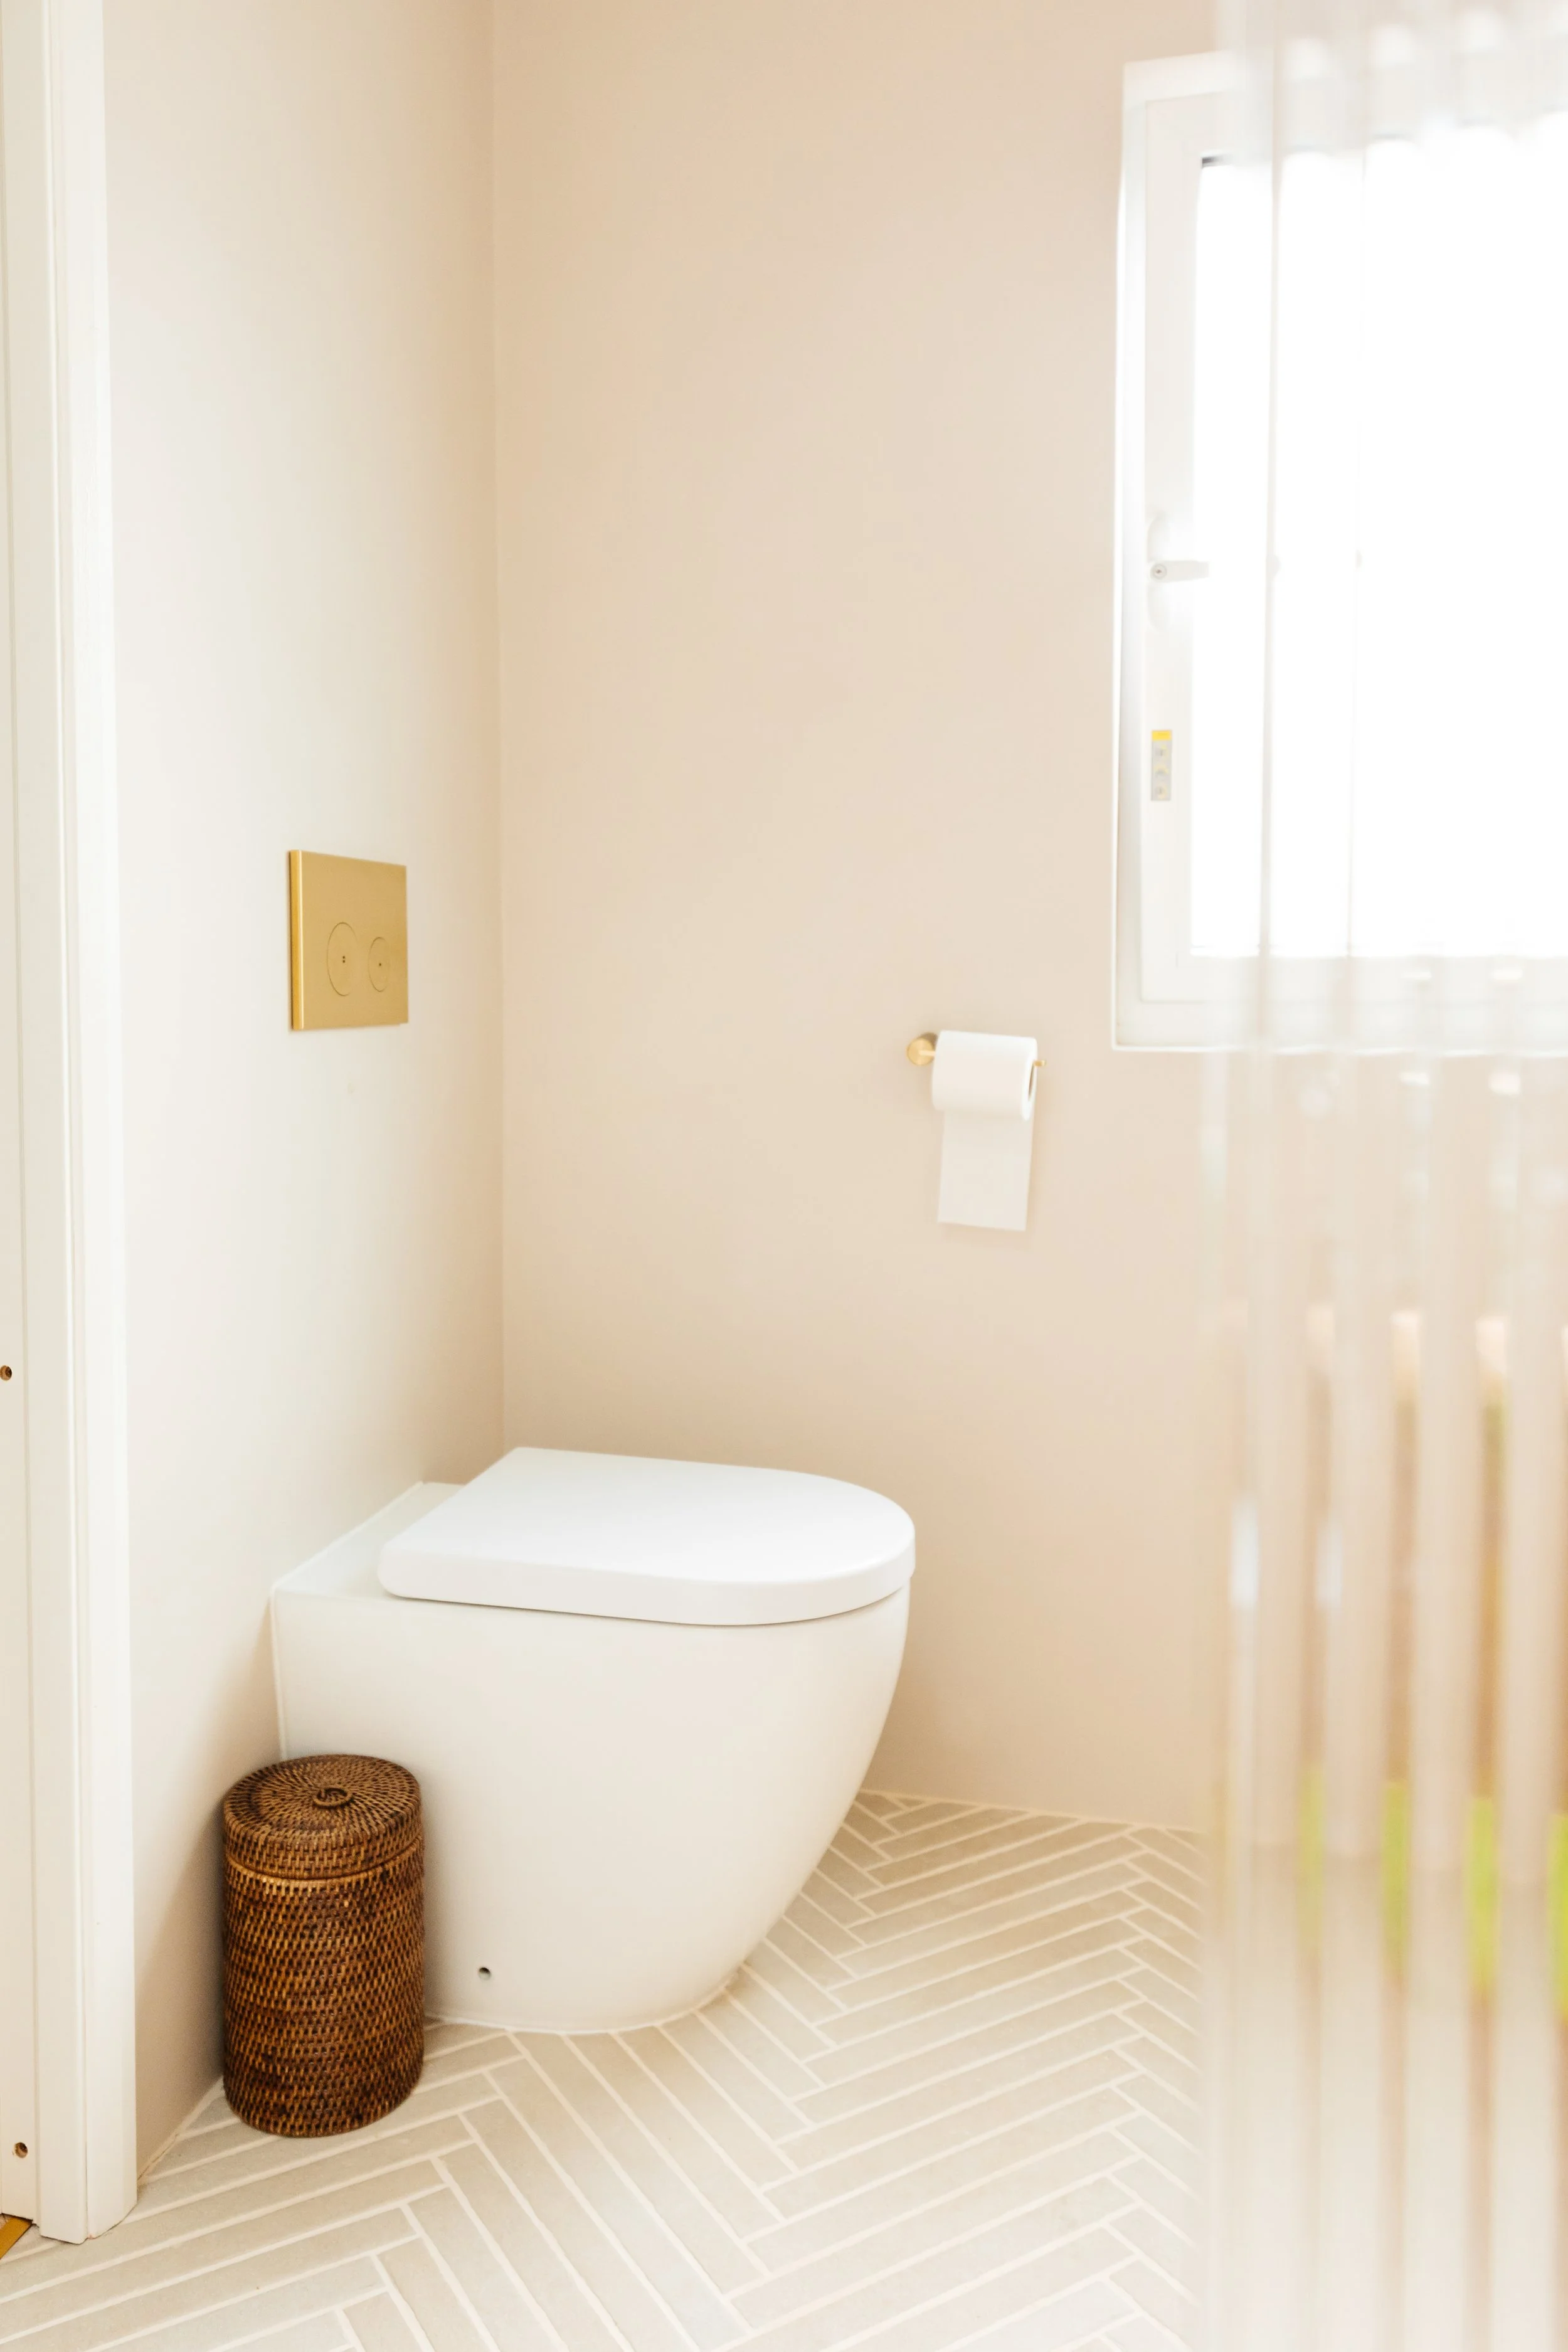
Having in-wall cistern toilet was another space saving strategy for our small loft bathroom.
2/ Wall hung vanity unit
After doing some research online, we realised that choosing a wall hung sink and storage unit, would free up floor space and give the illusion of a bigger bathroom. Seeing that every little helped in our quest to make the bathroom feel more spacious, we went for it!
The wall-hung storage unit from Kave Home fits the space perfectly, giving us all the storage we need without making the bathroom feel overcrowded. It also makes cleaning easier, which is a lovely bonus!
3/ A well positioned Mirror
Every bathroom needs a mirror, but in a small loft bathroom, where you position it can make a surprisingly big difference.
We positioned ours to reflect the loft space, helping to bounce light around the room and create the illusion of a bigger, more spacious bathroom.
It’s such a simple design trick, but it really works and it’s a lovely reminder that, when you're working with a small space, it’s often the tiniest details that can make the biggest impact!
4/ An in-wall cistern toilet
Not only does a concealed cistern toilet look more elevated and streamlined, but it's also a brilliant space-saving solution when you're working with a small loft bathroom.
By hiding the cistern inside the wall, we were able to create a cleaner, less cluttered look while making the bathroom feel that little bit more spacious.
Like the raised sink unit, this arrangement is both practical and beautiful and a MUST-HAVE if you’re after that boutique finish in a small loft bathroom space!
Floor Tiles, wall & ceiling treatment
The thing I was clearest about in my mind from the outset was that I wanted micro cemented walls and ceilings throughout the loft bathroom.
I LOVE the look and feel of this finish - it’s so elegant and lush PLUS it’s a waterproof solution too (with the right preparation). Once the micro cementing was done, I knew I’d made the right choice!
We went for a softly textured, warm off-white finish with the idea of allowing the light to bounce around, making the bathroom feel bigger than it actually is.
A lovely and much hoped for side effect of this wall and ceiling treatment was how calming it is for the senses - no busy tile pattern, not mix of wall and tile to deal with visually, just a seamless, continuous feeling throughout.
That said, we did opt for textured stone tiles on the floor, to give the bathroom an added dimension, visual interest and texture; it also helped avoid it looking sterile.
BTW I share some behind the scenes of the micro cementing process in this post on Instagram HERE.
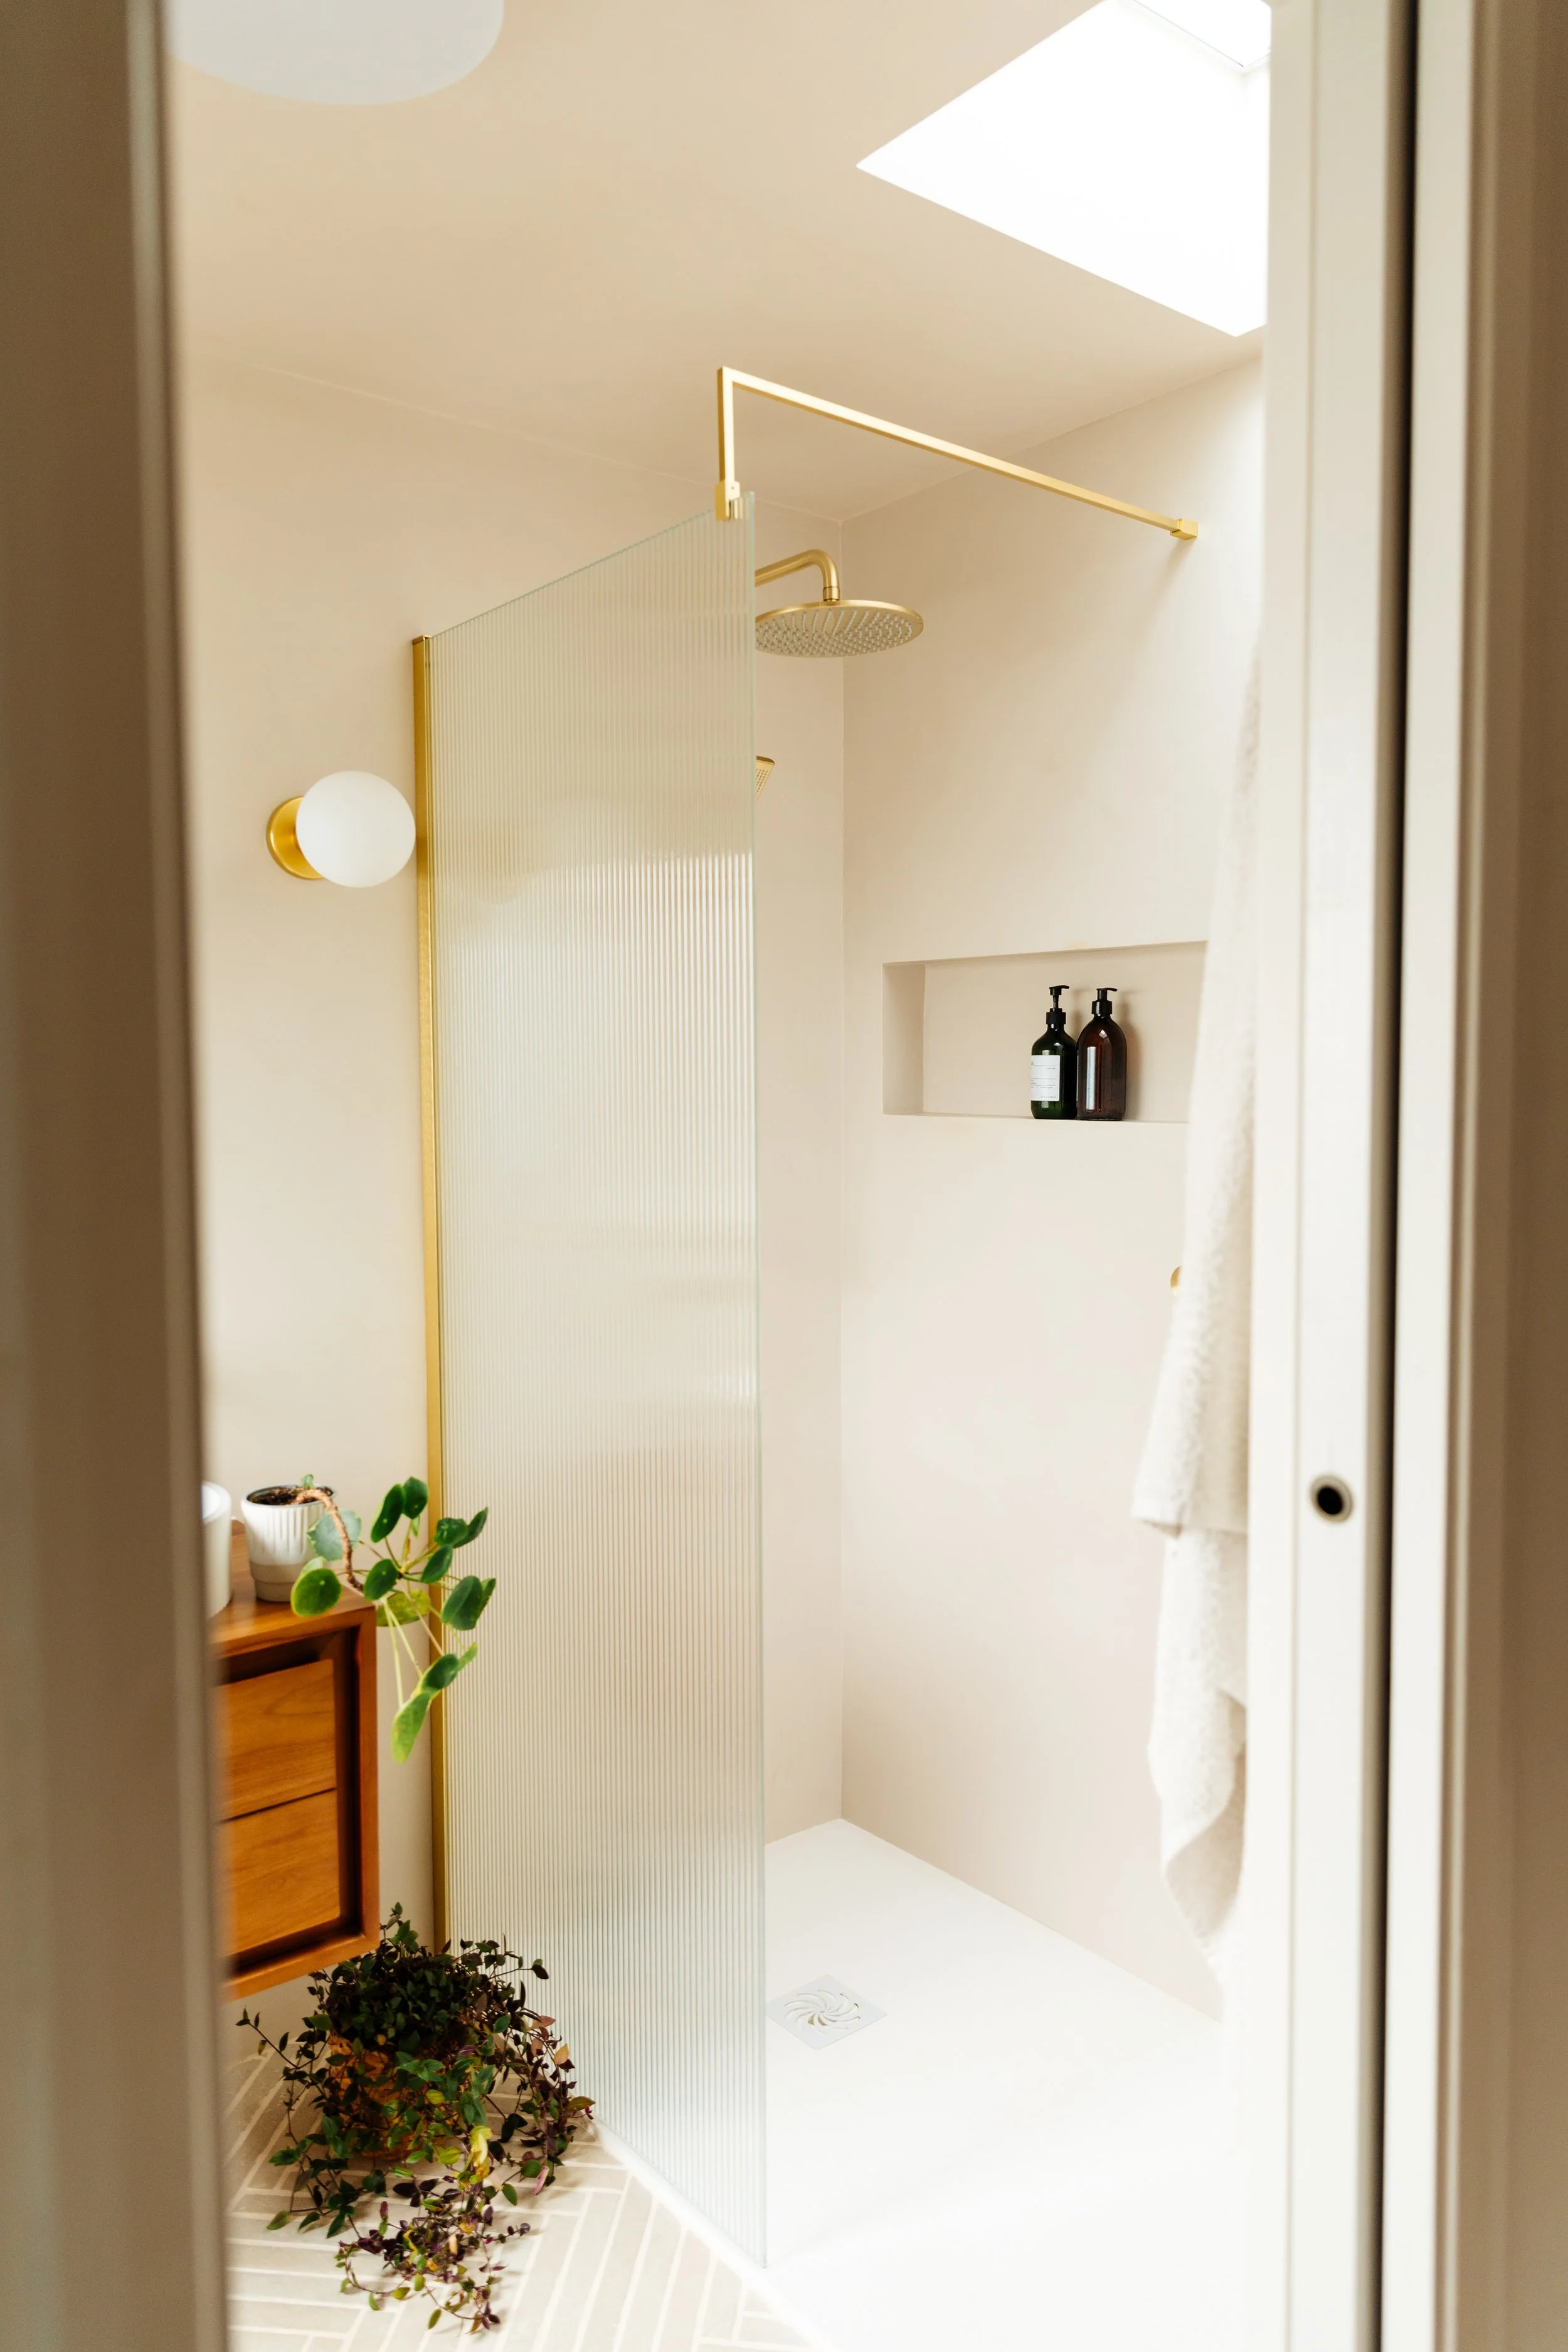
The seamless wall and ceiling feeling created by the micro cement finish is my favourite aspect of the entire loft bathroom.
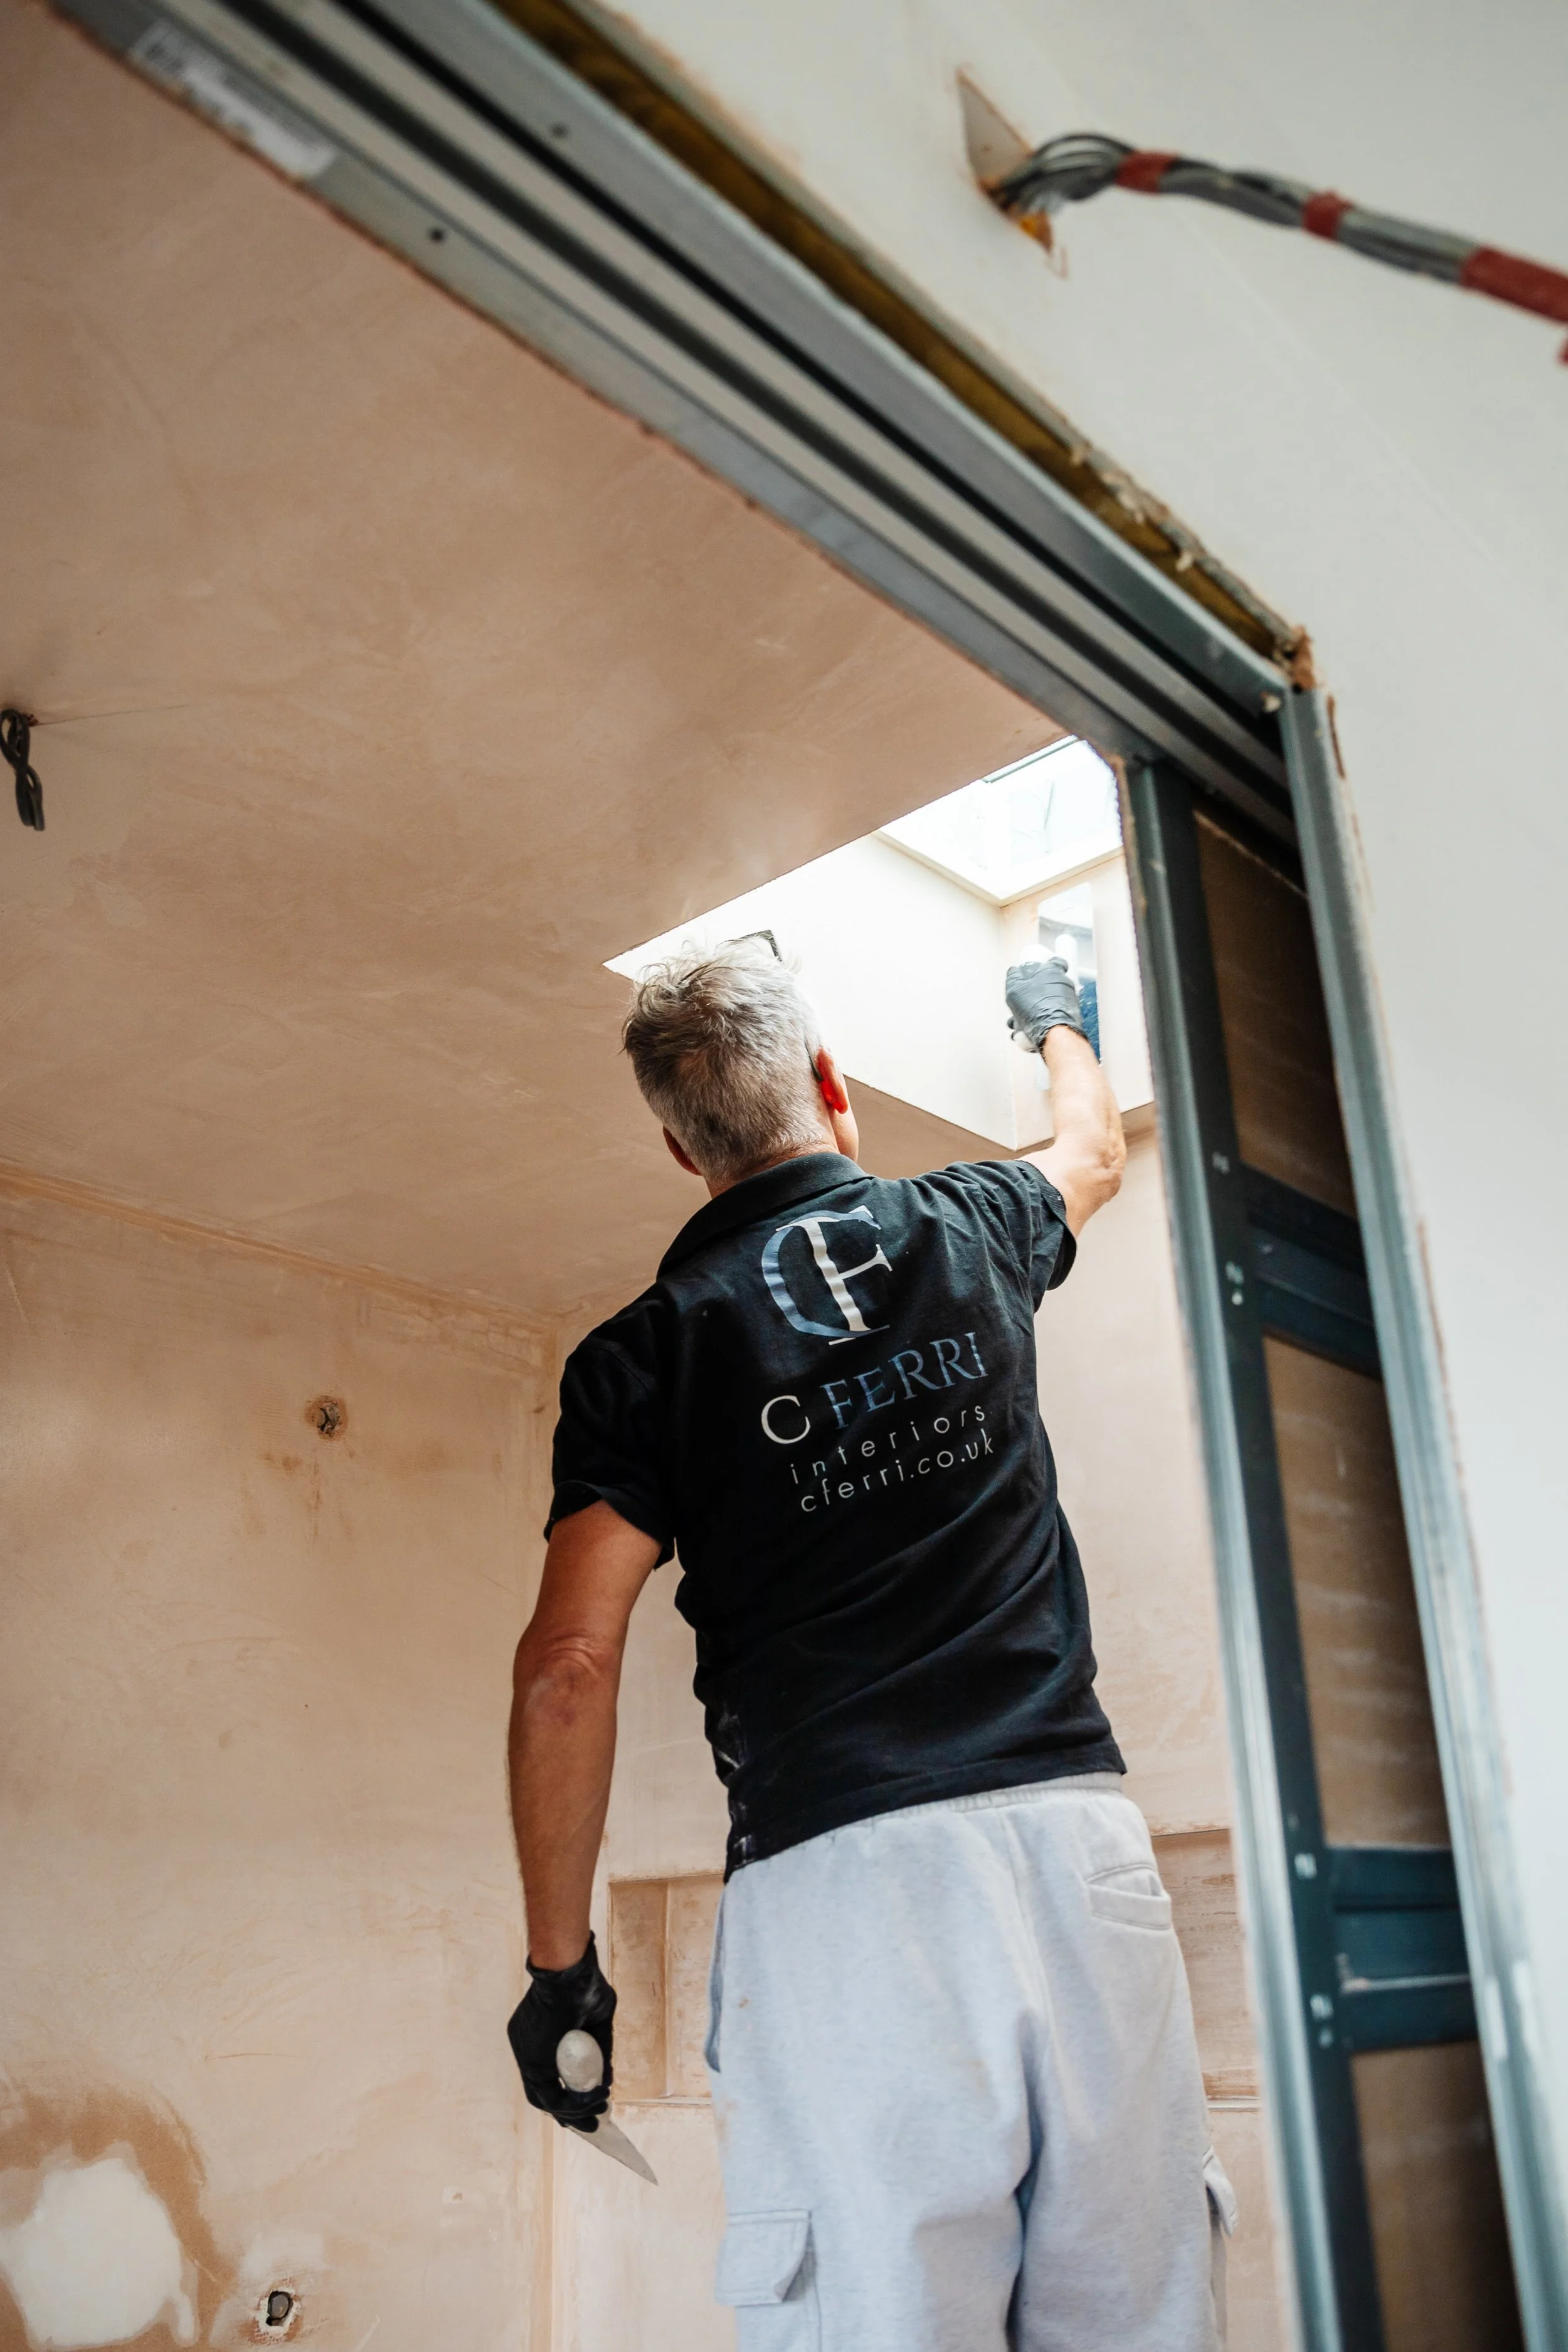
Micro cementing the walls and ceiling of our loft bathroom was an investment, but so worth it!
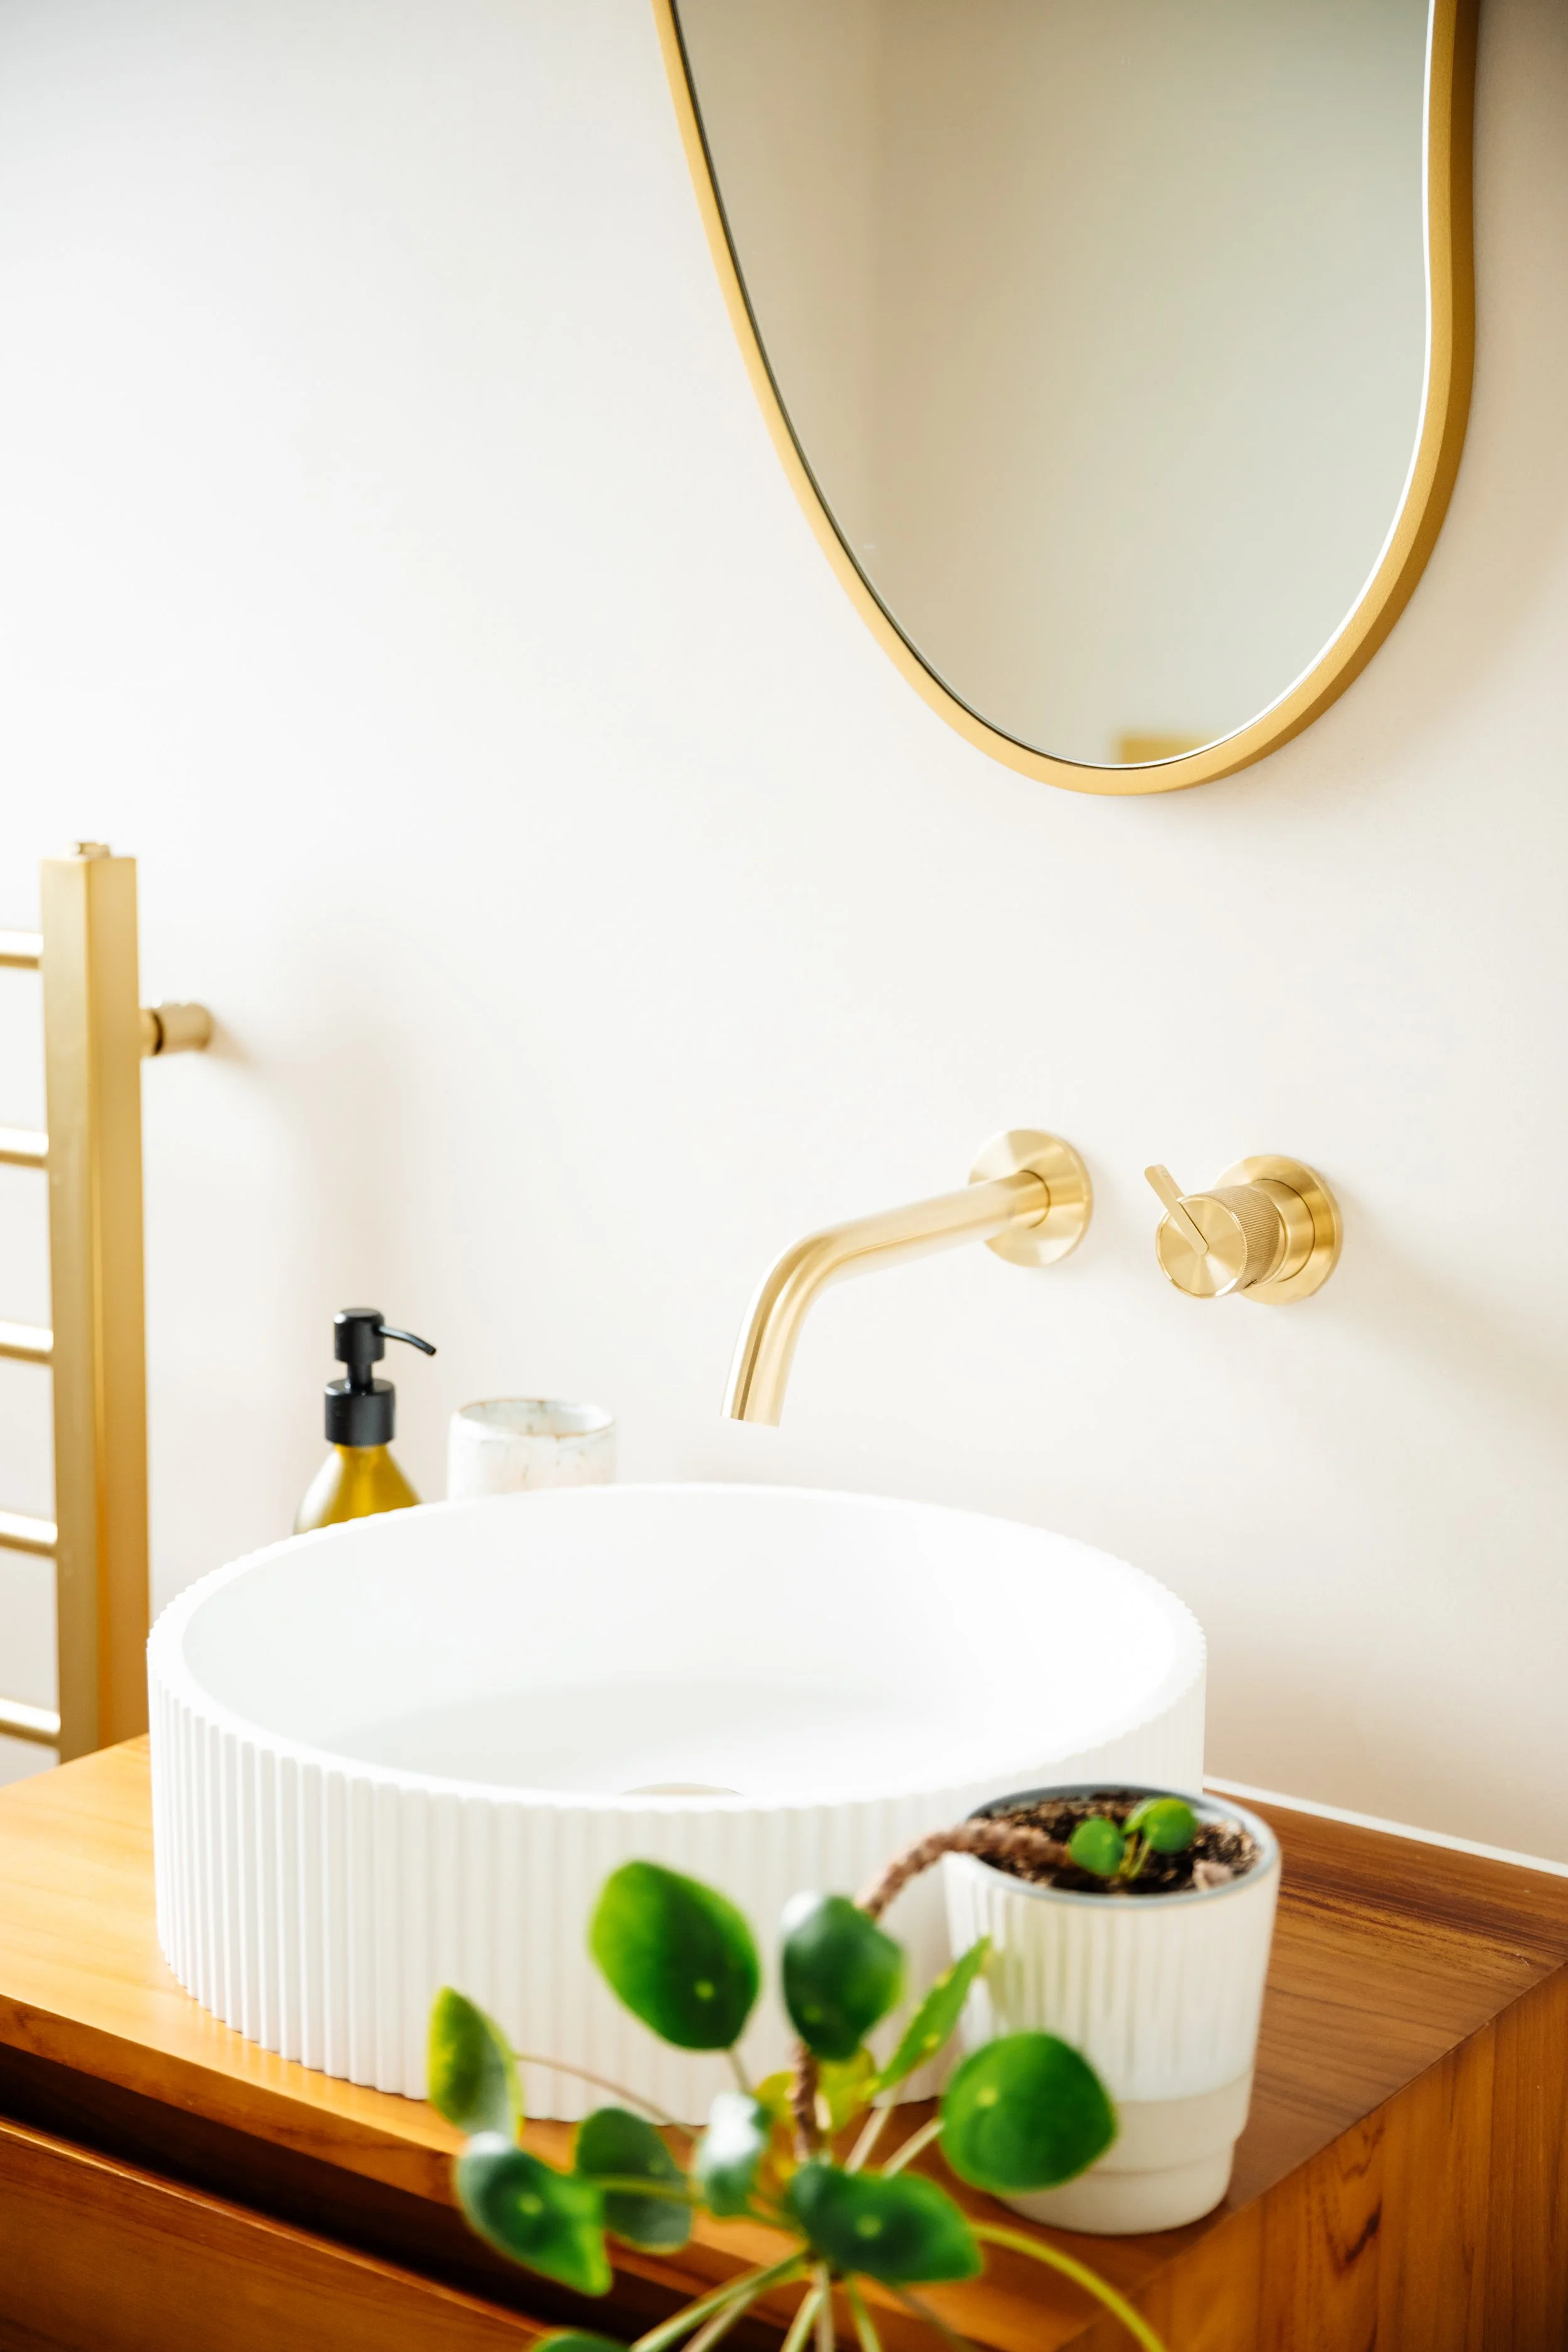
LIGHTING AND other FINISHING TOUCHES
Apart from the skylight above the shower, we added one more window to our loft bathroom, giving us both much-needed ventilation and an extra source of natural light.
Originally, the window had been positioned above the toilet, but I chose to move it as close to the sink as possible instead. It means that when you’re getting ready in the morning, you’re surrounded by beautiful natural light, which is exactly what you want when you're doing your make-up and hair.
For the darker months and evenings, we also added two gorgeous Scandi-inspired round wall lamps on either side of the mirror. They provide a lovely, softer glow and add another layer of warmth to the space.
For the ceiling, we chose a minimal, shallow-profile light that worked with the lower loft ceiling; in a loft space like ours, even something as seemingly simple as choosing the right light fitting can make a surprisingly big difference.
We added plenty of plants, a gorgeous wicker basket (see image below) instead of a traditional bathroom bin, and ceramic holders for toothbrushes and other everyday essentials.
For the hardware, we chose a warm brass finish throughout, including the heated towel rail. This was a deliberate choice because I didn't want the bathroom to feel cold or clinical. The brass, natural textures and greenery bring warmth and softness to quite a minimal space.
It's these little finishing touches — the lighting, natural materials, plants and warm hardware — that really helped turn our loft bathroom into somewhere that feels warm, inviting and a little bit luxurious.
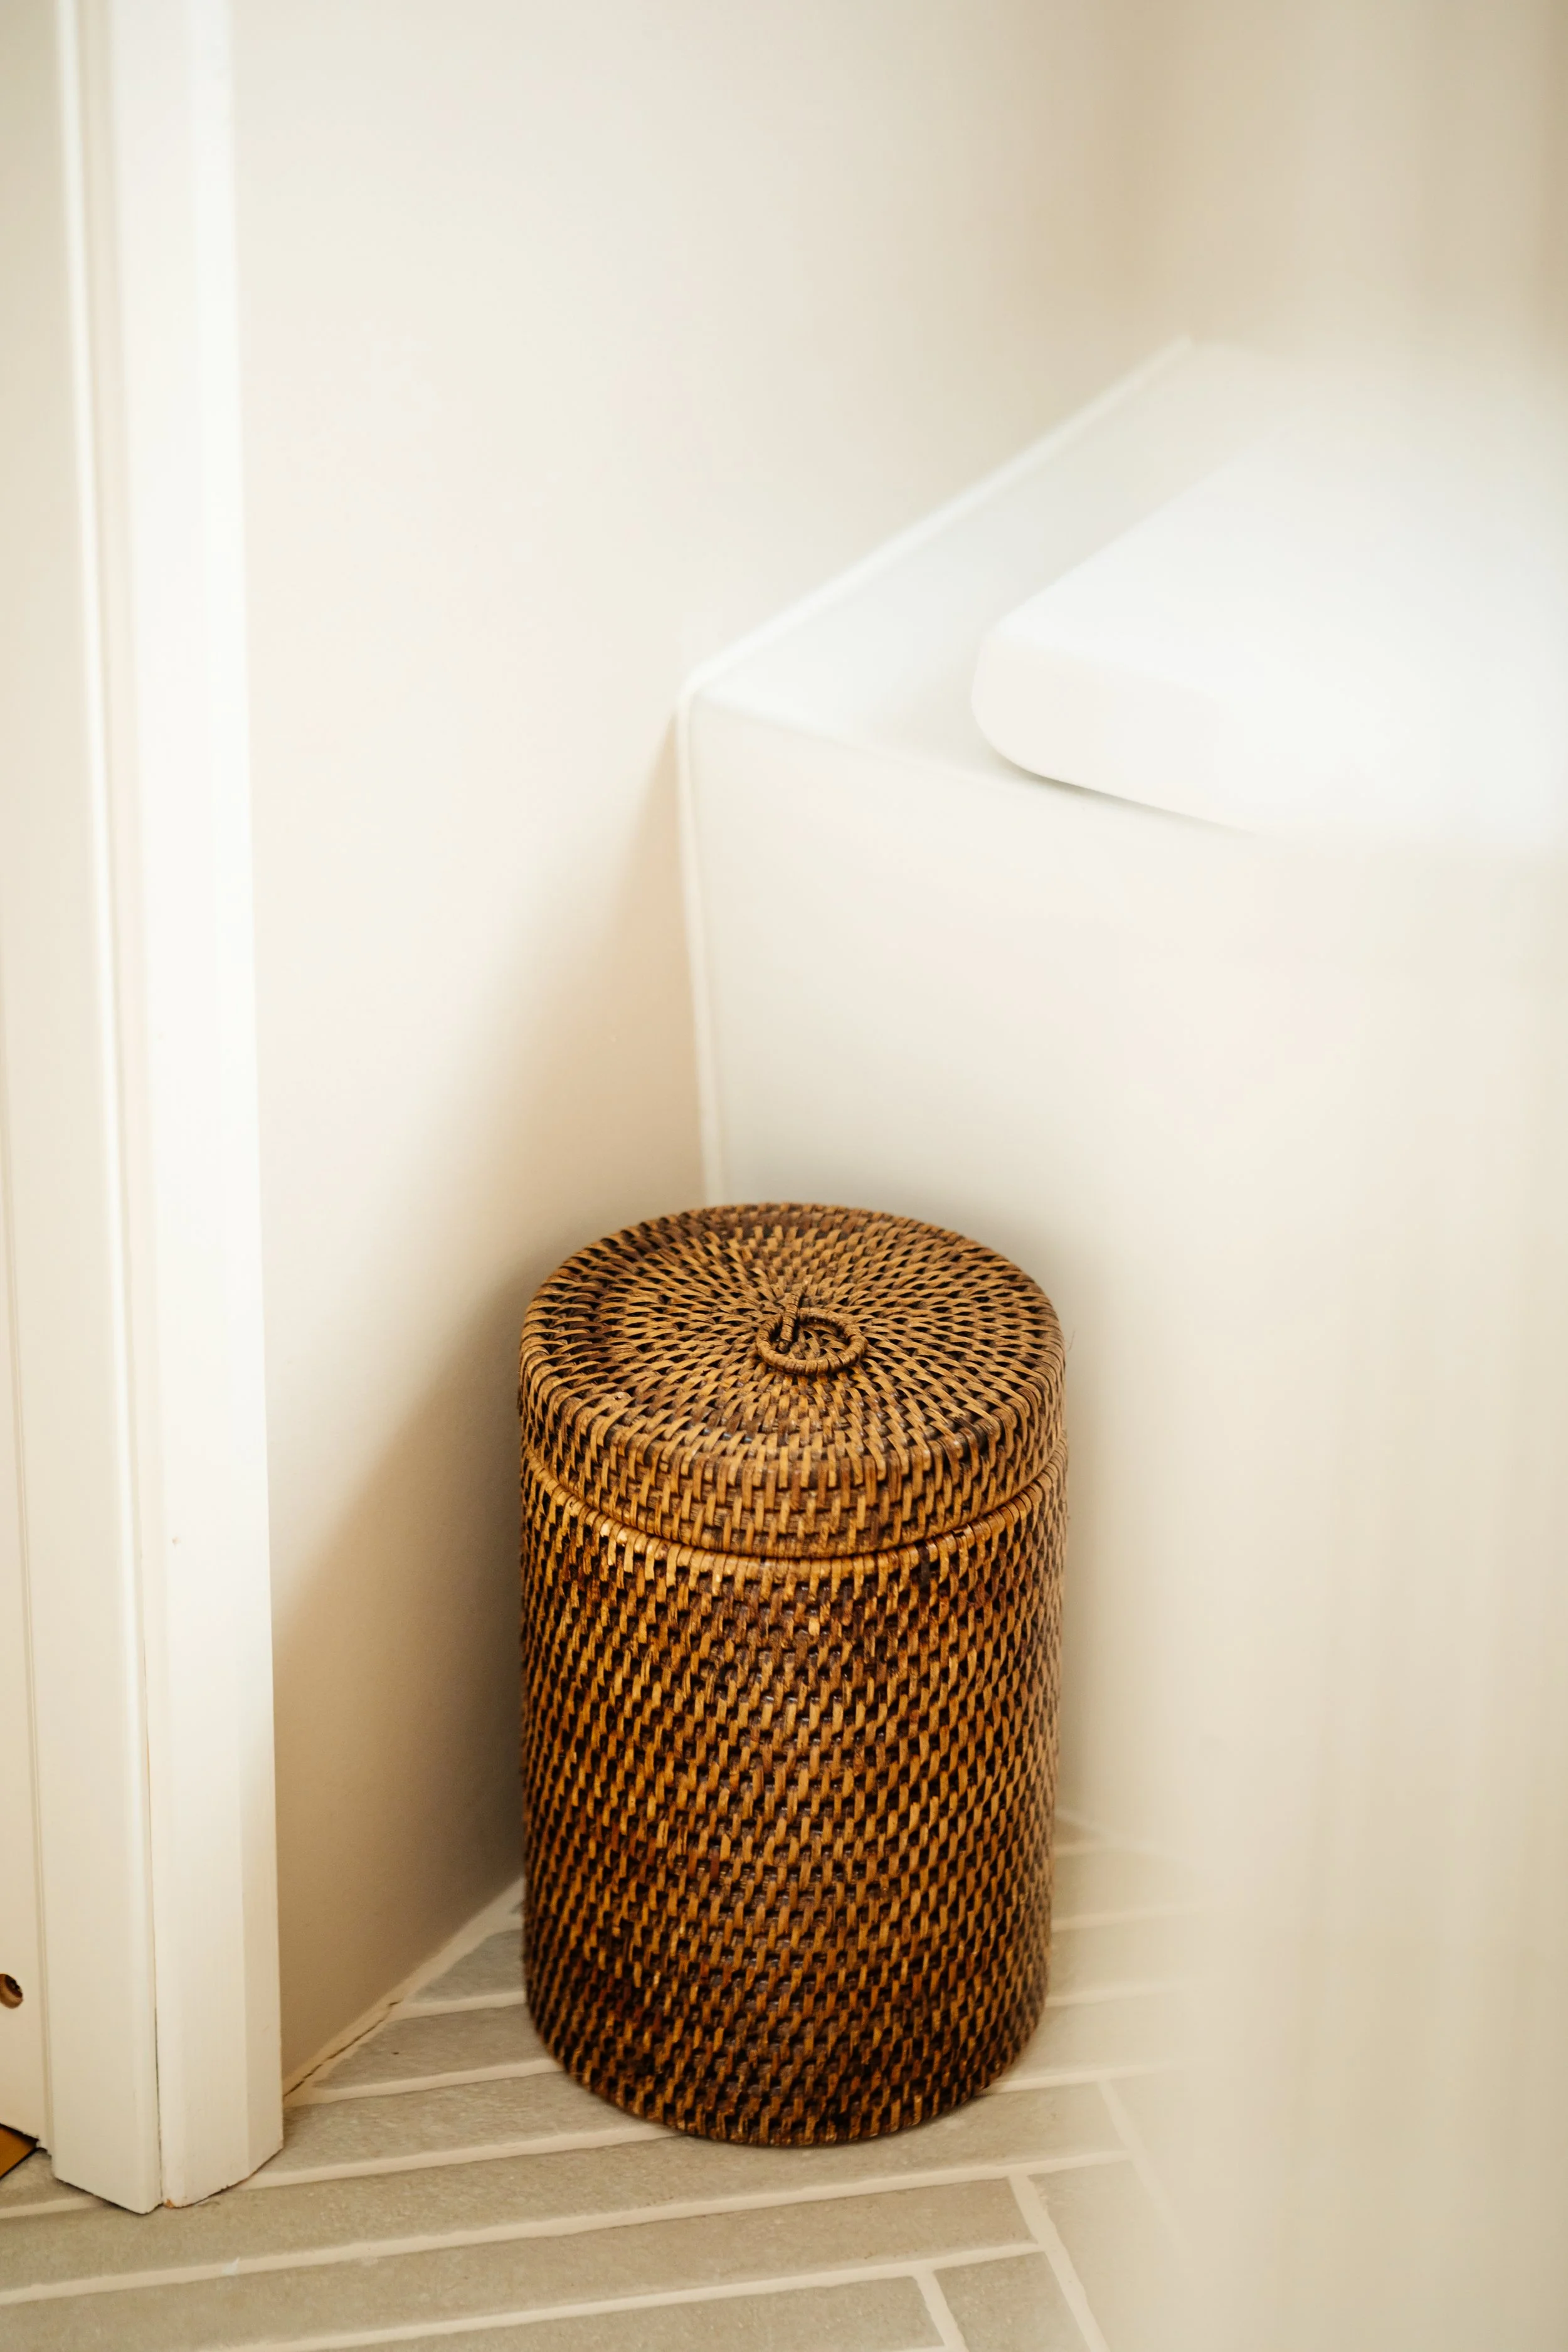
The wicker basket was from Etsy.
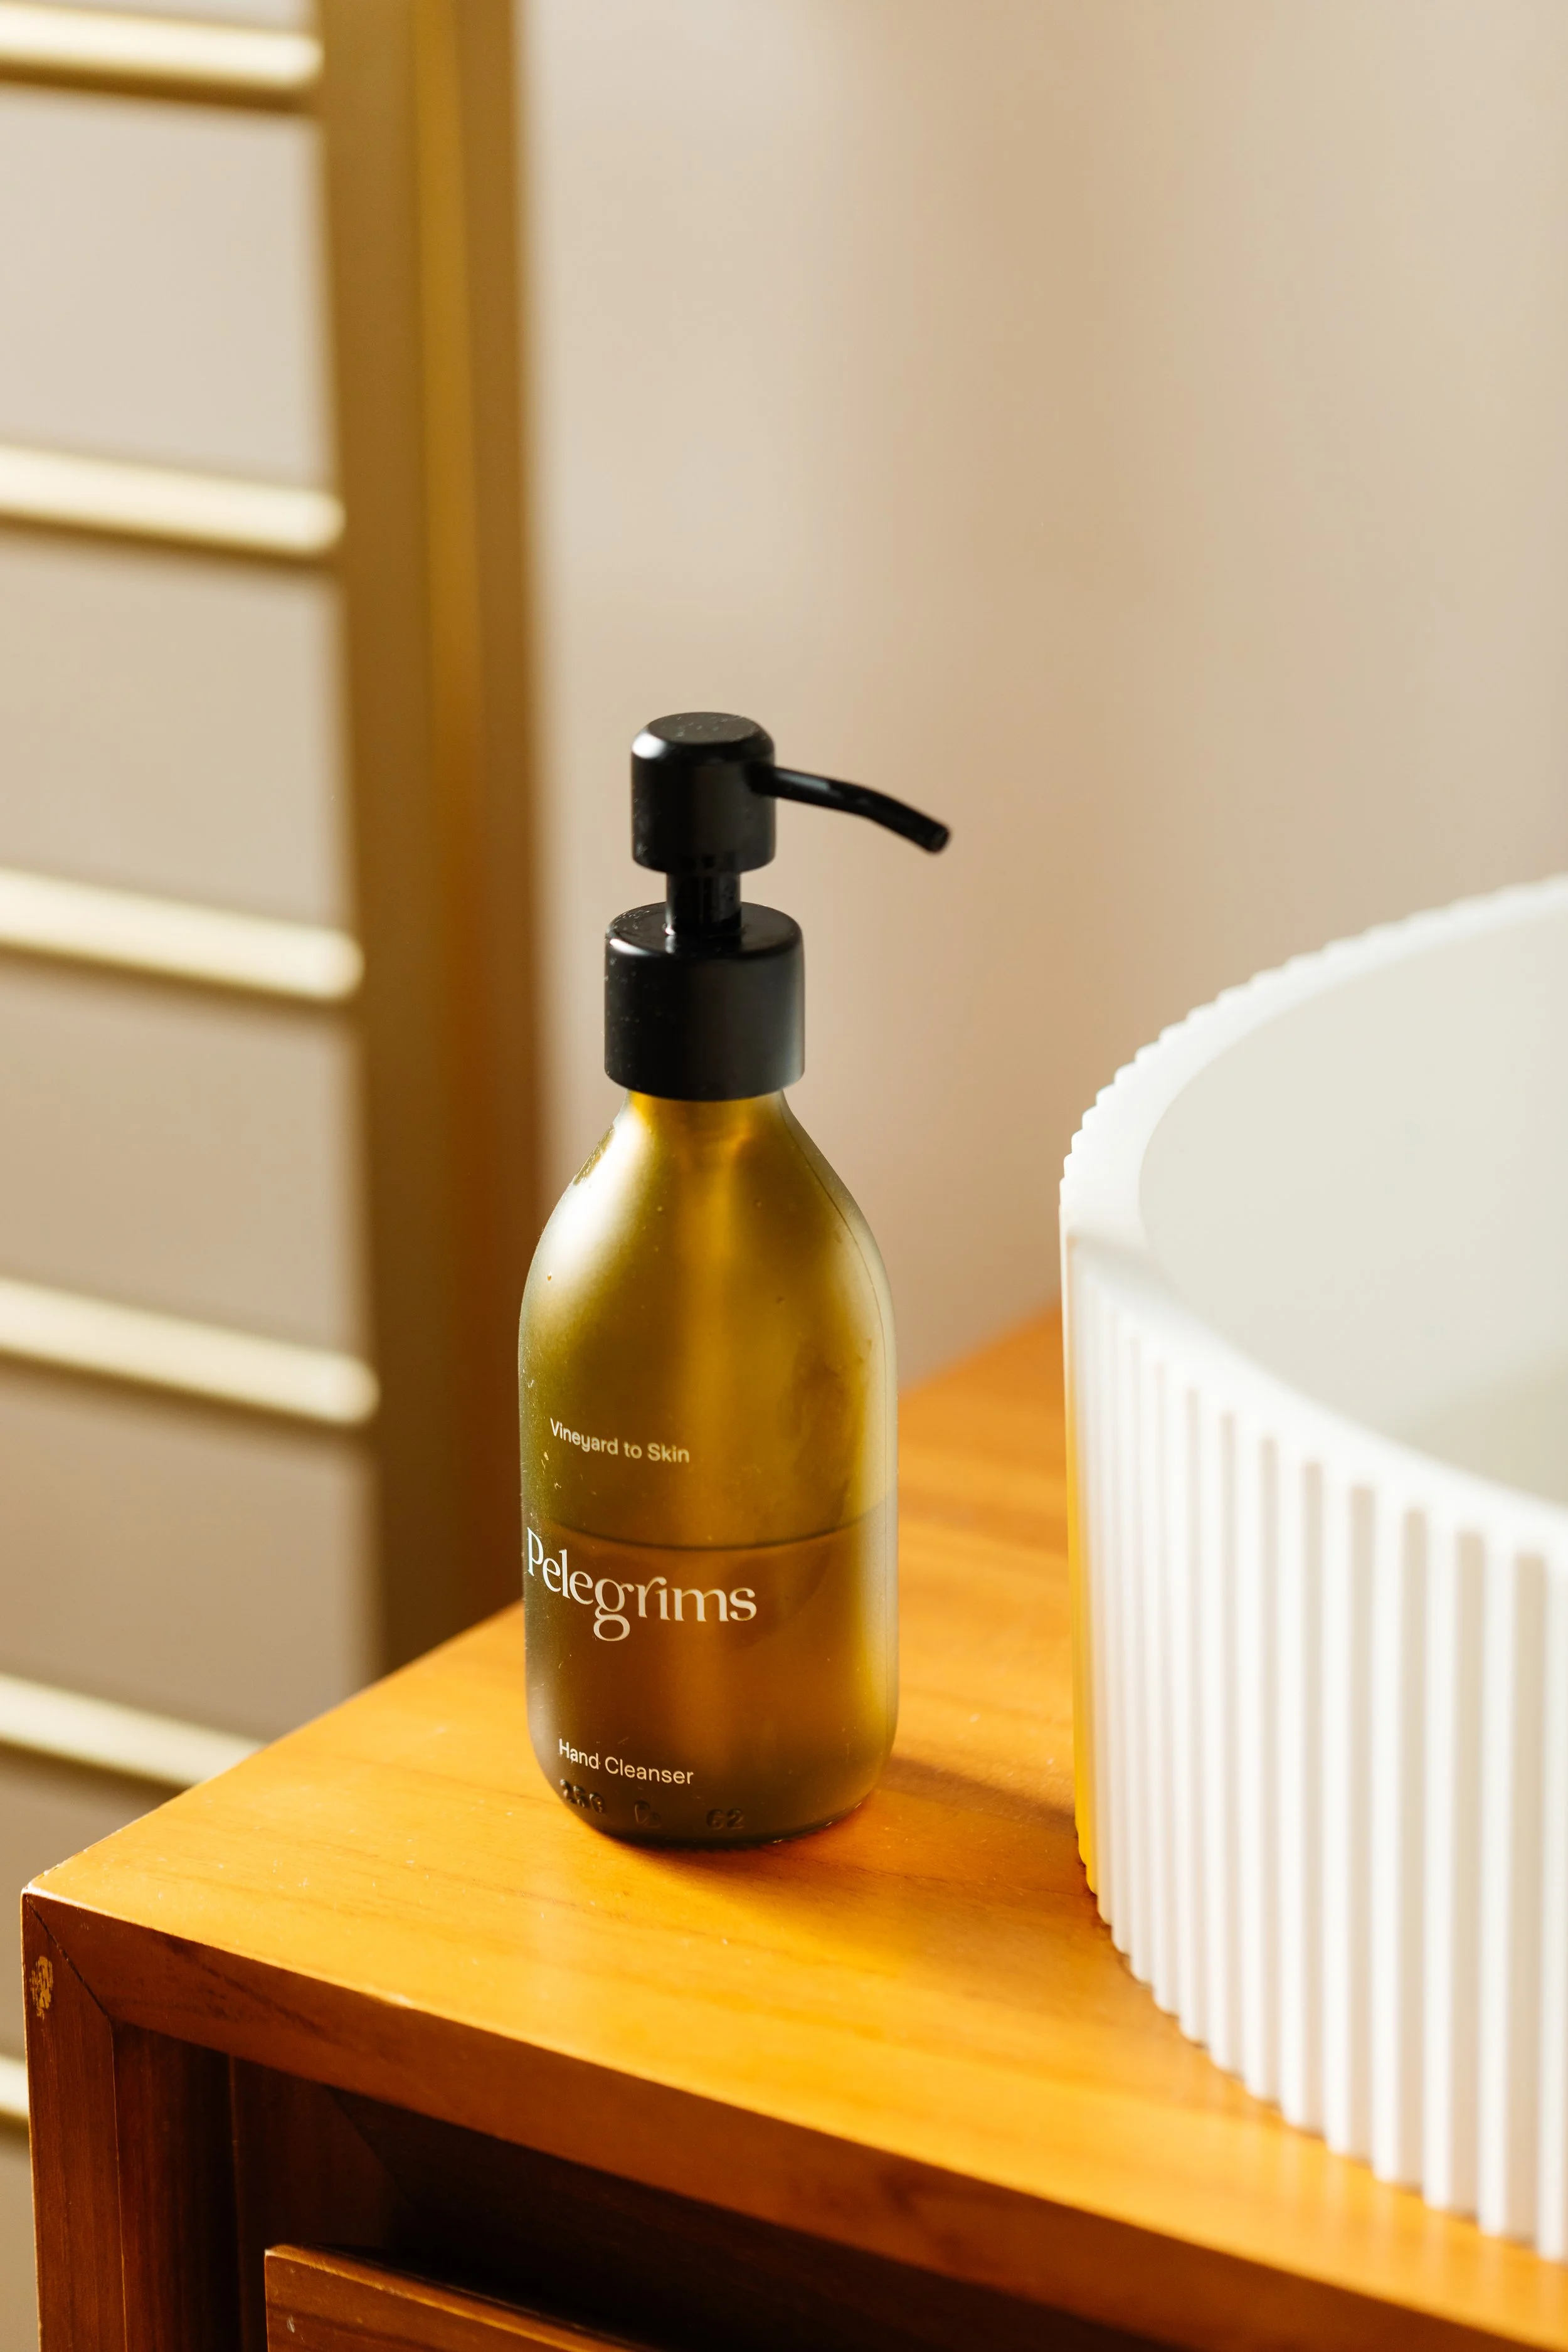
The final finishing touches brought the loft bathroom to life.
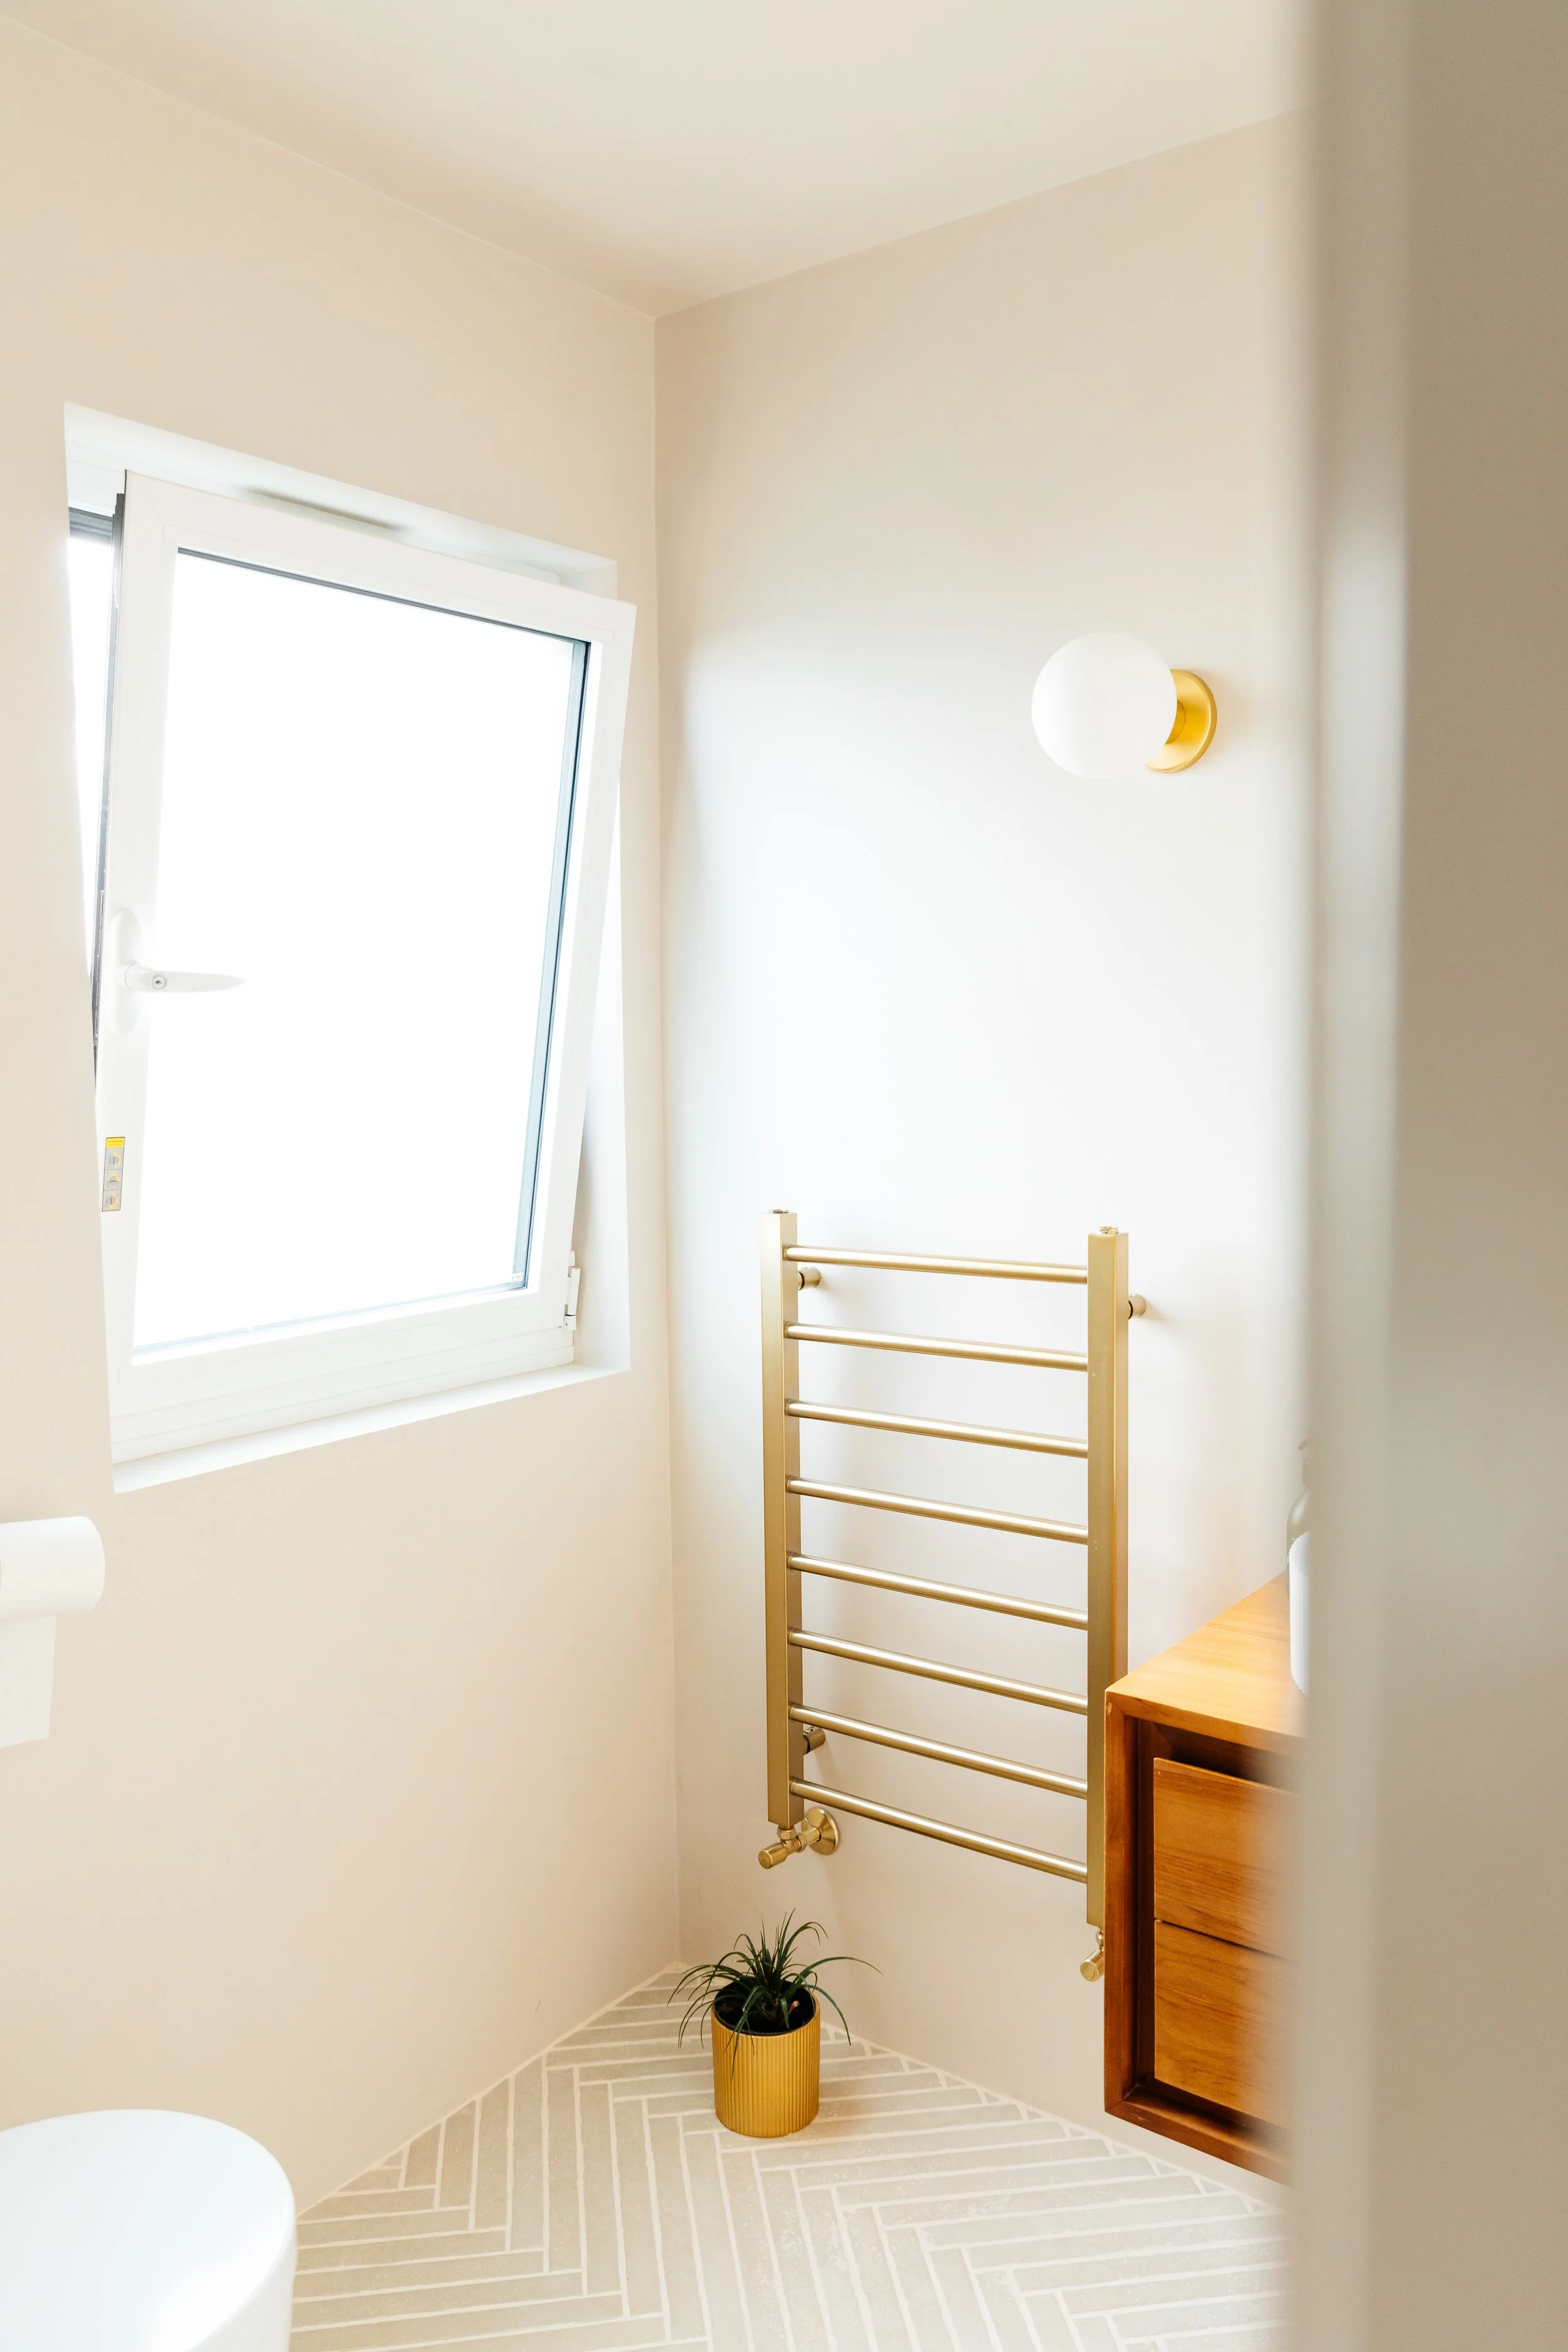
That window floods the bathroom with natural light through the seasons.

before you go…
If you enjoy interiors, food and photography content, join the mailing list below to stay in the loop!