
HOW I TRANSFORMED A SMALL ROOM INTO A HOME OFFICE & PHOTOGRAPHY STUDIO

The way we live and work has completely changed over the last decade! Whereas before, going into an office from 9-5 was common place, now more and more people - myself included - are working from home full time. In part this is due to the pandemic and the seismic shift it brought about in the workplace. However it is also because with the rise of social media, many more people have had the opportunity to build small creative businesses and work for themselves at home.
WHY CREATING AN INSPIRING HOME WORK/LIVE SPACE MATTERS!
With the move to working from home, we’ve all had to create inspiring work/live spaces in small homes and tiny apartments which weren’t designed to function as offices or content creation studios! And the truth is, most of us have been winging the whole ‘working from home’ situation, with many home office spaces looking and feeling far from ideal!
I was no exception. Prior to remodelling my home office studio in 2021, I had felt so overwhelmed and uninspired by the space I was working in, that I even contemplated throwing in the towel on my food photography work. I was THAT unhappy in my home food photography studio situation! See, I’d been catapulted into food photography full time in 2016, quite by accident, and cluelessly converted a spare bedroom into a makeshift home office / home photography studio, without time to properly plan the transformation or thoughtfully consider my layout or the space’s functionality. Instead, I just had to make it work! And I did, until I simply no longer could.
So, a few years into this makeshift set up, I was determined to make a change and live my home life with my family to the fullest whilst working in a way that made me feel inspired and productive. That meant thinking outside the box and ensuring my home office remodel was successful, no matter what, cuz this girl wanted to thrive! On that note, I’d love to show you how I transformed my tiny spare room into a functional, light and inspiring home office and home food photography studio. In addition and if I may, I’d love to share some small home office tips along the way too! Hope you’re up for it all!
BTW Links to most products shown here are provided in my FREE studio and home office mini guide PDF, which you can download at the end of this blog post!
UTILISE WALL SPACE In a small home office studio
BEFORE

BEFORE - Work projects were heavy handedly taped to the wall for that much needed big picture view. However, it looked messy, cluttered and uninspiring!
AFTER

AFTER

AFTER

AFTER

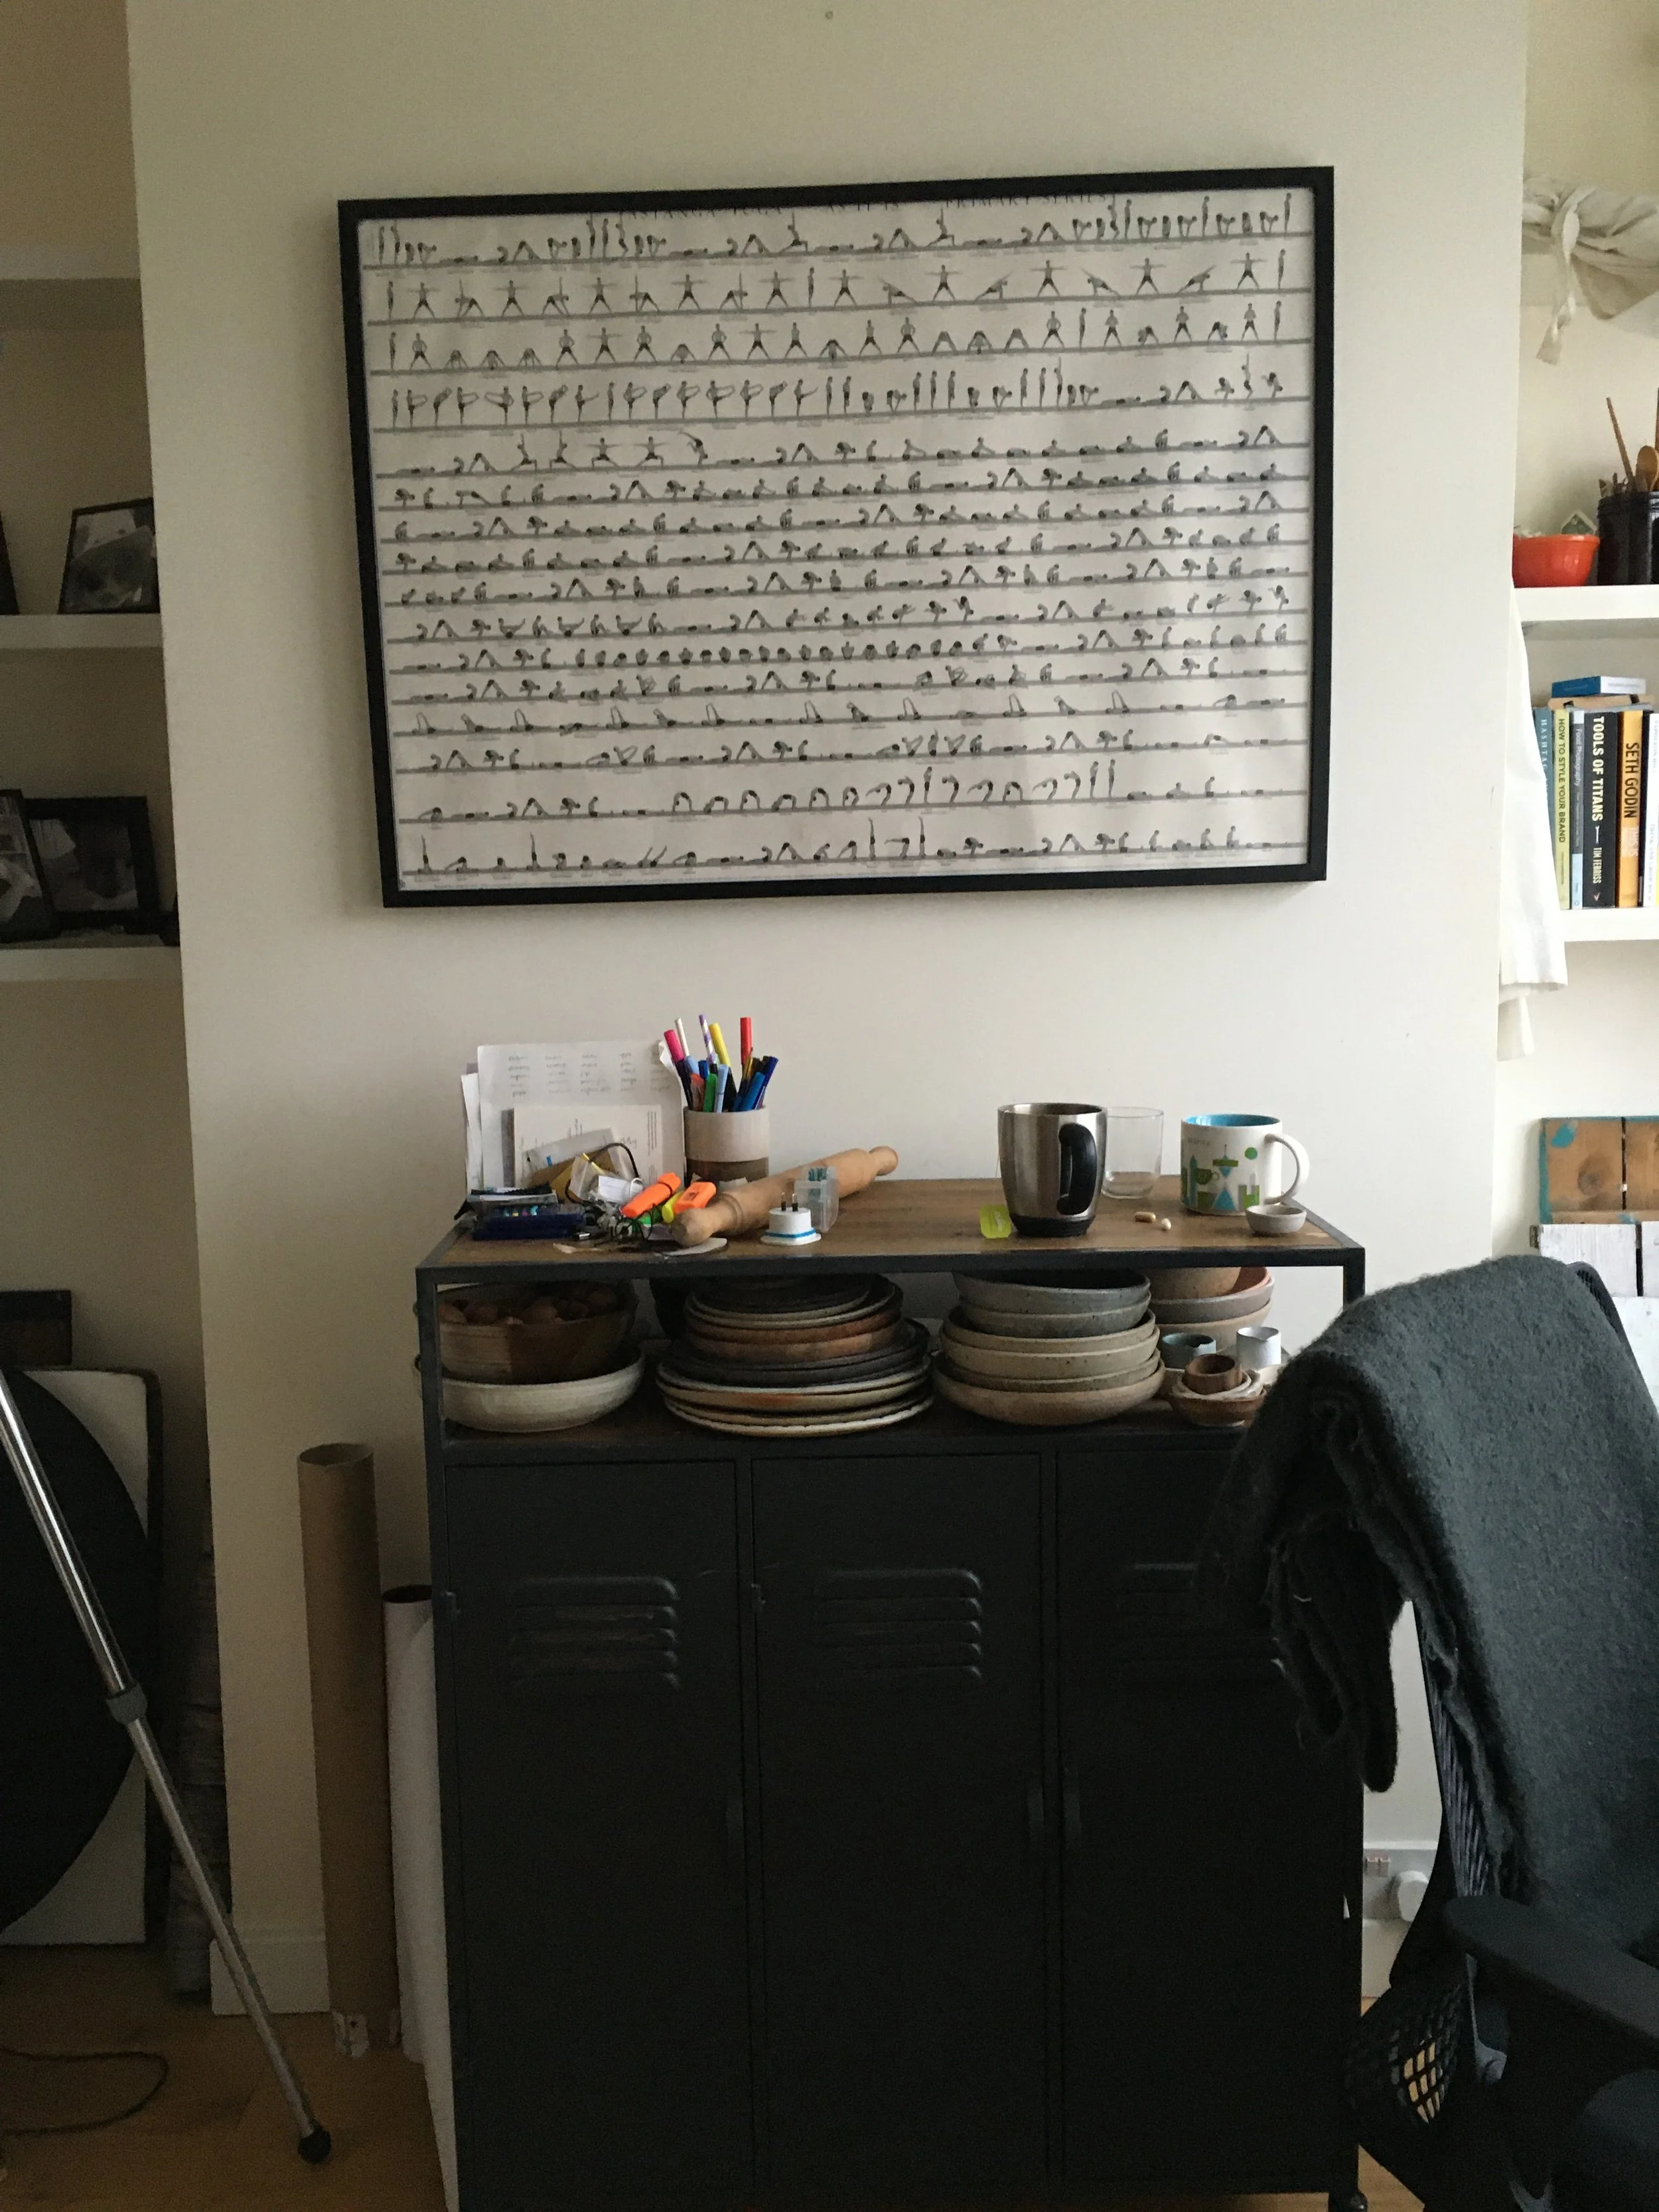
Small home offices and tiny home photography studios have no space to spare. This means we gotta be clever and make the most of each nook and cranny. For example, by utilising the walls in the best way possible we can do just that! PLUS, creating dedicated moodboard areas for planning and dreaming on our walls, makes us feel inspired and allows us to get a different perspective on bigger food photography projects like cookbook shoots and multi-spread magazine features. Moodboards, notice boards and vision boards can work well in a home office or home studio space, even if you’re not a food photographer or food content creator, so be sure to give wall space utilisation some serious consideration when you plan your home office remodel. Finally, I also added a narrow ledge come shelf to truly maximise my wall space. This made the wall not just functional, but also a really uplifting area I adore looking at and enjoy having as my backdrop during important client and student ZOOM calls. Could a narrow ledge work for you too?
what is your top HOME OFFICE MAKEOVER money saving tip?
It’s so tempting to throw the baby out with the bath water and get rid of everything you own to purchase shiny, new things, but, as a way to save on home office renovation costs, see what IS working in your space and reuse or upcycle it! For example, this small IKEA unit fit my small space perfectly and provided much needed storage space (more about that below) and one of the vintage mirrors continued to fit the bill, so I kept it. The floors too were in pristine condition and ideal for a food photography studio, so were left untouched!
BEFORE - Home office desk nook

A corner beside the fireplace was used to store backdrops. The shelving was purely decorative rather than functional as it couldn’t hold much weight and hence would not be properly utilised!
AFTER - home office desk nook

To distinguish this area from the rest of the small home office/home photography studio, we used muted wallpaper (discontinued) to contrast the white walls. The new chair modernises the nook!
2. ZONE YOUR HOME OFFICE STUDIO SPACE
A corner beside the fireplace was used as a dumping ground for backdrops and tripods, all of which were awkward to reach. The shelves in this area were purely decorative rather than functional as they couldn’t hold much weight.
To make the most of this tiny corner, we had a carpenter build heavy duty shelving and a tiny, moveable desk! The open shelving is a great place for me to store everyday items like cameras and lenses, as well as copies of my book, notebooks and cables, the latter of which are kept in wicker baskets to ensure the space continues to look tidy and organised. By raising the shelving, we made fitting a big computer monitor possible and allowed the corner to feel more spacious too! Today, this corner is used by my son to do his homework as well as by me during big shoots when my everyday desk turns into our food shoot area and this nook into my photography tethering spot!
WHAT IS your TOP HOME OFFICE RENOVATION DESIGN IDEA?
To distinguish this area from the rest of my small home office/photography studio, we used muted wallpaper (discontinued) (also used in our prop cupboard!). It adds interest, a small decorative accent and also zones out this separate desk and work nook from the rest of the space.
BEFORE - home office desk nook

AFTER - home office desk nook

3. MAKE YOUR HOME OFFICE AND HOME PHOTOGRAPHY STUDIO FEEL INSPIRING
BEFORE
Before - The previous art work in the studio didn’t add any colour!
AFTER

After - The added art work introduces an accent colour into the space as well as joy in spades!
The chimney breast inside the home office studio was a prime spot for some art work! And - using the overall colour scheme as a guide, I purchased a cheap and cheerful oversized abstract art print I found on FYI, which fit the bill perfectly. You see, I’d read somewhere that abstract art can encourage creativity and imagination, so this framed poster felt perfect for my home office / home photography studio and just what I needed to feel inspired!
To further cultivate that inspiring vibe I was after, I included lots of little plants and fresh flowers throughout, straw hats for texture and cohesion and a nod to my Colombian/Caribbean heritage. Scented candles were added to ease away the stress and an inspiring quote I found on Etsy, which I placed beside my vision and mood board, completed the look! I’m delighted with how it all turned out!
WHAT IS YOUR TOP HOME OFFICE DECORATION TIP?
Just like you would for any food photography client project, put together a moodboard and vision board for your home office studio renovation on Pinterest! This is so helpful to do before you employ builders or go out to buy paint and so on; it will greatly assist you when you select your accent colours, textures, layout, home office style (I went for a Scandi look!) and paint colours. Speaking of which, let’s look at paint colours next!

4. How to choose the right WALL colour for your home office and home photography studio
BEFORE - PHOTOGRAPHY HOME STUDIO AREA

The walls were painted an old fashioned cream which dated the space, and backdrops and props further cluttered and covered the wall area, making the home office space feel small and messy.
AFTER - PHOTOGRAPHY HOME STUDIO AREA

Walls were painted a matte white, TIMELESS by DULUX, which gives the studio a Candy vibe! Walls were left bare at eye level to make the space feel bigger with heavy duty shelving lifted further off the ground than before!
I knew from the outset that I wanted the walls to be light, bright and airy. This was important for three reasons:
Wall colours can greatly impact how big or small a space feels.
…..and seeing that my home office / home photography studio is on the petite side, I knew that a simple white would work best.
Wall colour determines how light is reflected or absorbed throughout a room.
This in turn has a massive impact on how photos look and feel and hence, choosing lighter, neutral coloured walls is a must for any home photography studio.
Allow your home office studio design to be an extension of the rest of your living space.
My home has light, neutral coloured walls throughout, with just a few accent wall colours here and there, so painting the walls a shade of white was essential to continue to ensure my home office / home photography studio tied in with the rest of the home decoration scheme.
WHAT ARE YOUr TOP TIPS FOR PICKING THE RIGHT COLOUR FOR YOUR HOME OFFICE WALLS?
There are 100s of white and off white colours to choose from and almost as many finishes too! I knew I wanted something with a pinch of warmth, and choose around 10 colour samples from DULUX to ensure I found the right one! I applied each sample colour to different wall sections throughout the space and observed how it reacted to the light. I then decided to go with TIMELESS in matte, which I adore.
If you’re looking to get the right colour for your space, be sure to order some small colour samples; it may seem like an extra unnecessary step, but honestly, it’s a game changer and so worth it!
5. GET THE Lighting RIGHT IN YOUR HOME OFFICE & HOME PHOTOGRAPHY STUDIO!
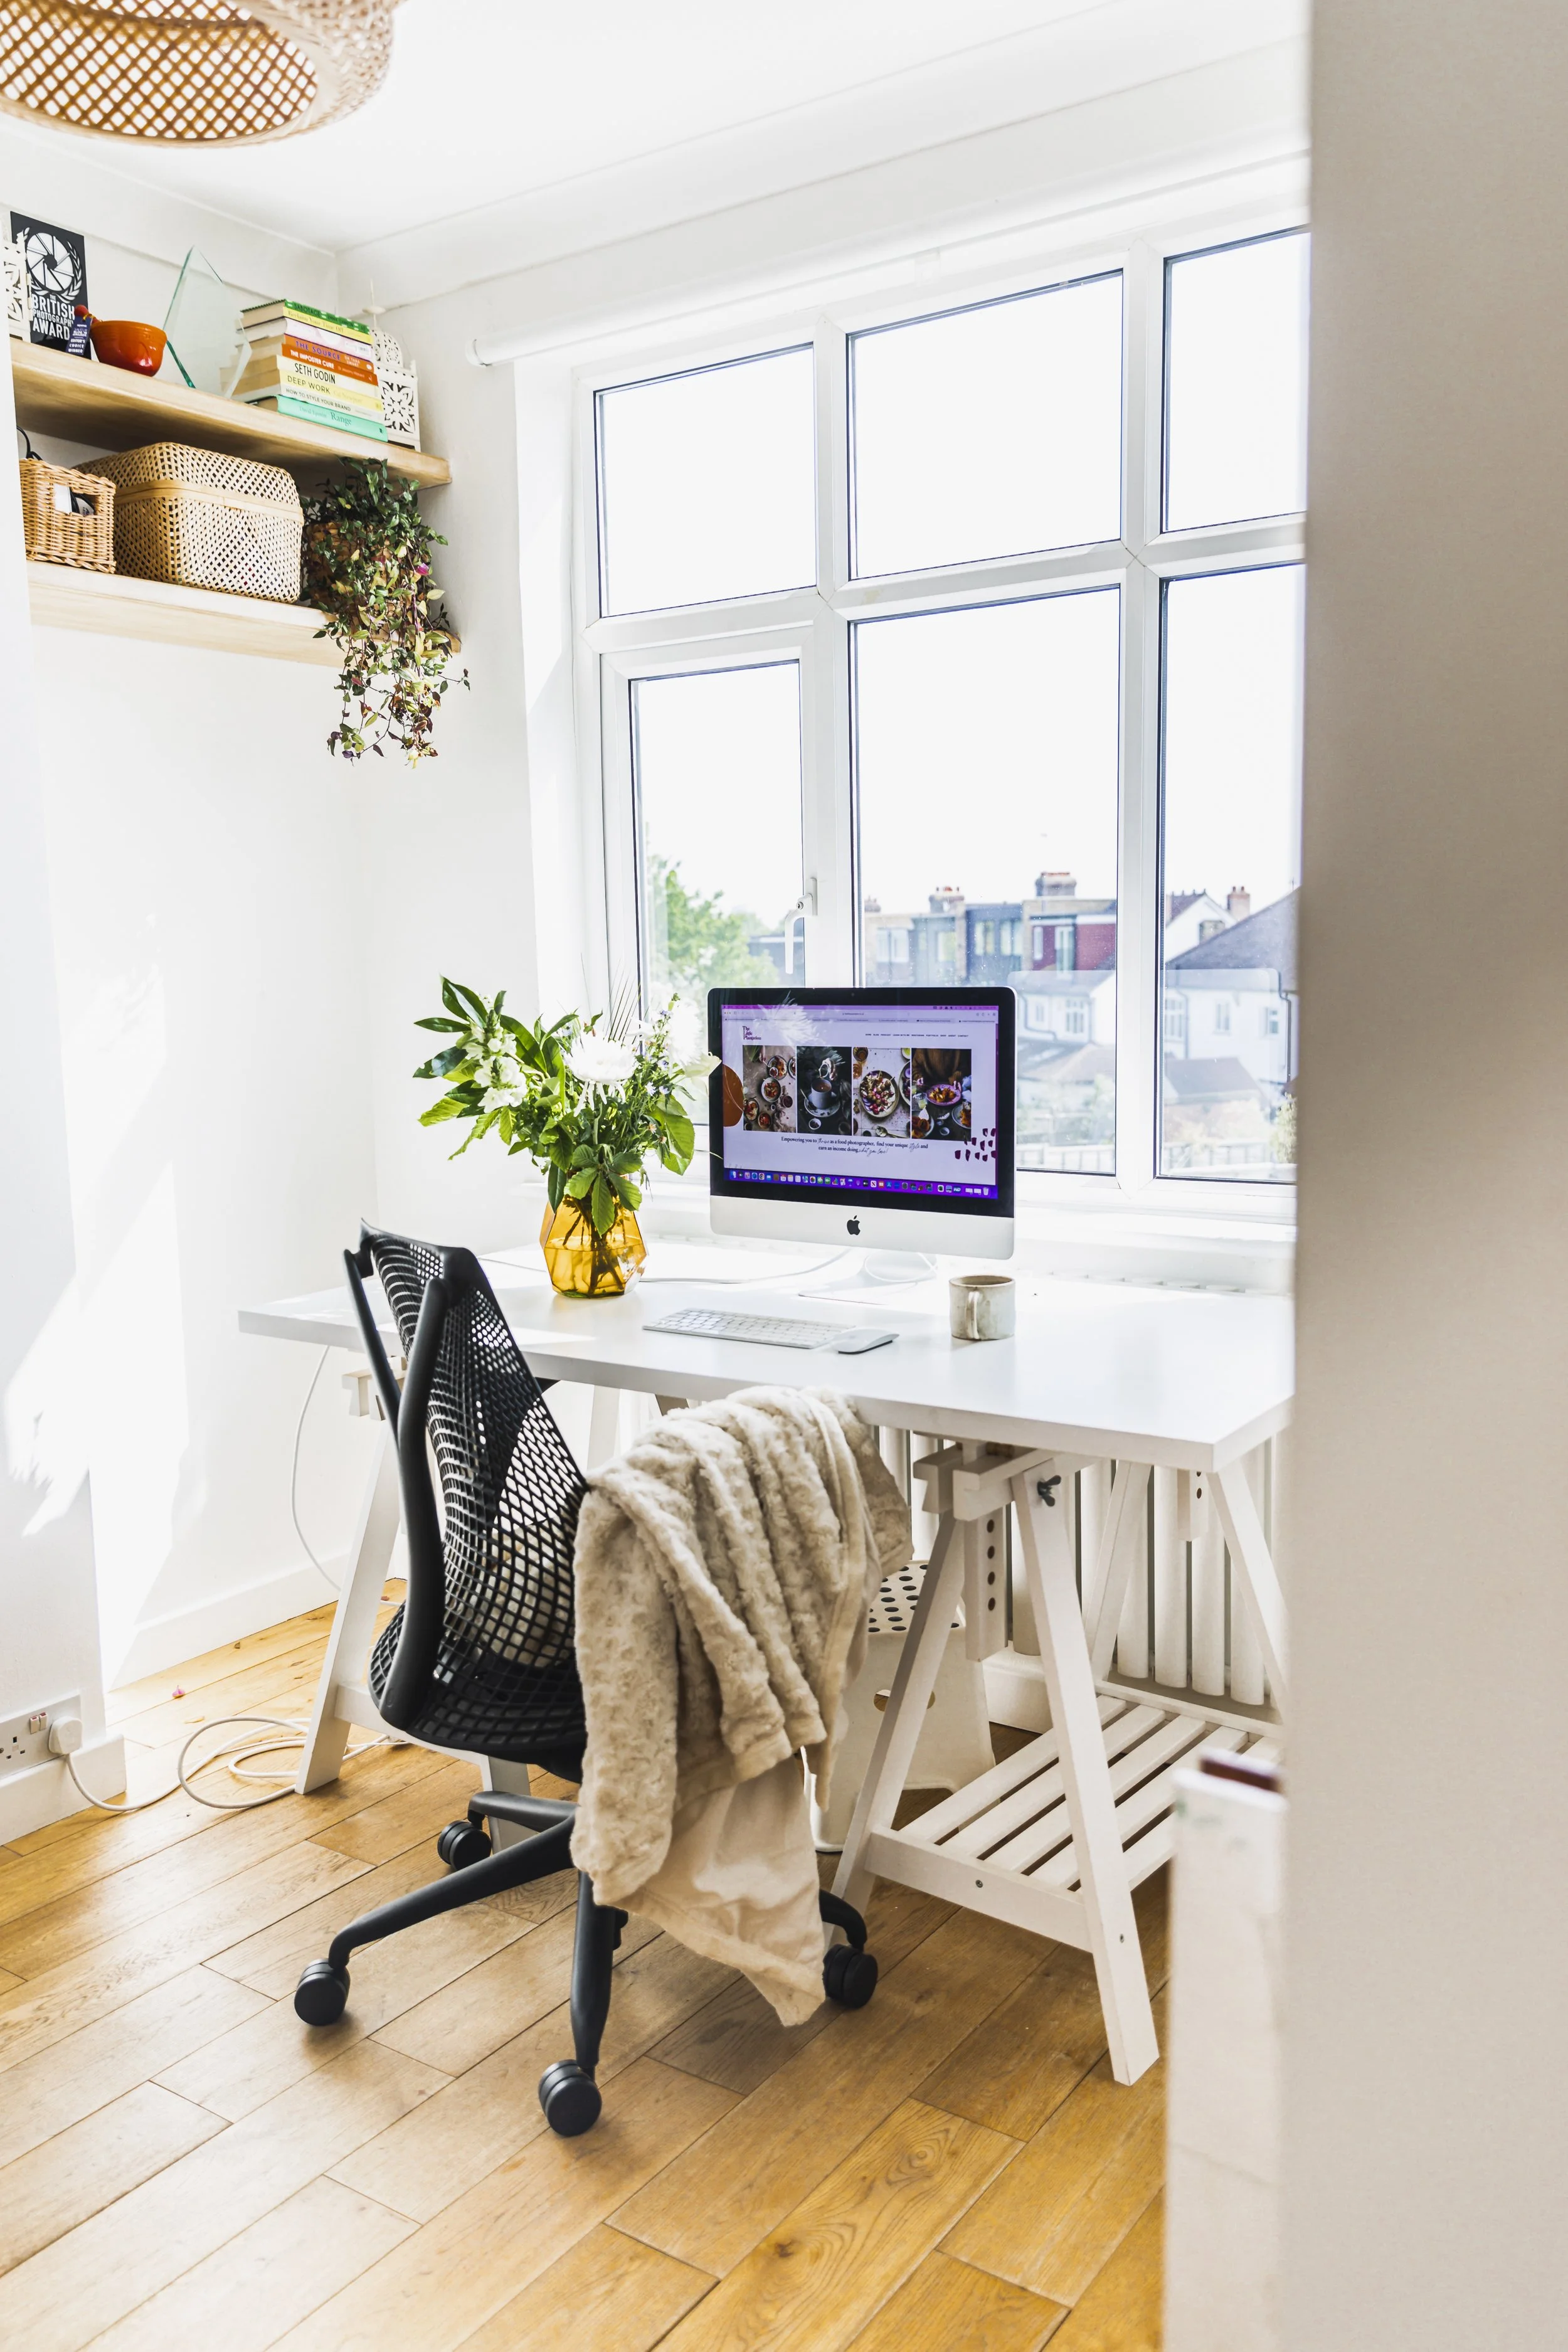
AFTER - DESK IN HOME OFFICE STUDIO

Before - DESK IN HOME OFFICE STUDIO

The big window always brought in lots of light, but heavy curtains sometimes did get in the way!
In a home office and most certainly a home photography studio, good lighting is key! Here are some of the things I considered as we renovated the space:
ALLOW NATURAL LIGHT TO FLOoD INto your home studio!
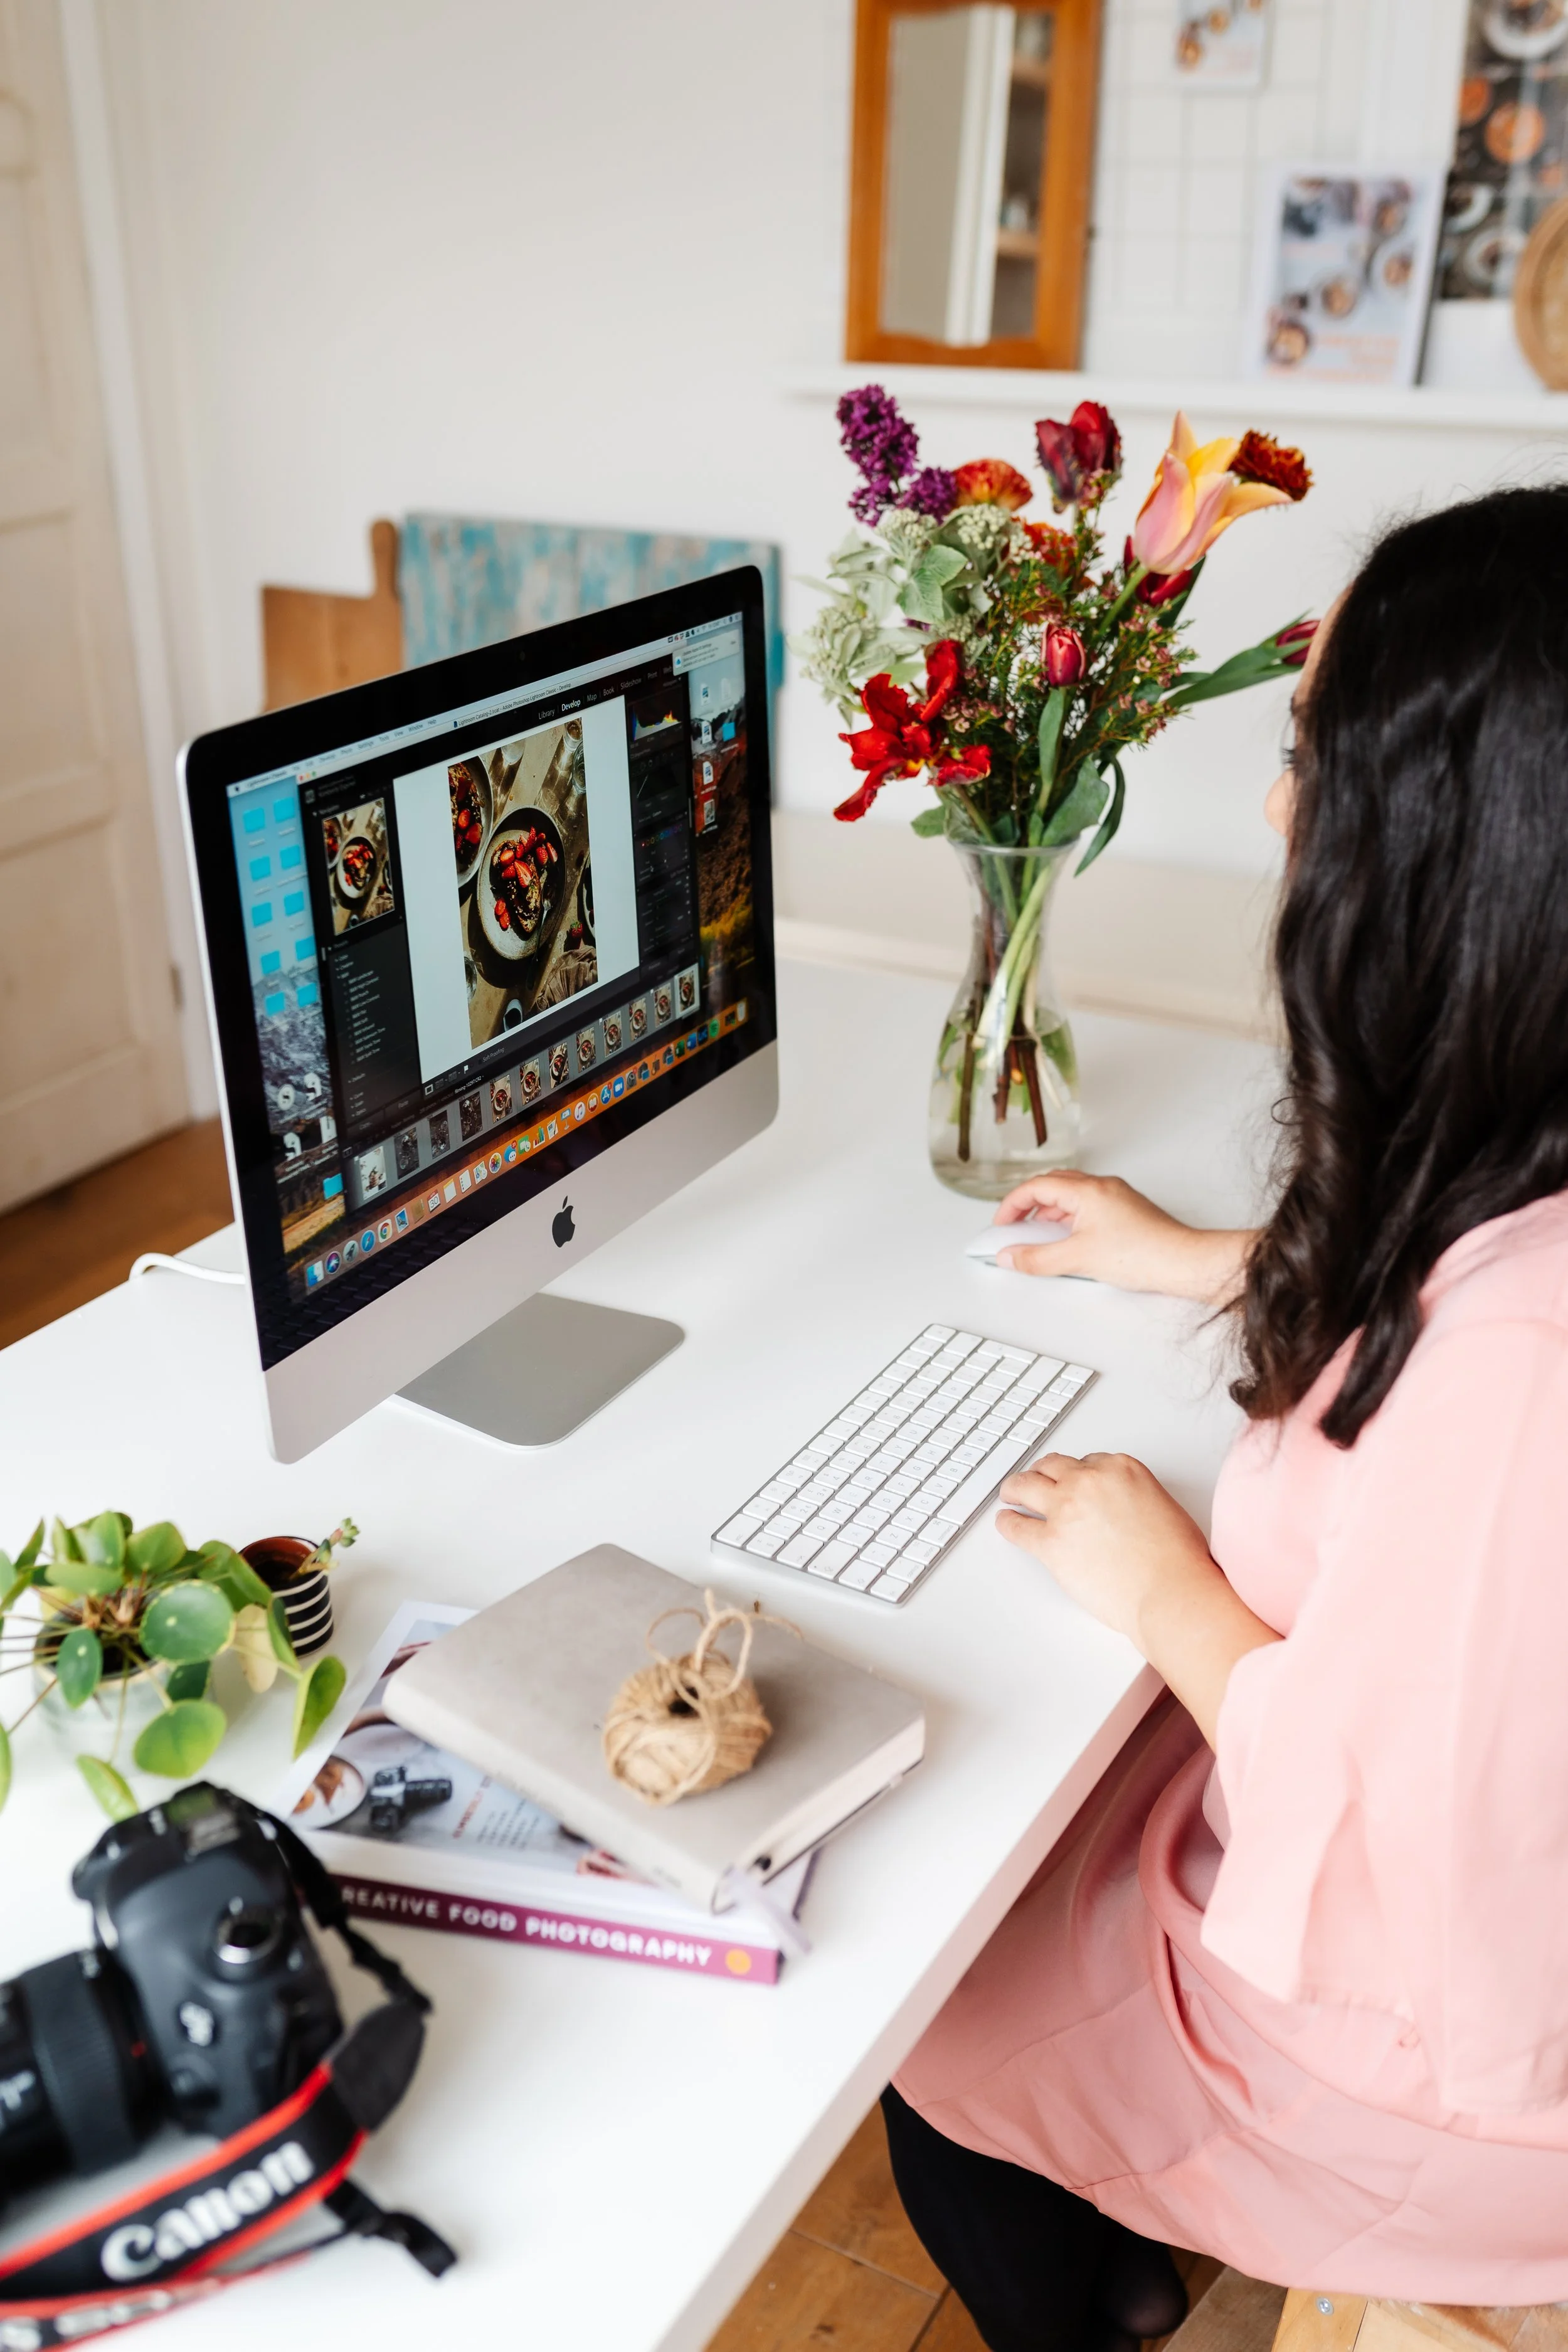
My home studio is blessed with a large window that’s allowed the space to feel light and fresh! It’s also been key to giving my food photos that ‘glow’ and enabled me to create exactly the food photos I wanted!
By removing the heavy curtains we had in the space before, even more light was able to enter the home office studio post renovation and I wonder if you can maximise the natural light that enters your home photography space too!
INSTALL BLACKOUT BLINDS!
This may seem counterintuitive and slightly paradoxical seeing the point I made above, but a home photography studio can benefit from blackout blinds; these allow you to stop natural light from coming in when you are working with continuous artificial light and don’t want to mix light sources! Black out blinds can also help you control you natural light source for your photography work, in ways that curtains can’t.
A HOME OFFICE NEEDS TASK LAMPS AND A PENDANT LIGHT!
Despite the large window flooding the home studio with light, I installed a few task lamps in our prop cupboard and prep area, which have been essential for adequate illumination in those corners of the home studio space. The pendant light stays off for most of the day, but if I’m working on my computer until early evening, it adds a lovely warm glow to the space as well as a touch of texture and design.
USE MIRRORS IN YOUR SMALL HOME STUDIO TO MAKE IT FEEL BIGGER
Here and there I have placed mirrors to reflect the light and make what is a small home photography studio feel more spacious. It also adds a touch of personality to the space, which I adore!
DON’T FORGET YOUR ARTIFICIAL LIGHTING GEAR!
Every professional photography studio needs to have artificial lighting and a home photography studio is no exception. I have both continuous and flash light, as well as a few modifiers. All can be found in my home studio PDF which you can download at the end of this blog post.
AFTER - LIGHT CAN EASILY FLOOD INTO THE HOME OFFICE STUDIO SPACE

The big window in my home photography studio has made photographing food in the space an absolute joy!
6. clever storage is essential in a small home office studio!
BEFORE - HOME OFFICE STUDIO STORAGE

This closet was a remnant of when the space was used as a guest closet. The original 1950s doors made the huge storage space feel much smaller

The closet housed a hideous cupboard which had been DIYd by the previous owners. The wallpaper was stuck in the 1970s, though I confess, I had a soft spot for it.

We removed the wallpaper and opened the area all the way to the ceiling. Transformative!
AFTER - Home office studio storage
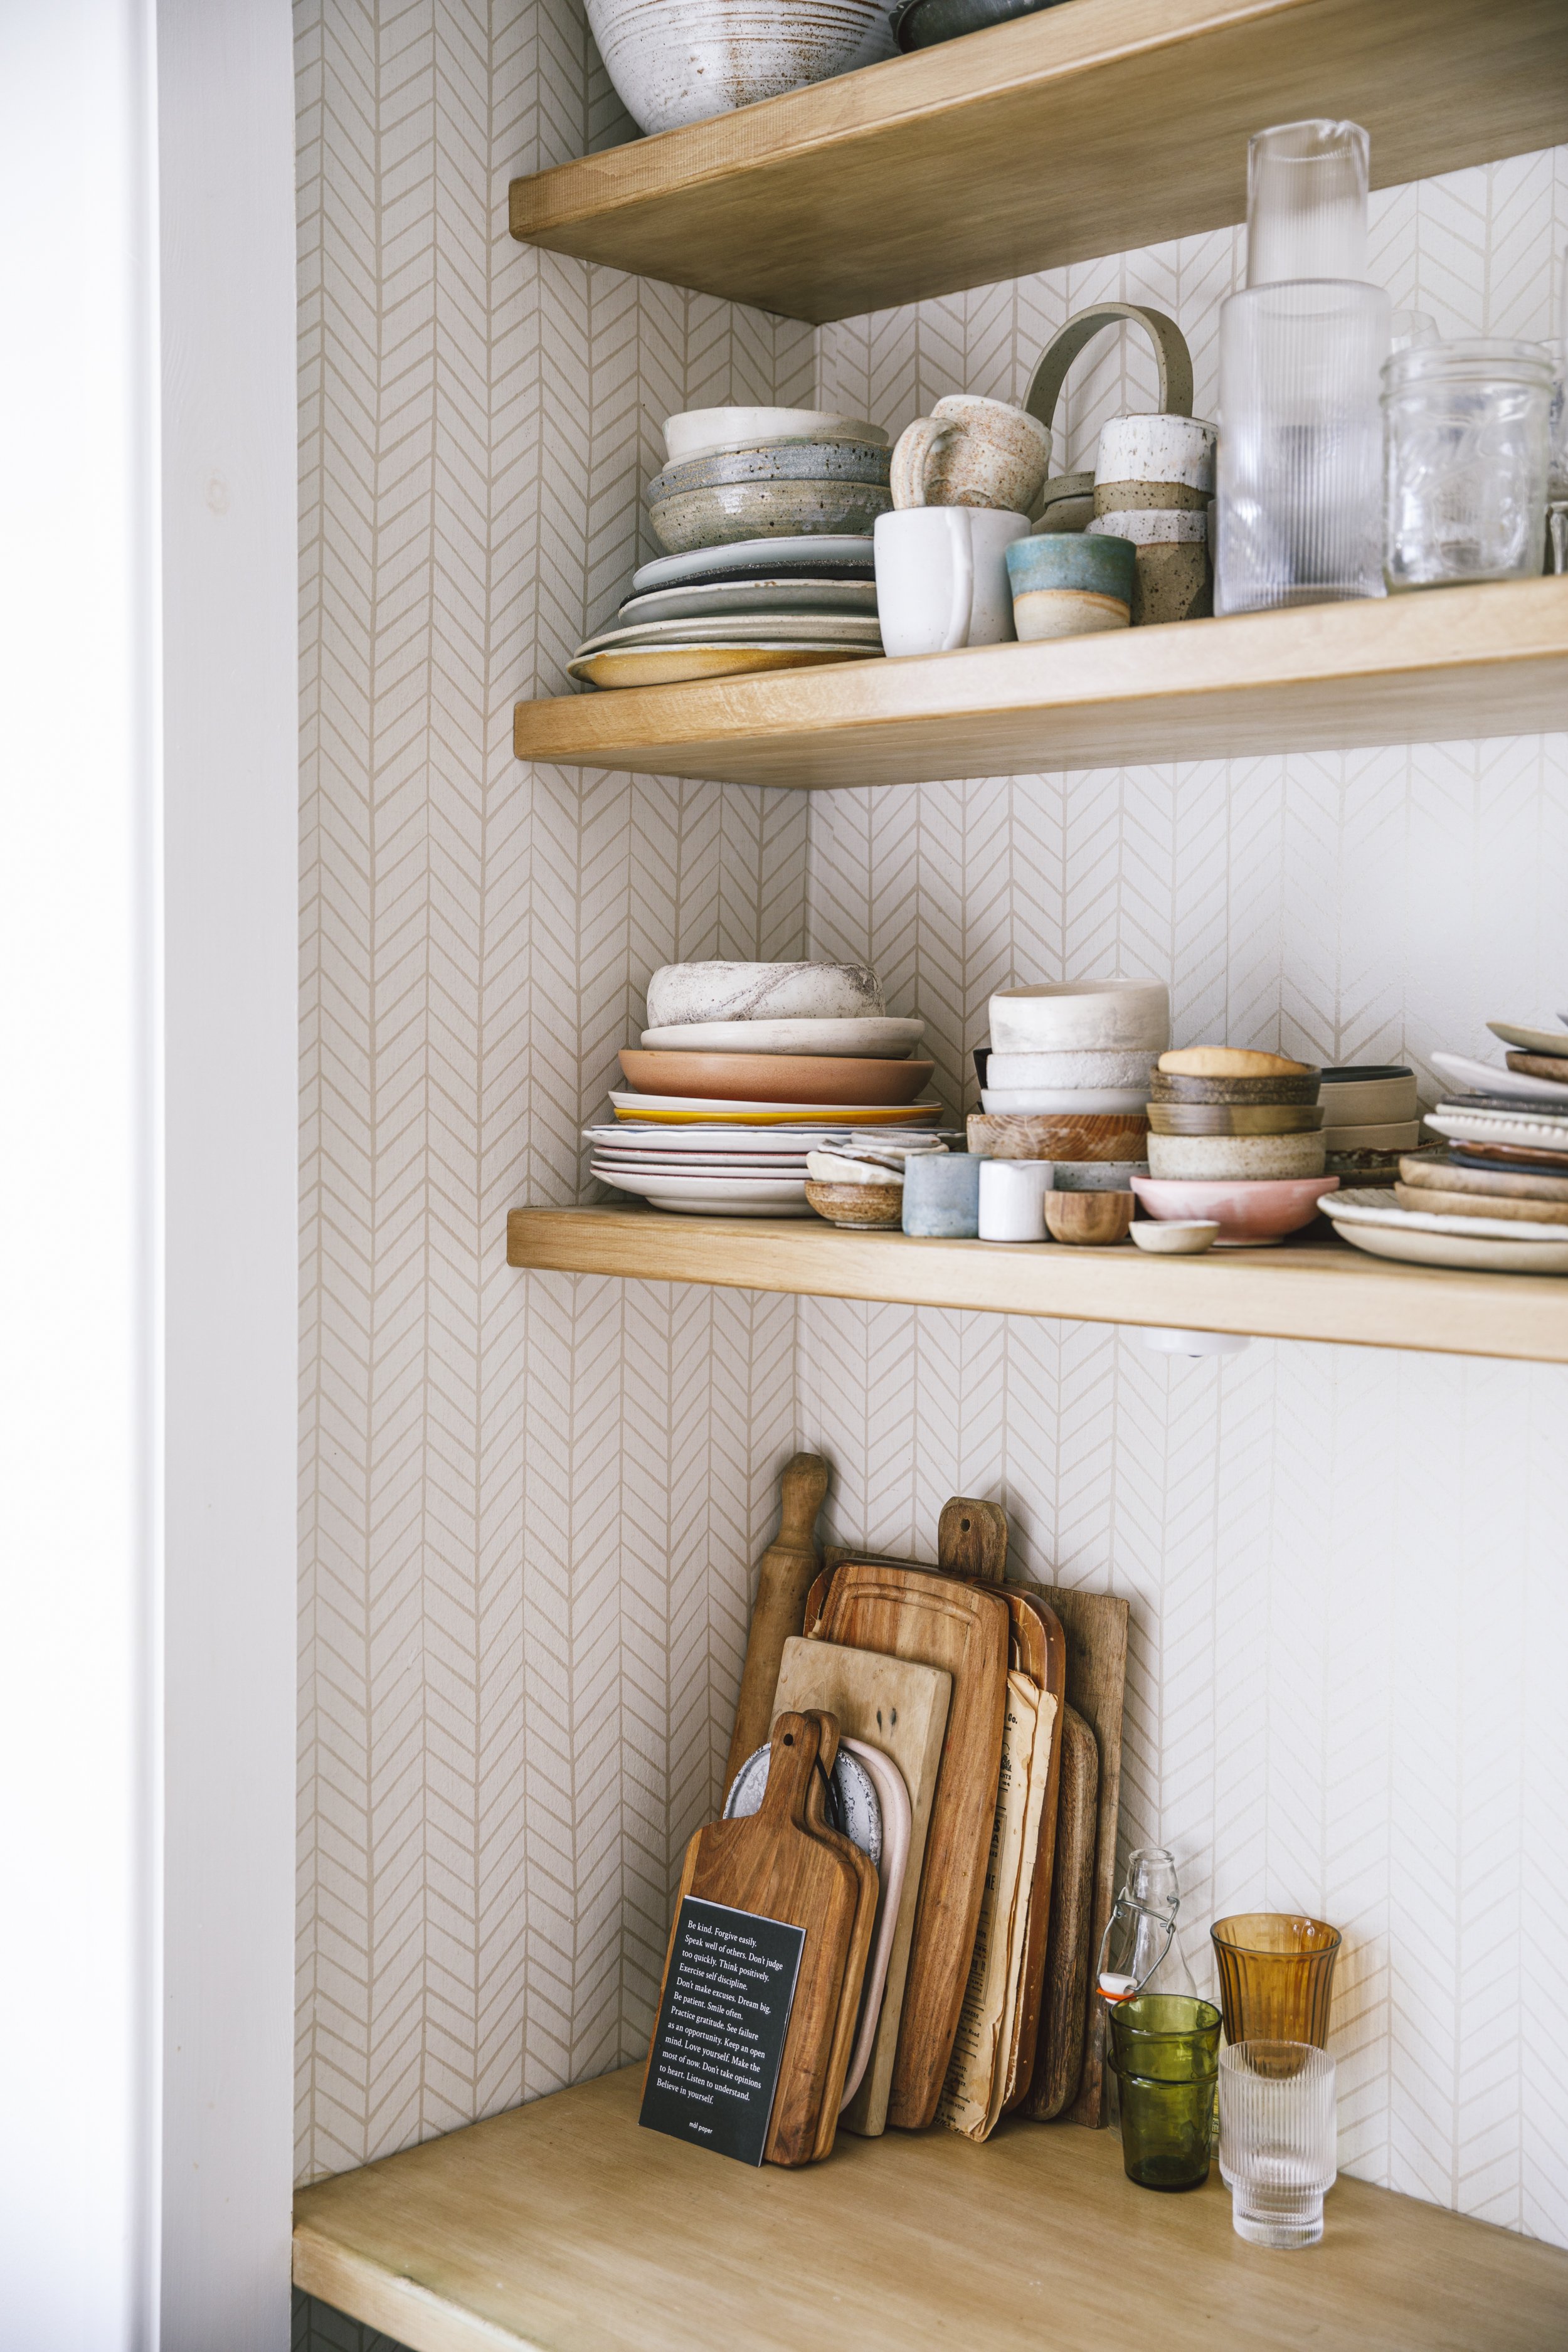
The same wallpaper used in the study nook was used in the prop cupboard!

You can find my food photography prop guide HERE.

With the cupboard opened all the way to the ceiling, sturdy, wide prop shelves could be installed leaving ample space for a prep area with task lights and easily accessible backdrop storage including a moveable trolley.
AFTER - HOME OFFICE STUDIO STORAGE AREA

Open shelving looks its best when kept neat and tidy! This means clear up straight after every shoot and regular prop inventory checks to avoid clutter and only keep what’s actually being used!
I’m almost ashamed of what my home office and photography studio looked like before I remodelled it. Yet, at the same time I’m forgiving of my past self too because it was near to impossible to make the space work in its previous state, no matter how hard I tried. That’s because there simply wasn’t enough adequate storage!
As previously mentioned, open shelving that was more decorative than functional didn’t serve me, there was no dedicated spot for my backdrops and a dark, black, clunky unit to house my props was constantly overflowing. Add to that the lack of prep surface - essential for every food photography studio - and it was the perfect storm to create what can only be called a home office studio disaster!
Hence, it’ll come as no surprise to you that when I set out to remodel the studio, clever storage solutions were on the top of my wish list! I dare say, they should be on your wish list too, as they’ll help you keep your small home office and home photography studio clutter-free and tidy! Here’s what I did to overhaul my home photography studio:
GET WICKER BASKETS TO HIDE YOUR HOME OFFICE CLUTTER!
These are ideal for cables, remote controls and triggers, pens and other smaller items. Wicker baskets also add a touch of texture to the studio and items stored inside them can be quickly retrieved and even more quickly packed away. I link to my favs in the home studio PDF you can download at the end of this blog post!
TAKE ADVANTAGE OF VERTICAL SPACE IN YOUR HOME OFFICE!
The biggest transformation in my home office studio, was completely opening up a closet, thereby providing me with floor to ceiling storage space! The top half of the space that once housed guests’ clothes is now dedicated to all my props. The middle section is where food is prepped and styled to perfection before it’s ready to be photographed and the bottom half is where all my backdrops live. Creating this vertical storage space in my home office studio has been a total game changer!
THINK OF Clever storage solutions FOR SMALL OFFICE Spaces
From the obvious (magazine files for paperwork and such), to the clever (moveable trolleys for cutlery, napkins and more), to the downright essential (using the chimney area and other dead space too for storage), think about ‘out of the box’ ways you can build storage solutions into your home office or home photography studio design!
ENSURE EVERYTHING IN YOUR HOME OFFICE STUDIO HAS A DEDICATED SPACE
It’s been so lovely to have a dedicated spot for everything! From cameras and lenses, to tablecloths and vinyl backdrops, I know where things go. As a result, not only does the space look neat and tidy even two years after renovation works were completed, but everything is so easy to find! Bliss!
TOP HOME OFFICE STORAGE AND INTERIOR DESIGN TIP!
I found the thought of doing the home office renovation stressful and hence worked with an interior designer to get all the storage solutions just right! She drew up floor plans which really helped me visualise the space prior to building works starting. This additional step was a luxury, but made the entire process run super smoothly!

I had an interior designer create a floor plan that helped me visualise the space and make any necessary changes before renovation works began!

Two trolleys are used in my home photography studio - a smaller one for cutlery and such and a larger one for table cloths, napkins and other fabrics. Everything used to remodel my home office studio can be found in my studio guide at the end of this blog post.
7. YOU NEED VERSATILE AND ERGONOMIC HOME OFFICE FURNITURE!
It was essential for me to get home office furniture that was ergonomic as I spend a lot of time either carrying heavy photography gear or sitting behind a computer, editing images, writing emails and so on - all of which put a strain on my back; it consequently requires LOTS of support from a comfortable chair and a desk set up that’s designed for office work! (Please don’t underestimate the importance of this! When I first started my blog I used to write at my dining table whilst sitting on our dining table chair and I swear, my back is STILL complaining about it!)
Furthermore, my home office and home photography studio needs to fulfil two functions - it’s my office AND also where I conduct my client photo shoots AKA my photography studio. Hence, I need to be able to shift things around with ease so the space can indeed meet the demands of both roles without much trouble.
Here are a few things I got that made this tiny home office studio space work wonders for my productivity and happiness!
GET an ergonomic chair for your home office
If there’s one thing thing worth spending money on, it’s a great home office chair! your back will thank you for it and - if you get a well made chair like I did (I went for the Hermans Miller Says Chair in black), it should last you a lifetime!
A BIG COMPUTER MONITOR
Laptops are all fun and good, but not ideal for day to day working as it puts a bigger strain on your eyes and using it doesn’t encourage good posture. Plus, if you’re a photographer like me, seeing your images properly displayed, is so helpful during the editing and retouching phase.
A MODULAR home office DESK AND PHOTOGRAPHY STATION
When I shared how versatile my moveable trestles - come home office desk - come standing desk - come photography station is on Instagram, my community there went crazy for it! I’m obsessed with this bit of my home office studio too and in fact - bar the prop cupboard - it’s one of my favourite things I got for my home office studio. I share links to it in the studio mini guide PDF you can find at the end of this blog post!
AFTER - MODULAR AND ERGONIMIC HOME OFFICE FURNITURE
I got this Herman Miller chair before the renovation and - despite its colour not fitting the scheme 100%, I kept it because it’s just so comfortable!
I usually sit in front of the window, but love that I can easily switch things up!
summary: home office studio renovation tips
UTILISE WALL SPACE In a small home office studio
ZONE YOUR HOME OFFICE STUDIO SPACE
MAKE YOUR HOME OFFICE AND HOME PHOTOGRAPHY STUDIO FEEL INSPIRING
How to choose the right WALL colour for your home office and home photography studio
GET THE Lighting RIGHT IN YOUR HOME OFFICE & HOME PHOTOGRAPHY STUDIO!
clever storage is essential in a small home office studio!
YOU NEED VERSATILE AND ERGONOMIC HOME OFFICE FURNITURE!
WAS THIS POST HELPFUL?
I so hope this blog post gave you everything you need to create the home office and home photography studio of YOUR dreams! Remember, you can download my home office studio guide at the bottom of this blog post!
Thanks for reading everyone! I appreciate you!